
Introduction to Mini Pumpkin Pies
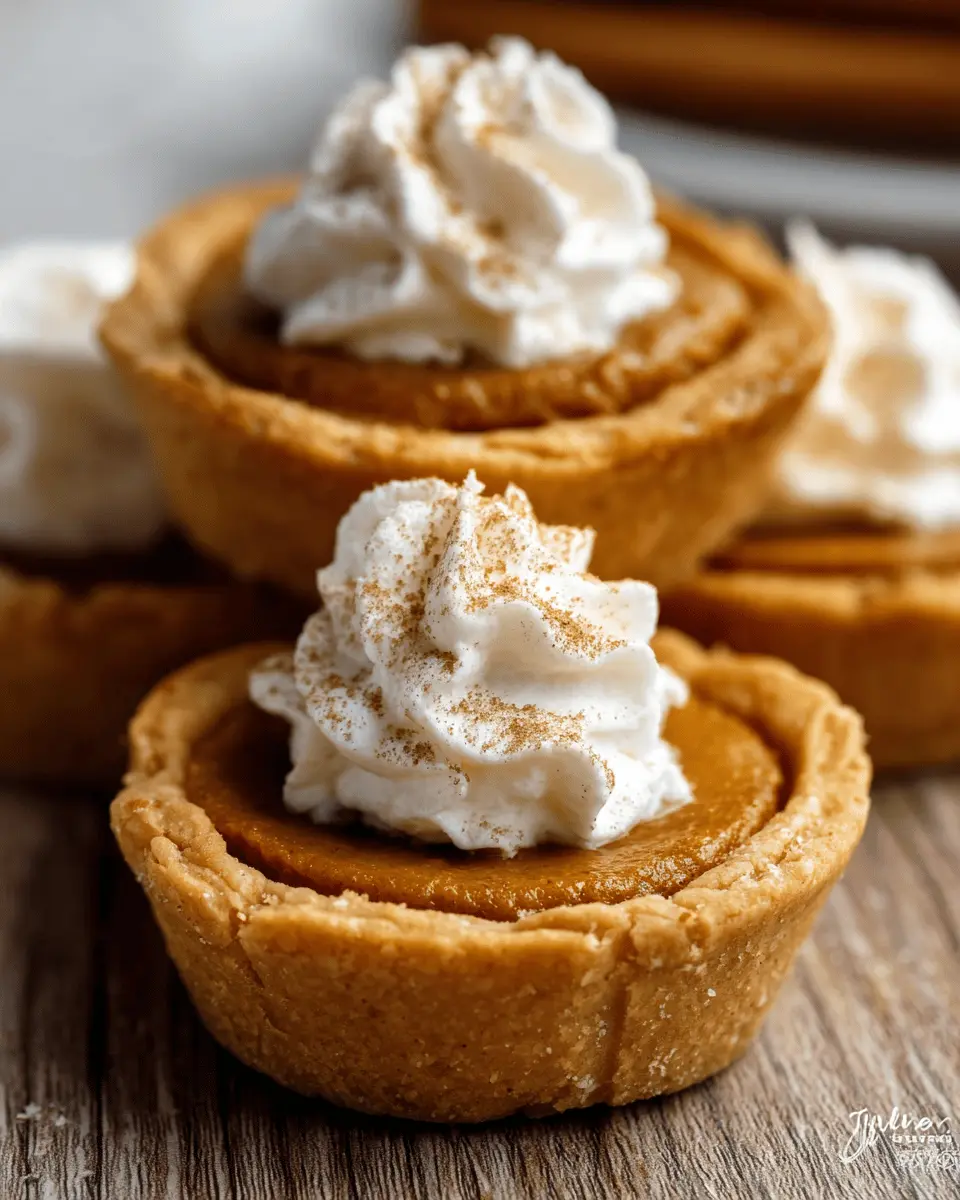
When the autumn air turns crisp and leaves begin to fall, nothing quite captures the essence of the season like mini pumpkin pies. These delightful bites aren't just charming; they’re the perfect treat for young professionals balancing a busy lifestyle with a longing for homey flavors.
Why Mini Pumpkin Pies are Ideal for Young Professionals
Mini pumpkin pies offer a delicious way to celebrate the season without overwhelming your schedule. Their small size makes them easy to share at a gathering or to enjoy solo after a long day. Plus, they can be made in batches, allowing for advance preparation—ideal for the young professional with a packed week!
Preparing these pies can serve as a comforting break from work. The smell of pumpkin, spices, and baking fills your kitchen, creating a welcoming atmosphere. And since they can be baked ahead and stored in the fridge, you’ll always have a delightful dessert ready to impress unexpected guests or satisfy your own sweet tooth.
For some baking inspiration, be sure to check out resources on pumpkin pie spice, or perfect your pie crust with this recipe. Whether it’s a cozy evening at home or a festive gathering, these mini pies are sure to steal the show!
Ingredients for Mini Pumpkin Pies
Essential ingredients for delicious mini pumpkin pies
Creating mini pumpkin pies with that perfect balance of sweetness and spice starts with the basics. Here's what you'll need for those irresistible little treats:
- Pie Crust: Two unbaked discs of your favorite pie crust, either homemade or store-bought for convenience.
- Pumpkin Puree: 1 and ¼ cups of pumpkin puree gives those pies their signature flavor—opt for canned for ease and consistency.
- Brown Sugar: ¾ cup of packed light or dark brown sugar adds a comforting sweetness.
- Creamy Ingredients: ½ cup of heavy cream and ¼ cup of whole milk contribute to the smooth, luscious filling.
- Egg: One large egg helps bind everything together.
- Spices: Don't forget the flavor! ¼ teaspoon of salt, 1 teaspoon of ground cinnamon, and 1 teaspoon of pumpkin pie spice will elevate your pies to the next level.
Optional ingredients for customization
To make your mini pumpkin pies even more special, consider these optional additions:
- Black Pepper: A small pinch can enhance the warmth of the spices.
- Nutmeg: Adding a sprinkle can provide a lovely depth of flavor.
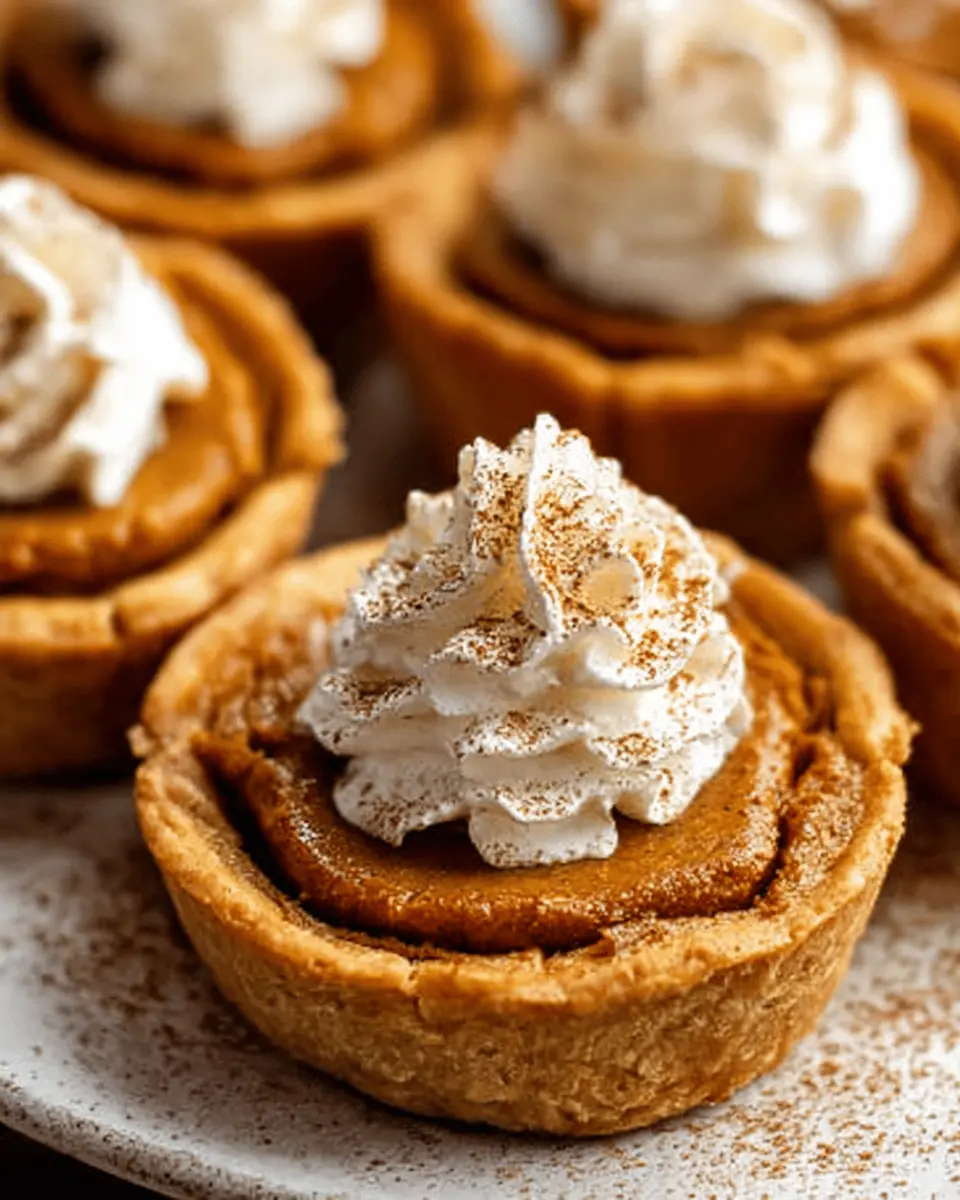
- Garnish: Top with whipped cream for an elegant finish, or get creative with toppings like toasted pecans for a delightful crunch.
For more tips and tricks on making homemade pie crust, check out this essential pie crust guide. Enjoy baking these delectable treats!
Preparing Mini Pumpkin Pies
Making mini pumpkin pies is a delightful and straightforward process that fills your home with the warm, comforting scents of autumn. This recipe is perfect for gatherings, cozy nights in, or just to satisfy that seasonal craving. Let’s walk through the steps together!
Prepare the Pie Crust
Start by making your pie crust. It’s essential to prepare the dough ahead of time, ideally allowing it to chill in the refrigerator for at least two hours or even overnight. A great pie crust is the foundation of any delicious pie, and you have options! You can try Sally’s Flaky Pie Crust for a classic taste or experiment with the All Butter Pie Crust for a richer flavor.
Make the Pumpkin Filling
While your crust chills, let’s whip up the filling. In a large mixing bowl, combine 1 and ¼ cups of pumpkin puree, ¾ cup of packed brown sugar, ½ cup of heavy cream, ¼ cup of whole milk, 1 large egg, a pinch of salt, 1 teaspoon of ground cinnamon, and 1 teaspoon of pumpkin pie spice. Mix these ingredients thoroughly with a whisk or a mixer until everything is nicely combined, which should take about two minutes. Cover this luscious filling and refrigerate it until we're ready to assemble.
Preheat the Oven and Prepare Muffin Pans
Before moving on, preheat your oven to 375°F (191°C) so it’s ready when your mini pumpkin pies are assembled. Also, don’t forget to grease two 24-count mini muffin pans. Using a non-stick spray ensures that your pies pop out effortlessly after baking—trust me, you’ll thank yourself later.
Shape the Mini Crusts
With the first chilled pie dough, roll it out on a floured surface until it’s about a 12-inch circle. Using a 2.5-inch cookie cutter (or your favorite measuring cup), cut out rounds from the dough. You’ll need about 24 rounds per pie crust, so you may have to re-roll your scraps. Keep that dough cool by working quickly, and soon enough, you'll have enough rounds to fill your muffin pan!
Fill the Crusts with Pumpkin Filling
Now comes the fun part! Place your dough rounds into the greased mini muffin pans and carefully press them into the crevices. Spoon the chilled pumpkin filling evenly into each crust, filling them to the brim for that deliciously rich experience.
Bake the Mini Pies
It's time to get baking! Place your mini pumpkin pies in the oven and bake for about 21-25 minutes. You’ll know they’re done when the edges turn lightly golden, and the centers are just about set. Let them cool for about five minutes before removing them from the pans; using a spoon can help gently coax them out.
Cooling and Serving the Pies
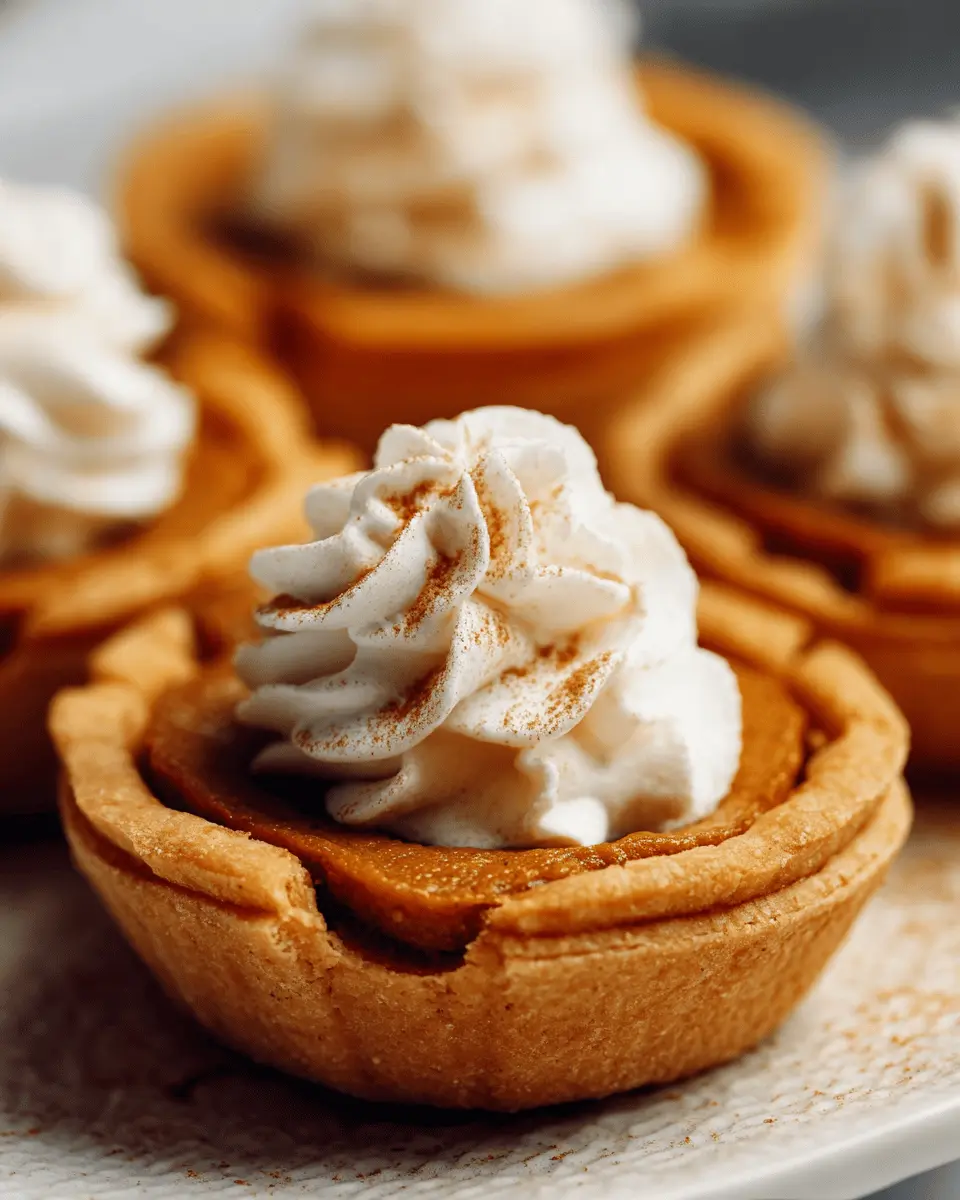
Once your mini pumpkin pies have cooled slightly, they’re ready for serving! You can enjoy them warm, at room temperature, or chill them in the fridge for a refreshing treat later. Topping with a dollop of whipped cream makes them extra special. Got leftovers? Store any uneaten pies in the fridge for up to five days, though I doubt they’ll last that long!
Baking these mini delights is not just a treat for you but a chance to share joy with friends and family. So, are you ready to get started on these delicious mini pumpkin pies? Let’s embrace that autumn spirit together!
Variations on Mini Pumpkin Pies
Mini Pumpkin Cheesecakes
If you’re looking to mix things up, try these mini pumpkin cheesecakes! Simply replace the heavy cream in the filling with cream cheese for a richer texture. Adding a touch of vanilla extract can elevate the flavor profile. Pour the adapted filling into your mini crusts and bake until set. These bite-sized delights offer a creamy twist on the classic mini pumpkin pies, making them a perfect dessert for gatherings.
Gluten-Free Mini Pumpkin Pies
For a gluten-free option, swap out the traditional pie crust for a gluten-free blend. You can find many great recipes online, or even buy pre-made crusts if you're pressed for time. Using canned pumpkin ensures that your fillings stay moist and flavorful. The result is a delightful mini pumpkin pie that everyone can enjoy, regardless of dietary preferences. Who knew gluten-free could taste so good?
Cooking tips and notes for Mini Pumpkin Pies
Avoid Common Pitfalls
When making mini pumpkin pies, it’s easy to run into a few snags. One common issue is overfilling the crusts; aim to fill just to the top to prevent spillage. Also, ensure your pie crust is well chilled before handling, or it may become too delicate. If you're not using a store-bought crust, consider making your dough a day ahead for ease and better results.
Storage Tips for Leftovers
If you find yourself with leftover mini pumpkin pies (which is rare!), store them tightly covered in the refrigerator for up to five days. For longer storage, they freeze beautifully! Stack them with parchment in between layers and keep them in a freezer-friendly container for up to three months. Just thaw at room temperature, and they'll be good as new! Looking for more storage tips? Check out Food Storage Guidelines.
Serving suggestions for Mini Pumpkin Pies
Creative toppings and pairings
Add a fun twist to your mini pumpkin pies with various toppings! Whipped cream is a classic, but consider drizzling caramel sauce or melted chocolate for an indulgent finish. Want to elevate the flavor? Sprinkle some crushed ginger snap cookies or pecans on top for a delightful crunch. For a refreshing contrast, try adding a dollop of maple yogurt or a side of vanilla ice cream.
Perfect occasions to serve mini pumpkin pies
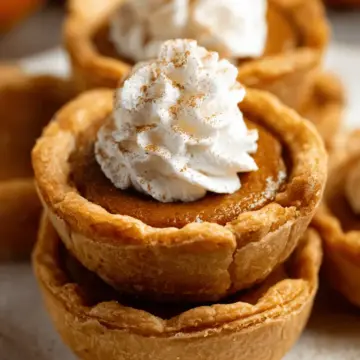
Mini pumpkin pies are perfect for a variety of occasions. Serve them at Thanksgiving gatherings, holiday parties, or fall-themed brunches for a touch of seasonal charm. They also make excellent treats for potlucks or cozy get-togethers with friends. Their bite-sized nature means they’re easy to share and enjoy, allowing guests to indulge without guilt. Next time you celebrate, think of these delightful pies—they're sure to be a hit!
Time breakdown for Mini Pumpkin Pies
Preparation time
Expect about 15 minutes for prepping your ingredients and filling. It's a quick process, especially if you have your pie crust ready to go!
Baking time
Bake your mini pumpkin pies for 21–25 minutes. This allows the filling to set while the edges get that lovely golden-brown color.
Total time
From start to finish, you’ll need around 40 minutes to create these delightful treats, plus additional time if you’re chilling your pie crust! Perfect for a cozy afternoon treat!
For more tips on getting your pie crust just right, check out this guide on how to make the perfect pie crust. Happy baking!
Nutritional Facts for Mini Pumpkin Pies
Calories per pie
Each delightful mini pumpkin pie contains approximately 150 calories. Perfect for satisfying your sweet tooth without derailing your diet!
Protein content
You can expect around 2 grams of protein per pie. While they might not pack a punch in protein, they are a fantastic source of wholesome nutrients!
Sugar levels
The sugar content is about 10 grams per pie. If you're looking to satisfy a sweet craving, these mini treats strike a great balance between sweetness and flavor.
For more nutritional tips, check out resources like the USDA FoodData Central for deeper insight into the health benefits of pumpkin and other pie ingredients.
FAQs about Mini Pumpkin Pies
Can I make mini pumpkin pies ahead of time?
Absolutely! You can prepare your mini pumpkin pies in advance. The pie crust can be made up to five days ahead and stored in the refrigerator. For the filling, simply store it in the fridge for up to two days before baking.
What is the best way to store mini pumpkin pies?
To keep your delicious mini pumpkin pies fresh, store them in an airtight container in the refrigerator. They’re best enjoyed within five days, but you can also freeze them for up to three months. Just ensure they’re cooled completely and separated with parchment paper!
Can I use fresh pumpkin instead of canned?
While canned pumpkin puree is ideal for this recipe, you can use fresh pumpkin if preferred. Just be sure to lightly blot any moisture out before adding it to your filling. Keep in mind that the consistency might be a bit thinner, requiring a longer baking time.
For more tips and techniques, check out Sally’s Baking Addiction. Happy baking!
Conclusion on Mini Pumpkin Pies
Recap of Why Mini Pumpkin Pies Elevate Homemade Treats
Mini pumpkin pies bring a delightful twist to classic desserts, effortlessly combining convenience and charm. These bite-sized wonders are perfect for sharing, making them a hit at gatherings. With their rich, spiced filling and flaky crusts, they elevate any homemade treat experience. Happy baking!
Mini Pumpkin Pies: Easy and Irresistibly Delicious Treats
Equipment
- Handheld mixer
- Stand Mixer
- Mixing Bowl
- Whisk
- mini muffin pan
- Rolling Pin
- cookie cutter
Ingredients
Pie Crust
- 2 discs unbaked pie crust (homemade or store-bought)
Filling
- 1.25 cups pumpkin puree
- 0.75 cups brown sugar packed light or dark
- 0.5 cups heavy cream
- 0.25 cups whole milk
- 1 large egg
- 0.25 teaspoon salt
- 1 teaspoon ground cinnamon
- 1 teaspoon pumpkin pie spice store-bought or homemade
- 1 pinch black pepper optional
Instructions
Preparation
- Make pie dough the night before and chill in the refrigerator for at least 2 hours before using.
- In a large bowl, mix together pumpkin, brown sugar, heavy cream, milk, egg, salt, cinnamon, pumpkin pie spice, and black pepper until completely combined.
- Preheat oven to 375°F (191°C) and grease two 24-count mini muffin pans.
- Roll chilled pie dough into a 12-inch circle and cut out rounds using a 2.5-inch cookie cutter.
- Place the dough rounds into the muffin pan and press down.
- Spoon the filling into each crust, filling to the top.
- Bake for about 21–25 minutes until the centers are just set.
- Cool for 5 minutes and then remove from the pan. Serve at room temperature or refrigerate.
Leave a Reply