
Introduction to Starbucks Birthday Cake Pops
If you're looking for a delightful treat that strikes the perfect balance between fun and sophistication, Starbucks Birthday Cake Pops are here to satisfy your cravings! These little wonders are not only delicious but also buzzing with party vibes, making them an ideal option for young professionals navigating the hustle and bustle of everyday life.
Why Cake Pops are the Perfect Treat for Young Professionals
In today’s fast-paced work environment, young professionals often seek convenience without sacrificing flavor. Cake pops fit the bill perfectly! They are easy to grab on the go, making them an ideal breakfast or afternoon snack that’s both delightful and quick. Plus, their bite-sized nature means you can enjoy a treat without the guilt of overindulging.
Whether you’re celebrating a coworker's birthday, a promotion, or just a successful week, Starbucks Birthday Cake Pops add a festive touch to any occasion. Customize them with your favorite sprinkles or even flavored candy melts for a unique twist that reflects your personality. It’s this adaptability that makes them a hit at office gatherings or casual get-togethers with friends.
Check out this guide on mastering cake pops for more tips and tricks to elevate your baking game!
Ingredients for Starbucks Birthday Cake Pops
Creating delightful Starbucks Birthday Cake Pops at home is easier than you might think! To get started, gather these essential ingredients that will set you on the path to cake pop perfection:
Essential Components for Your Cake Pops
-
Vanilla Cake Mix: A 15.25-ounce box will serve as the base of your cake pops. Opt for a good quality mix for a lighter texture.
-
Vanilla Frosting: Just ⅓ of a container is enough to moisten the cake crumbs and bind everything together. You can even make your own for a personalized touch!
-
Lollipop Sticks: You’ll need 15 sticks for your cake pops, making them easy to handle and fun to eat.
-
Pink Candy Melts: A 12-ounce bag of these luscious melts will provide the perfect coating. Look for vanilla flavor for a classic taste that resembles the beloved Starbucks treat.
-
White Sugar Pearl Sprinkles: These tiny embellishments add a festive touch, making your cake pops as beautiful as they are delicious.
Once you have these ingredients on hand, you're ready to start creating your delightful cake pops! Check out more baking tips at King Arthur Baking for extra inspiration.
Preparing Starbucks Birthday Cake Pops
Creating Starbucks Birthday Cake Pops is an enjoyable journey that brings the cafe's delight right into your kitchen! Perfect for celebrations or as a sweet treat, these little bites of joy are not only fun to make but also decadent to eat. Follow these simple steps for a delightful baking experience.
Bake the Cake
First, you'll want to prepare a delicious vanilla cake. Begin by following the instructions on your box of vanilla cake mix. The cake needs to be moist and fluffy, so don't rush this part! Once baked, allow your cake to cool completely on a wire rack. Trust us—this step is crucial to avoid a sticky situation later.
Crumble the Cooled Cake
Once the cake has cooled, it's time to get your hands a little messy. Using your fingers or a fork, crumble the cake into fine, even crumbs. Make sure there are no large chunks left, as they could make it difficult to form the cake pops. Want to ensure an even crumble? Consider using a food processor for a quicker option!
Combine Crumbs with Frosting
In a large mixing bowl, combine the crumbs with the vanilla frosting. Start by adding a small amount of frosting and mix it well with a rubber spatula. The goal is to achieve a consistency that holds together well without being overly sticky. If you find the mixture too dry, gradually add more frosting, one tablespoon at a time.
Roll the Cake Balls
Take the cake mixture and roll it into one-inch balls. You can use a cookie scoop for uniformity, or simply use your hands. Place each ball on a baking sheet lined with parchment paper to avoid any sticking mishaps. This is a perfect opportunity to involve friends—get them to help roll!
Chill the Cake Balls
Now comes a bit of patience. Place the baking sheet of cake balls in the freezer for 30 minutes, or refrigerate for 2 hours. Chilling them will help set their shape and make dipping them later much easier.
Melt the Candy Coating
As your cake balls chill, it’s time to melt those pink candy melts. Use a microwave-safe bowl and heat them according to the package instructions, stirring occasionally. The melted consistency should be smooth and easy to work with, ensuring each cake pop is beautifully coated.
Insert Lollipop Sticks
Take the chilled cake balls out of the freezer. Dip the tip of each lollipop stick into the melted candy coating, then insert it into the center of each cake ball, about halfway through. This little trick helps keep the cake pops from sliding off the sticks when you dip them later.
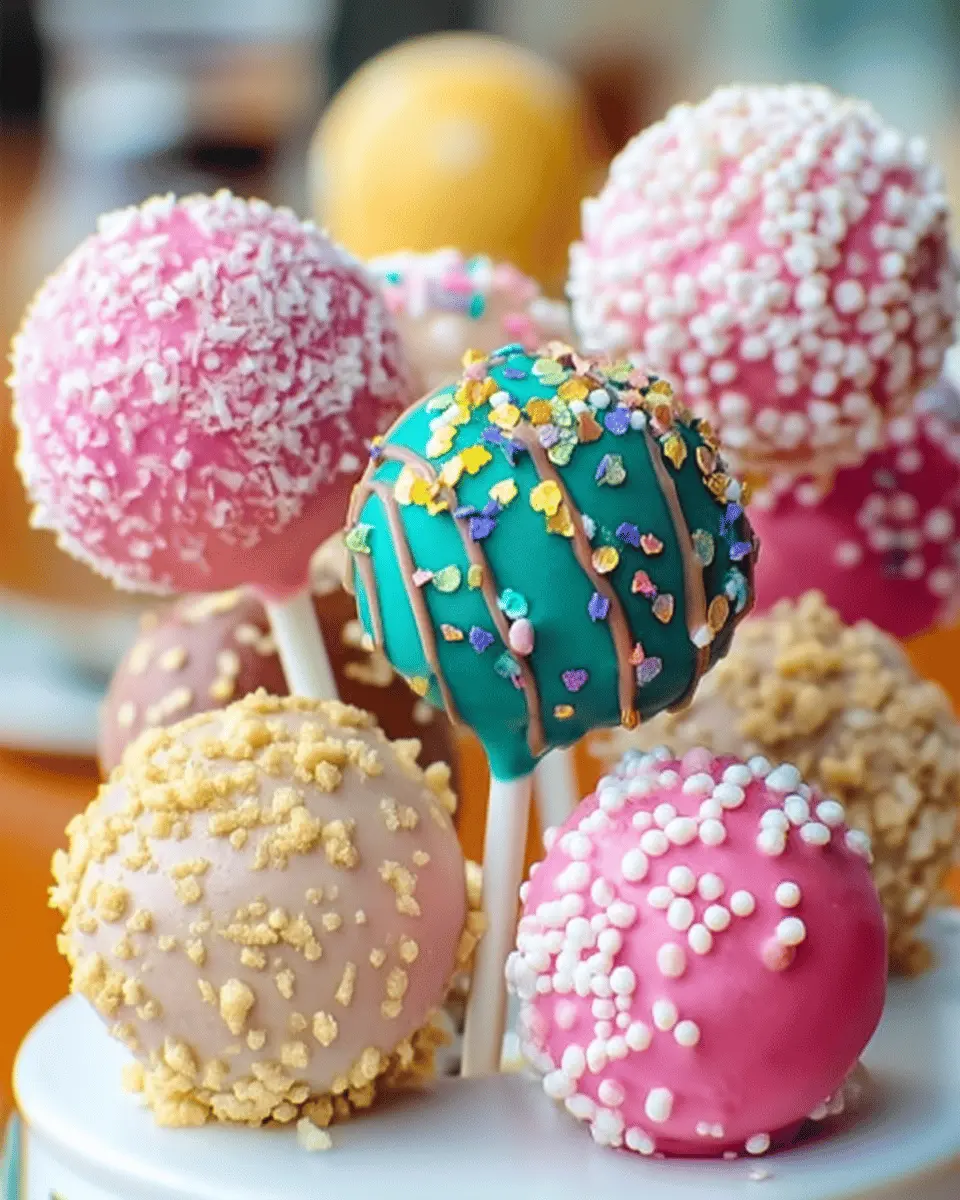
Dip and Decorate the Cake Pops
Finally, it’s time for the most fun part—dipping and decorating! Dip each cake pop into the melted coating, swirling it around to achieve an even layer. Allow any excess to drip off, then immediately sprinkle with white sugar pearl sprinkles before the coating sets.
Place your finished Starbucks Birthday Cake Pops into a cake pop stand or simply back on the lined baking sheet. Once all are dipped and decorated, let them set completely before indulging in your homemade delights. Enjoy the process, and don't forget to take photos of your sugary creations to share with friends!
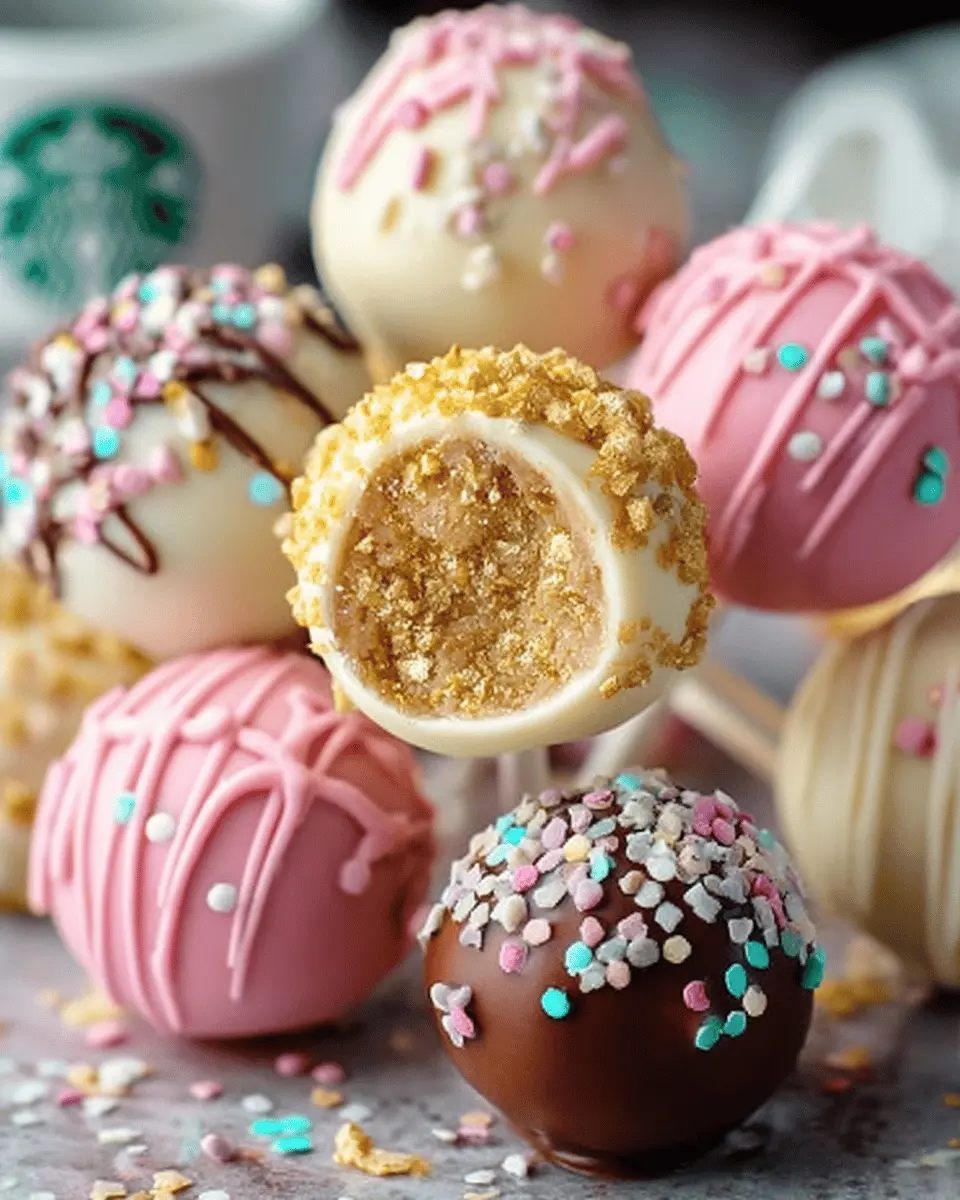
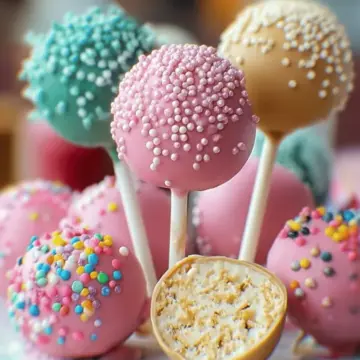
Variations on Starbucks Birthday Cake Pops
Making Starbucks Birthday Cake Pops at home opens up a world of creative possibilities that can enhance any celebration!
Chocolate Cake Pops
For chocolate lovers, consider using a box of chocolate cake mix instead of vanilla. Pair it with chocolate candy melts for a truly indulgent treat. These cake pops are rich, decadent, and a delightful surprise for any birthday party! You can even mix in chocolate chips for an extra touch of gooey goodness.
Seasonal Cake Pop Themes
Embrace the seasons by customizing your Starbucks Birthday Cake Pops for holidays or special occasions. During spring, use pastel-colored candy melts and decorate with flower-shaped sprinkles. In autumn, think orange and brown hues with pumpkin spice cake and playful designs featuring leaves. This simple adaptation keeps your cake pops fresh and exciting, making them perfect for any event. For more decoration ideas, check out Sweet Creations for inspiration!
Cooking Tips and Notes for Starbucks Birthday Cake Pops
Ensuring the Perfect Texture
To make your Starbucks Birthday Cake Pops truly stand out, focus on the texture of the cake mixture. Make sure your cake is completely cooled before crumbling it; warm cake can lead to a sticky, hard-to-work-with consistency. If your mixture feels too dry, add more frosting, a tablespoon at a time, until it binds perfectly. Rolling your cake balls between slightly damp hands can make the process smoother and keep the mixture from sticking.
Tips for Melting Candy Melts Effectively
When melting your pink candy melts, it's vital to do it slowly to avoid overheating. Use a microwave-safe bowl and heat in 30-second intervals, stirring well after each session. This will help achieve a smooth, consistent melt. Remember, if you get a few lumps, you can usually work those out with some gentle stirring. If you're curious about more techniques, check out resources like Baker's Edge, which provide excellent tips for candy melting.

Serving Suggestions for Starbucks Birthday Cake Pops
Creative Presentation Ideas
Elevate your Starbucks Birthday Cake Pops with fun and unique presentation! Consider arranging them in a decorative cake pop stand or a whimsical mason jar filled with colored candies. For a party setting, you can create a themed display by placing them on a colorful platter surrounded by confetti. Personalize them by attaching little tags with fun messages or birthday wishes.
Pairing Drinks with Cake Pops
To make your Starbucks Birthday Cake Pops even more delightful, pair them with the perfect drinks. A creamy vanilla latte beautifully complements the sweet flavors of the cake pops. Alternatively, try pairing them with a chilled iced matcha for a refreshing contrast. For those who prefer non-coffee options, a fruity lemonade or sparkling water spiked with fresh berries makes a lovely accompaniment. Enjoy experimenting to find your favorite combinations!
By adding these elements to your presentation and pairings, your cake pops will not just get devoured; they'll be a centerpiece of joy!
Time Breakdown for Starbucks Birthday Cake Pops
When you're ready to whip up some delightful Starbucks Birthday Cake Pops, it’s important to know how much time you’ll need. Here's a helpful breakdown to keep you on track!
Preparation Time
Get ready to spend about 20 minutes on the preparation of your cake pops. This includes mixing the cake batter, crumbling the cooled cake, and rolling it into balls. To ensure a perfect texture, don’t rush this step!
Chilling Time
After rolling, you’ll want to chill the cake balls for 30 minutes in the freezer or 2 hours in the refrigerator. This step is crucial for keeping the cake pops firm during dipping, so be patient!
Total Time
Overall, you’ll be looking at approximately 2 hours and 50 minutes from start to finish, considering chilling time. But trust me, the delicious end result will be worth every minute spent!
Want to impress your friends at your next gathering? These Starbucks Birthday Cake Pops are not just tasty; they’re also a cheerful treat that can brighten anyone's day! For more tips on cake pop perfection, check out resources from The Kitchn or Bon Appétit. Happy baking!
Nutritional Facts for Starbucks Birthday Cake Pops
When indulging in Starbucks Birthday Cake Pops, it's helpful to know just what you’re treating yourself to. Let’s break down the key nutritional facts for these delightful treats:
Calories
Each cake pop contains approximately 131 calories, making it a fun snack without going overboard.
Carbohydrates
These pops are sweet and satisfying, with about 28 grams of carbohydrates per serving, giving you a little energy boost!
Sugar Content
With around 15 grams of sugar in each pop, they are undeniably sweet. Enjoy them in moderation to satisfy your sweet tooth!
For more insights on sweet treats and their nutritional profiles, check out resources like NutritionData and MyFitnessPal.
FAQs about Starbucks Birthday Cake Pops
Can I use different cake flavors?
Absolutely! While the classic Starbucks Birthday Cake Pops are made with vanilla cake, you can personalize them by utilizing different cake mixes. Think chocolate, red velvet, or even lemon for a refreshing twist. Experiment with various candy melts to complement your cake flavor, which can lead to delightful combinations that fit any occasion.
How do I store leftover cake pops?
If you have any leftover Starbucks Birthday Cake Pops, you can store them easily. Place them in an airtight container at room temperature for about 5-7 days. If you'd like to keep them longer, consider refrigerating them, which can extend their freshness for up to two weeks. Just make sure they’re cool and not touching each other to prevent any sticky situations.
What can I use instead of lollipop sticks?
No lollipop sticks? No problem! You can use a variety of alternatives such as pretzel sticks, thick paper straws, or even bamboo skewers. Just ensure that whatever you choose is sturdy enough to hold those delightful cake pops without collapsing. This can also add a fun touch to your Starbucks Birthday Cake Pops, making them unique to your style!
Conclusion on Starbucks Birthday Cake Pops
Indulging in Starbucks Birthday Cake Pops at home is a delightful way to celebrate any occasion! They’re easy to make and perfect for gatherings or cozy nights in. With a little creativity, you can customize flavors and decorations. So grab your ingredients, get popping, and enjoy every delicious bite!
Starbucks Birthday Cake Pops: Easy Treats for Homemade Joy
Equipment
- Baking sheet
- microwave-safe bowl
- rubber spatula
- cookie scoop or hands
Ingredients
- 1 box Vanilla Cake Mix (15.25 Ounces)
- ⅓ container Vanilla Frosting
- 15 sticks Lollipop Sticks
- 1 bag Pink Candy Melts (Vanilla Flavor, 12 Ounce)
- White Sugar Pearl Sprinkles (For Decorating)
Instructions
- Prepare the vanilla cake mix according to the instructions on the box. Allow the cake to cool completely.
- Crumble the cooled cake into fine crumbs using your hands or a fork.
- In a large bowl, combine the cake crumbs with some of the vanilla frosting, adding a little at a time. Using a rubber spatula, mix until well combined and the mixture holds together.
- Roll the mixture into 1-inch bite-sized balls using a cookie scoop or your hands and place them on a baking sheet lined with parchment paper.
- Place the baking sheet of cake balls into the freezer for 30 minutes to set up or in the refrigerator for 2 hours.
- About 5 minutes before taking the cake balls out of the freezer, melt the pink candy melts in a microwave-safe bowl according to package instructions.
- Remove the cake balls from the freezer and insert a lollipop stick into each cake ball, about halfway through. Dip the tip of the lollipop stick into the melted coating chocolate to help hold them in place in the cake balls.
- Dip each cake pop into the melted coating chocolate, swirling to ensure they are evenly coated. Allow any excess coating to drip off.
- Immediately sprinkle some white sugar pearl sprinkles over the wet coating before it hardens.
- Place the finished cake pops into a cake pop stand or styrofoam to hold them up in place. If you don’t have a cake pop stand or styrofoam you can place the cake pops back onto the parchment lined baking sheet.
- Repeat the dipping and sprinkling process with the remaining cake pops.
- Once fully set, they are ready to be enjoyed!

Leave a Reply