
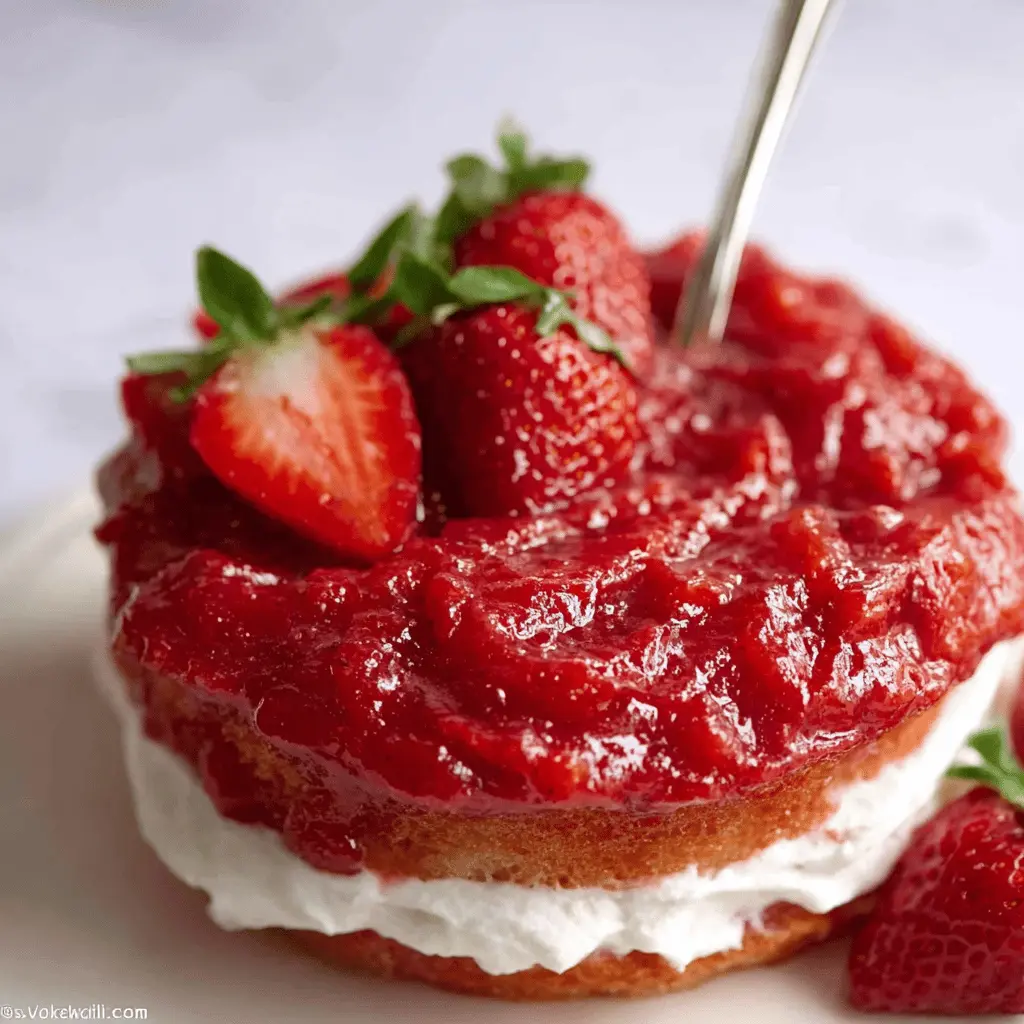
Introduction to Easy Strawberry Filling
If you're looking to elevate your baking game, then homemade easy strawberry filling is a true game changer. This delightful mixture is not only simpler to make than you might think, but it also packs in a flavor that store-bought options simply can’t match. Imagine biting into a slice of your favorite cake, only to be met with luscious strawberries bursting with freshness inside. Now, that’s a treat you want to share!
One of the best things about making your own strawberry filling is the flexibility it offers. You can use fresh strawberries when they are in season or even frozen ones when you want a taste of summer during the colder months. According to the USDA, strawberries are rich in antioxidants, making your dessert not just delicious but also healthful1. Plus, you'll have the satisfaction of knowing exactly what went into it—no preservatives, no artificial flavors.
Creating this easy strawberry filling doesn’t require any special skills, just a few ingredients and a little time. With a straightforward cooking method, even beginner bakers can master this recipe. So, roll up your sleeves and get ready for a filling that will leave your guests asking for seconds!
[1]: USDA Nutritional Guidelines
Ingredients for Easy Strawberry Filling
The essential ingredients you’ll need
To whip up a delightful easy strawberry filling, gather a handful of simple ingredients to truly showcase the flavor of strawberries:
- ¾ cup water (180ml): This forms the base for your filling.
- 3 tablespoons cornstarch: This is crucial for thickening the mixture.
- 12 ounces fresh strawberries (340g): Opt for ripe, juicy berries for that vibrant flavor.
- ½ cup sugar (100g): Sweetens the filling to perfection.
- 1 tablespoon freshly squeezed lemon juice: This adds a zesty brightness and balances the sweetness.
Tips for selecting the best strawberries
Choosing the right strawberries is key to making the best easy strawberry filling. Look for:
- Bright red color: The deeper the red, the riper and sweeter your strawberries will be.
- Firmness: Make sure they are plump and firm; soft strawberries may be overripe.
- Sweet scent: A fragrant smell is a good sign of freshness.
- Organic options: If possible, go for organic strawberries to minimize pesticide exposure.
For more details on choosing seasonal fruits, check out this Nutritional Guide. Happy cooking!
Preparing Easy Strawberry Filling
Creating an easy strawberry filling is a fantastic way to elevate your cakes with a burst of fresh flavor. This step-by-step guide will ensure your filling is not only delicious but also simple to prepare. Let’s dive straight into it!
Whisk together water and cornstarch
Start by gathering your ingredients! In a medium saucepan, add ¾ cup of water and 3 tablespoons of cornstarch. Whisk them together until the mixture is smooth and lump-free. This slurry will be your thickening agent, ensuring your strawberry filling has that perfect, luscious consistency.
Combine strawberries, sugar, and lemon juice
Next, it’s time to introduce the stars of the show: 12 ounces of fresh strawberries (or unsweetened frozen ones if that's what you have handy). Add these to your saucepan along with ½ cup of sugar and 1 tablespoon of freshly squeezed lemon juice. The lemon juice not only enhances the strawberry flavor but also adds a delightful brightness to your filling. Stir everything together gently but thoroughly, ensuring the fruit is evenly coated with the sugar and lemon.
Cook the mixture to soften the strawberries
Place your saucepan over medium heat and cook the mixture for about 10-15 minutes. Stir occasionally, allowing the strawberries to soften and release their juices. If you’re curious about the sweetness, feel free to taste a spoonful — you may want to adjust the sugar based on your preference!
Mash the strawberries for that perfect consistency
Once the strawberries have softened, it’s time to mash! Using a potato masher, gently mash the mixture until it's a delightful combination of chunky and smooth. This step is key to achieving that homemade feel in your easy strawberry filling, providing bursts of fresh strawberry in each bite.
Simmer and thicken the filling
Now that your strawberries are nicely mashed, bring the mixture to a gentle boil. After reaching a boil, reduce the heat to medium or low and let it simmer for about 5 minutes. Stir consistently to prevent sticking, which is crucial for achieving that smooth texture you want. As you simmer, you'll notice the color deepening and the mixture thickening.
Cool and store your strawberry filling
Once you’ve achieved the desired thickness, transfer the filling to a bowl and cover it. Let it cool completely before popping it in the refrigerator. Remember, the filling will firm up as it cools, making it even easier to spread between your cake layers. When stored in an airtight container, it can last about a week in the fridge—perfect for making multiple cakes or desserts!
With these steps, you'll have a delicious and vibrant easy strawberry filling ready to bring your cakes and desserts to life. Happy baking and enjoy the freshness of strawberries all year round! If you're looking for more strawberry recipes or cake ideas, check out BBC Good Food for inspiration.
Variations on Easy Strawberry Filling
Strawberry filling with a twist
Want to elevate your easy strawberry filling? Consider adding a splash of balsamic vinegar or a hint of vanilla extract for a delightful flavor boost. For a bit of warmth, a dash of cinnamon complements the sweetness beautifully. Experiment with different textures by folding in some finely chopped mint leaves for a refreshing kick.
Using other berries for different flavors
Don’t feel confined to just strawberries; summer berries are all fair game! Blueberries, raspberries, or blackberries can be swapped in for a different twist on this classic. Each berry brings its own unique flavor and can even create a vibrant swirl when mixed together. Imagine a mixed berry filling – this will not only taste amazing but also look gorgeous between your cake layers. For even more inspiration, check out this article on berry benefits.
Cooking Tips and Notes for Easy Strawberry Filling
Common Mistakes to Avoid
To ensure a perfect easy strawberry filling, keep an eye on the heat. Cooking at too high a temperature can lead to burnt edges, while undercooking may leave the strawberries too firm. Stir regularly to maintain an even consistency. Additionally, remember to use a potato masher—this simple tool transforms chunky strawberries into a delicious filling. Finally, always let the mixture cool completely before using; this not only thickens it but also enhances the flavor!
The Importance of Using Fresh Ingredients
Using fresh strawberries significantly impacts the taste of your filling. Fresh fruits are sweeter and juicier, making your easy strawberry filling even more delightful. If you opt for frozen strawberries, ensure they’re unsweetened to maintain the right balance of flavors. Remember, quality ingredients lead to unforgettable outcomes in baking. Check out more about the benefits of fresh produce here to elevate your culinary creations!
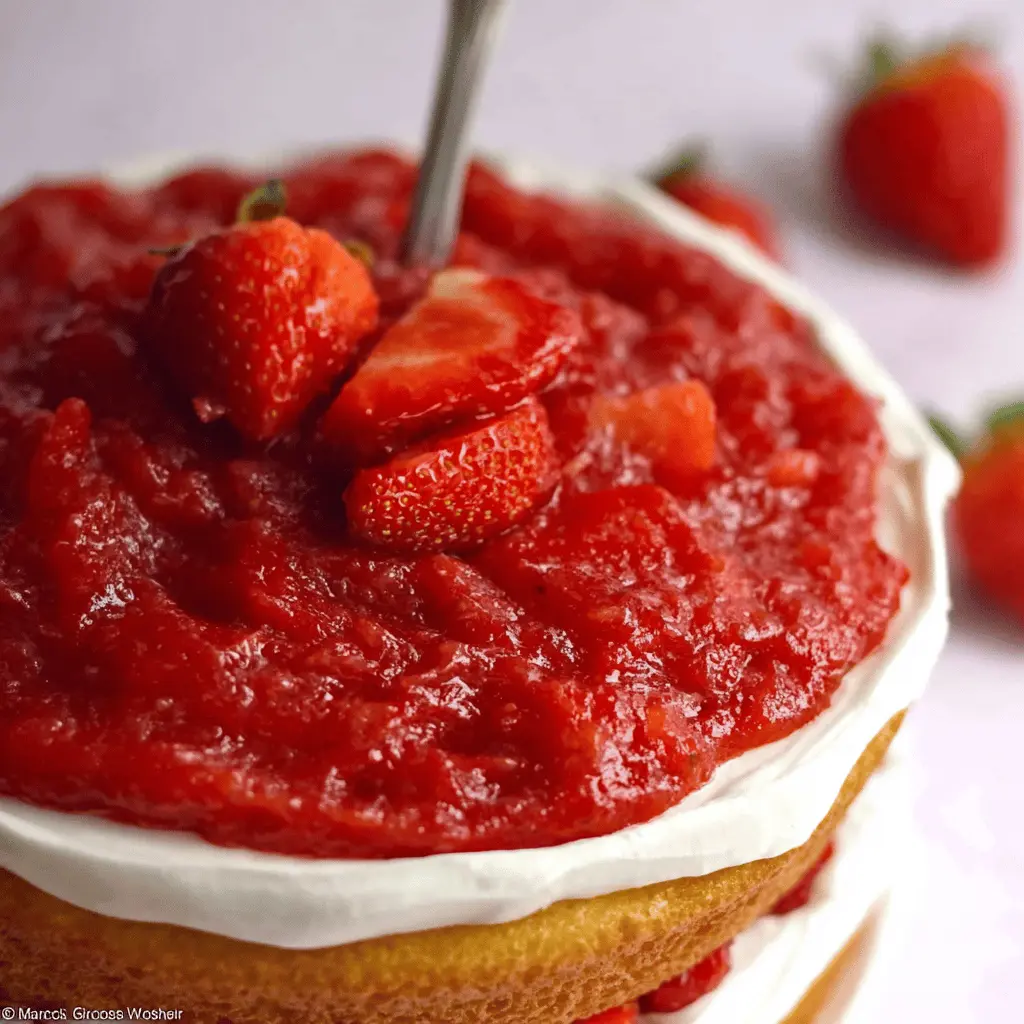
Serving suggestions for Easy Strawberry Filling
Perfect pairings for cakes and desserts
When it comes to easy strawberry filling, the possibilities are endless! This vibrant filling complements:
- Vanilla or chocolate cakes for a burst of fruity flavor.
- Cheesecakes, adding a refreshing contrast to creamy textures.
Try it drizzled over pancakes or waffles for a weekend breakfast treat. You can even layer it in parfaits with yogurt and granola for a delightful snack!
Creative ways to use your strawberry filling
Don’t limit your strawberry filling to just cakes! Use it to enhance:
- Tarts and pastries—spill some between layers of puff pastry for a delightful surprise.
- Donuts can be filled just before serving for an indulgent treat.
- Ice cream sandwiches: spread between cookies for a frozen delight.
With such versatility, your easy strawberry filling will be a kitchen staple! Not sure where to start? Check out more ideas in our dessert section.
Time Breakdown for Easy Strawberry Filling
Preparation Time
The prep for this easy strawberry filling takes just about 10 minutes. You’ll need to gather your ingredients, mix the slurry, and chop any strawberries if necessary. Perfect for a quick baking session!
Cooking Time
Once prepped, you'll cook the filling for approximately 15-20 minutes. This step allows the strawberries to break down and infuse their flavors, creating a luscious filling.
Total Time
In total, you're looking at around 30-35 minutes from start to finish. A simple investment of time for a delicious treat that elevates any cake!
For more baking tips and different filling ideas, check out resources like Joy of Baking or King Arthur Baking. They'll inspire you to explore even more delightful recipes!
Nutritional Facts for Easy Strawberry Filling
Calories
This easy strawberry filling packs in approximately 150 calories per serving, making it a delightful yet indulgent treat for your desserts.
Sugar Content
With about 25 grams of sugar, this filling balances sweetness with the natural tartness of strawberries. The inclusion of fresh strawberries enhances its flavor while keeping your taste buds excited!
Fiber
One serving provides around 2 grams of dietary fiber, courtesy of the strawberries. Fiber not only aids digestion but also adds a satisfying element to your cake filling, making it feel more wholesome.
For more in-depth nutritional information on strawberries, you might find resources from the USDA quite helpful! Remember, enjoying this delightful filling in moderation can help you savor those sweet moments without compromising your healthy eating goals.
FAQ about Easy Strawberry Filling
Can I use frozen strawberries instead of fresh?
Absolutely! Easy strawberry filling can be made with unsweetened frozen strawberries straight from the bag. They work wonderfully and will still give you that delightful burst of flavor in your desserts. Just remember to cook them a bit longer to ensure they fully soften.
How long does the filling last in the refrigerator?
Your homemade strawberry filling stays fresh in an airtight container in the refrigerator for about a week. Just be sure to store it properly to keep those flavors intact! If you want it to last longer, consider freezing it; it will keep well for about 3 months.
What desserts can I use the filling with?
Get creative! This easy strawberry filling is perfect for layering in cakes, topping cheesecakes, or even filling cupcakes. You can also use it as a delicious topping for pancakes or waffles. The possibilities are endless, so feel free to experiment! For more inspiration, check out resources like AllRecipes for dessert ideas.
Conclusion on Easy Strawberry Filling
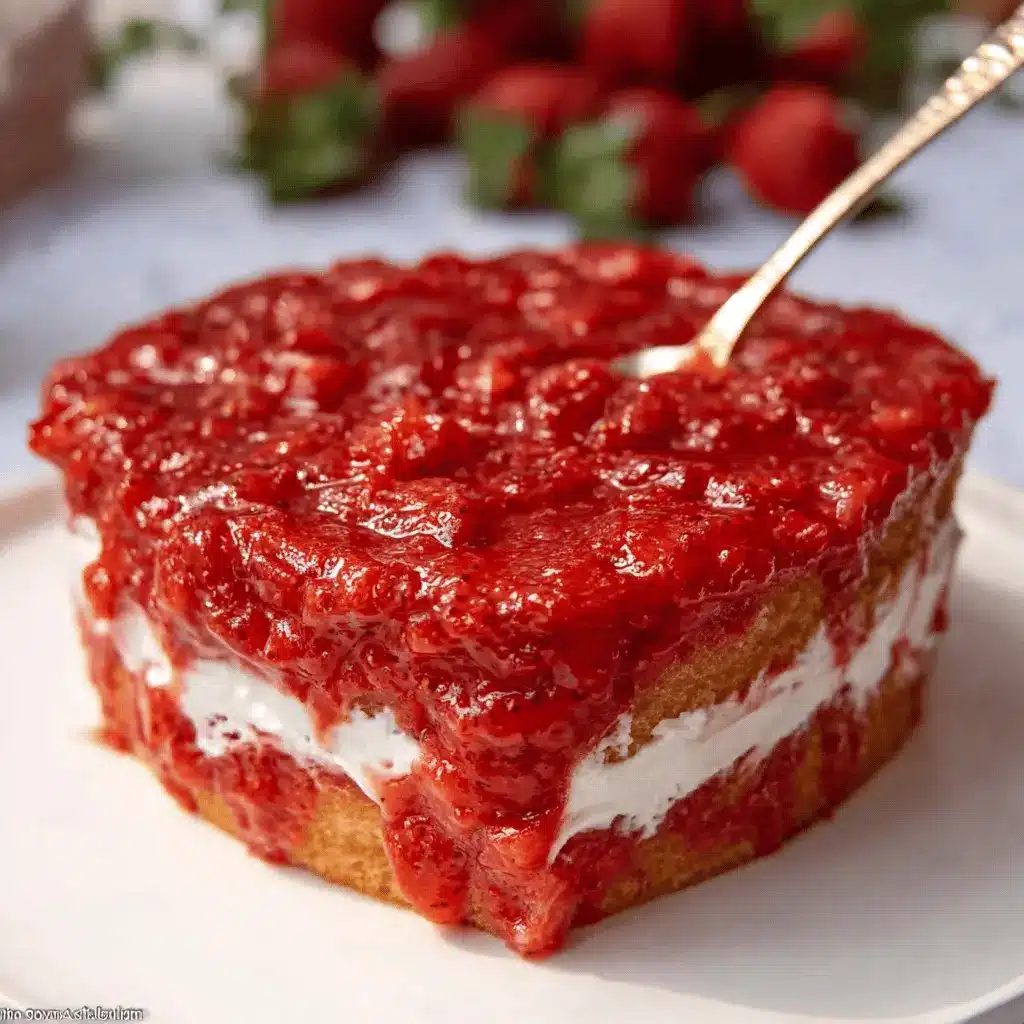
In summary, this easy strawberry filling elevates your cakes with its delightful flavor and simple preparation. Perfect for various desserts, this recipe is versatile and ensures you impress at any gathering. Don’t hesitate to experiment with seasonal fruits for a unique twist. Happy baking!
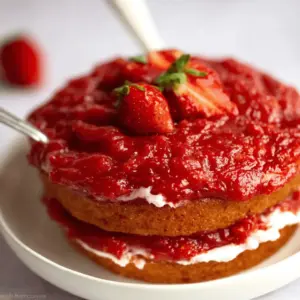
Easy Strawberry Filling For Cakes
Equipment
- Medium saucepan
Ingredients
- ¾ cup water (180ml)
- 3 tablespoons cornstarch
- 12 ounces fresh strawberries or unsweetened frozen strawberries (whole, straight out of the bag) (340g)
- ½ cup sugar (100g)
- 1 tablespoon freshly squeezed lemon juice
Instructions
- In a medium saucepan, whisk together the water and the cornstarch to make a slurry.
- Add the strawberries, sugar, and lemon juice and stir everything together. Cook over medium heat for 10-15 minutes, stirring until the strawberries have softened up a bit.
- Once the strawberries soften, use a potato masher to mash them up and make them chunky.
- Bring to a boil and then reduce the heat to medium or low. Simmer for about 5 minutes and keep stirring so that it doesn't burn. The strawberries will get darker and the mixture will thicken slightly.
- Transfer the filling to a bowl, cover it and put it in the refrigerator to cool completely. It will get a bit thicker once it has cooled completely.
- Store in an air-tight container in the refrigerator for up to about a week.
- Enjoy!


Leave a Reply