
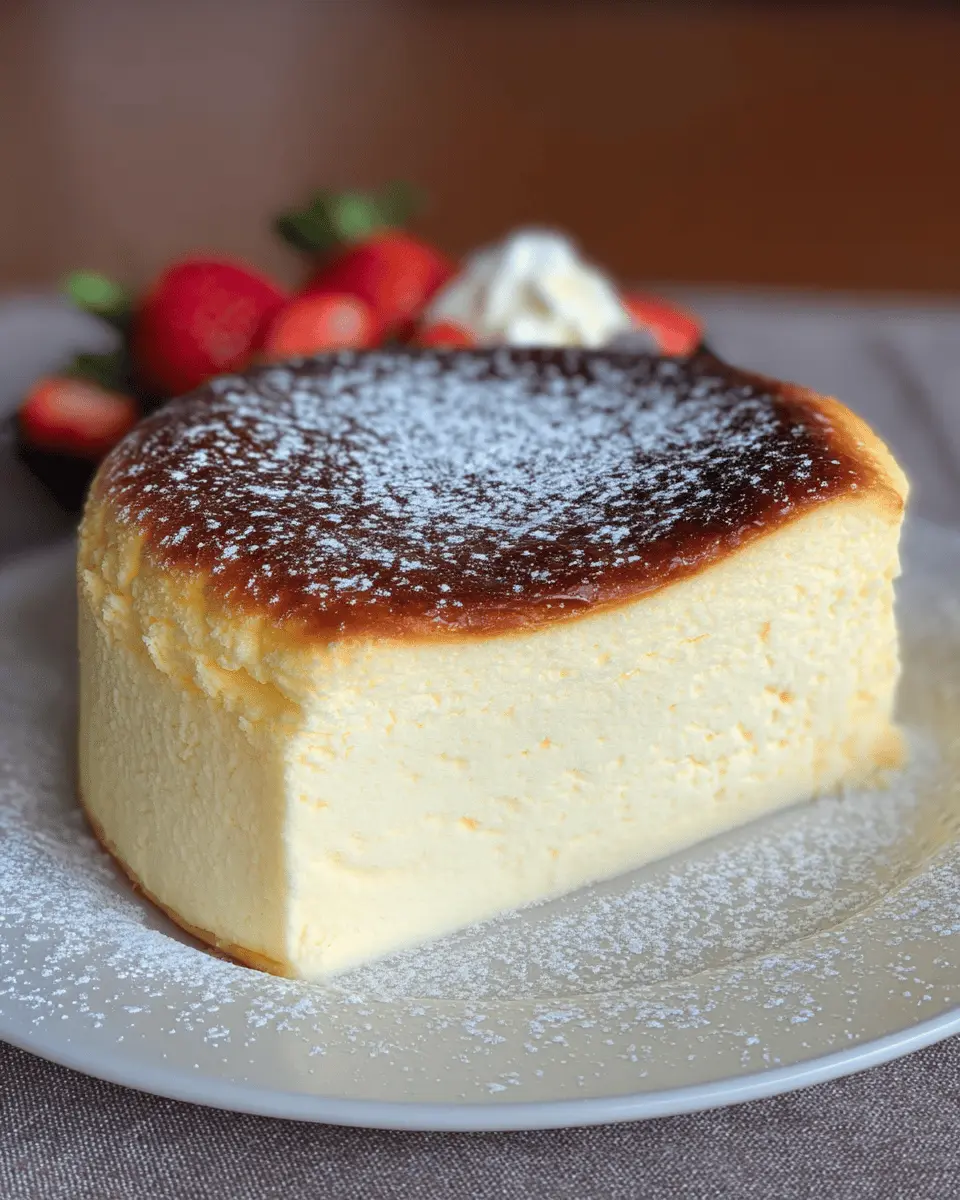
Introduction to Home-Baked Japanese Cheesecake
Japanese cheesecake is a treat that transforms the classic cheesecake experience into something light, airy, and irresistibly fluffy. The beauty of making it at home lies not just in the flavor, but in the joy of creating something special from scratch. Why choose homemade Japanese cheesecake over store-bought options? For starters, you have control over the ingredients. This means you can avoid preservatives and opt for high-quality cream cheese or even gluten-free substitutes if you wish.
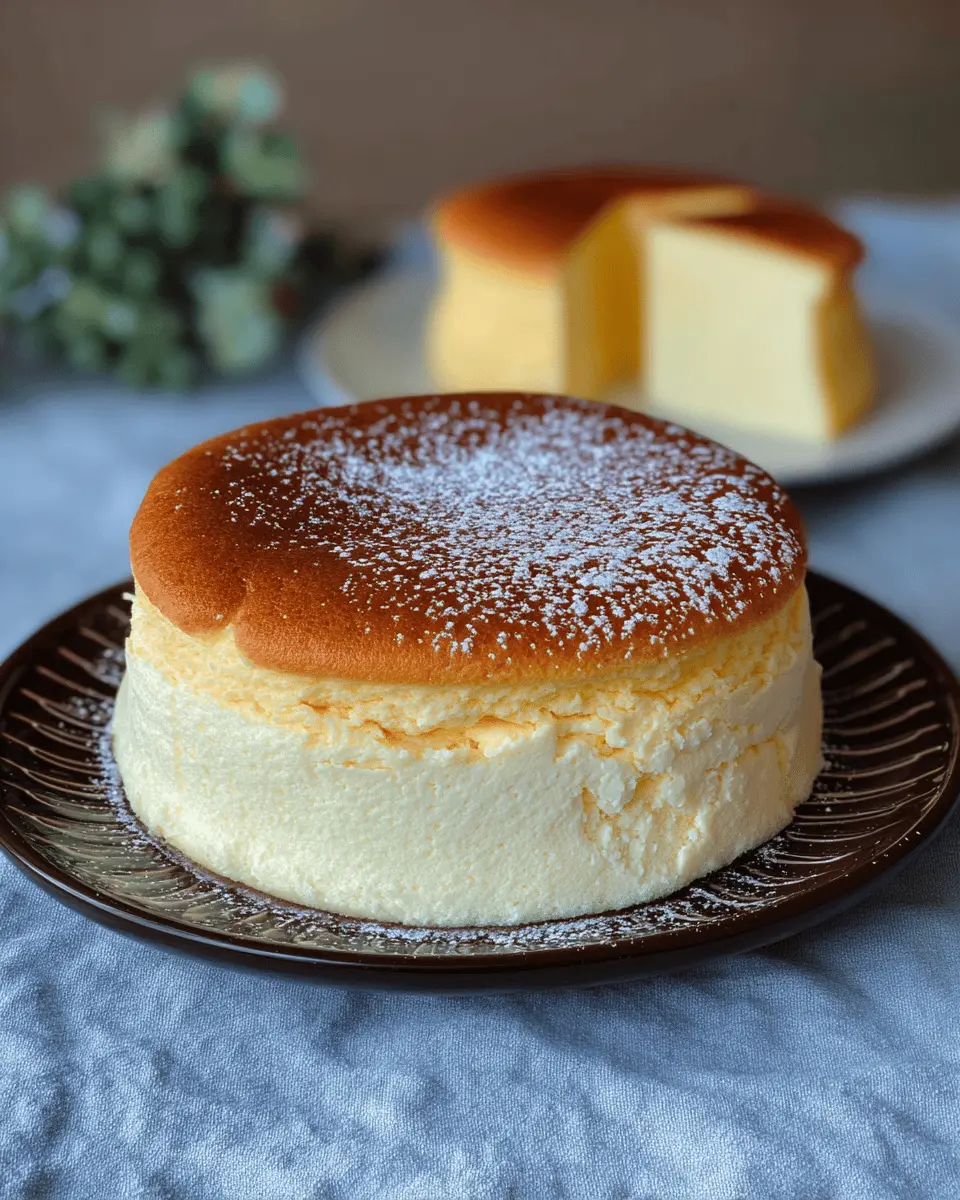
Making your own home-baked Japanese cheesecake allows you to experiment with flavors, too. Whether it's a touch of lemon zest for brightness or a sprinkle of matcha for a unique twist, customization is entirely in your hands. Plus, the smell that entices you as it bakes? Nothing can compete with the aromatic experience of a freshly baked dessert wafting through your kitchen.
There's also a certain joy that comes from sharing something made with love. Serving your homemade delicacy to friends or family creates a moment of connection and satisfaction. So gather your ingredients, unleash your inner pastry chef, and prepare to delight in the light, creamy goodness of your very own Japanese cheesecake. Want to know how to whip up this delightful dessert? Let’s dive into the full recipe!
Ingredients for Home-Baked Japanese Cheesecake
Essential ingredients for a perfect cheesecake
Creating a delectable home-baked Japanese cheesecake requires some essential ingredients that come together to deliver that unique fluffy texture and creamy taste. Here's what you'll need:
- Egg whites: 5 eggs are key for that airy soufflé-like rise.
- Cream cheese: An 8 oz block provides the rich, creamy base.
- Butter: ¼ cup of butter works to enhance flavor and moistness.
- Milk: Half a cup ensures a smooth batter.
- Fine sugar: Both the ¼ cup in the cake batter and another ¼ cup for the meringue are vital for sweetness and stabilization.
- Cornstarch and flour: 2 tablespoons of cornstarch and ¼ cup of flour create that perfect texture.
Optional ingredients for flavor enhancements
For those looking to elevate their home-baked Japanese cheesecake, consider some optional flavorings:
- Vanilla extract or powder: Just a splash can enrich the overall flavor.
- Lemon juice: A hint of acidity can balance the richness, while adding brightness.
- Optional toppings: Fresh strawberries, a dusting of confectioner sugar, or even matcha powder can elevate your dessert beautifully.
If you're curious about more baking tips, check out this guide on cheesecake variations. Happy baking!
Step-by-Step Preparation of Japanese Cheesecake
Creating a luscious home-baked Japanese cheesecake is an experience that merges the delicate art of baking with the joy of sharing delicious treats. Let’s dive right into the preparation process!
Preparing the egg white meringue
To start, you’ll need to whip your egg whites into a beautiful meringue. Place the 5 egg whites in a clean, dry mixer bowl and add ¼ teaspoon of cream of tartar. This magical ingredient helps stabilize the meringue, ensuring it reaches those stiff peaks. Gradually sprinkle in ¼ cup of fine sugar while beating the egg whites on medium-high speed. This process typically takes about 5-7 minutes. Keep an eye on them, as you want a shiny, firm meringue that holds its shape.
Tip: Always make sure your bowl and whisk are grease-free; even a tiny bit of fat can prevent your eggs from whipping up properly.
Making the cake batter
Next up is the cake batter—a smooth mix of flavors that forms the heart of your cheesecake. Begin by melting 8 ounces of cream cheese, ¼ cup of butter, and ¼ cup of sugar in a pot over low heat. Stir until you achieve a velvety texture, creating a batter that’s simply divine. Once removed from heat, gently fold in the 5 egg yolks. Add in ¼ cup of milk and your optional flavorings (like vanilla extract). Finally, mix in 2 tablespoons of cornstarch and ¼ cup of flour to achieve a smooth consistency.
Pro tip: If you’re looking to make this recipe gluten-free, try using rice flour or Mochiko instead!
Combining meringue and batter
Now, let’s bring our two mixtures together for that fluffy texture. Start by folding a bit of your meringue into the batter—this lightens it up. Then, gently fold in the remaining meringue, using a spatula to ensure you maintain the airy texture. This step is crucial; overmixing can cause the cake to become dense, while under-mixing can lead to uneven baking.
Prepping the baking pans and water bath
While you’re mixing, preheat your oven to 330°F (165°C). Prepare two 6-inch (or one 8-inch) cake pans by lining them with parchment paper. To create a gentle environment for baking, you'll want to prepare a water bath (bain-marie). Just fill a deep baking dish with hot water and place it in the oven alongside the cheesecake batter. This ensures even heat distribution and helps prevent cracking.
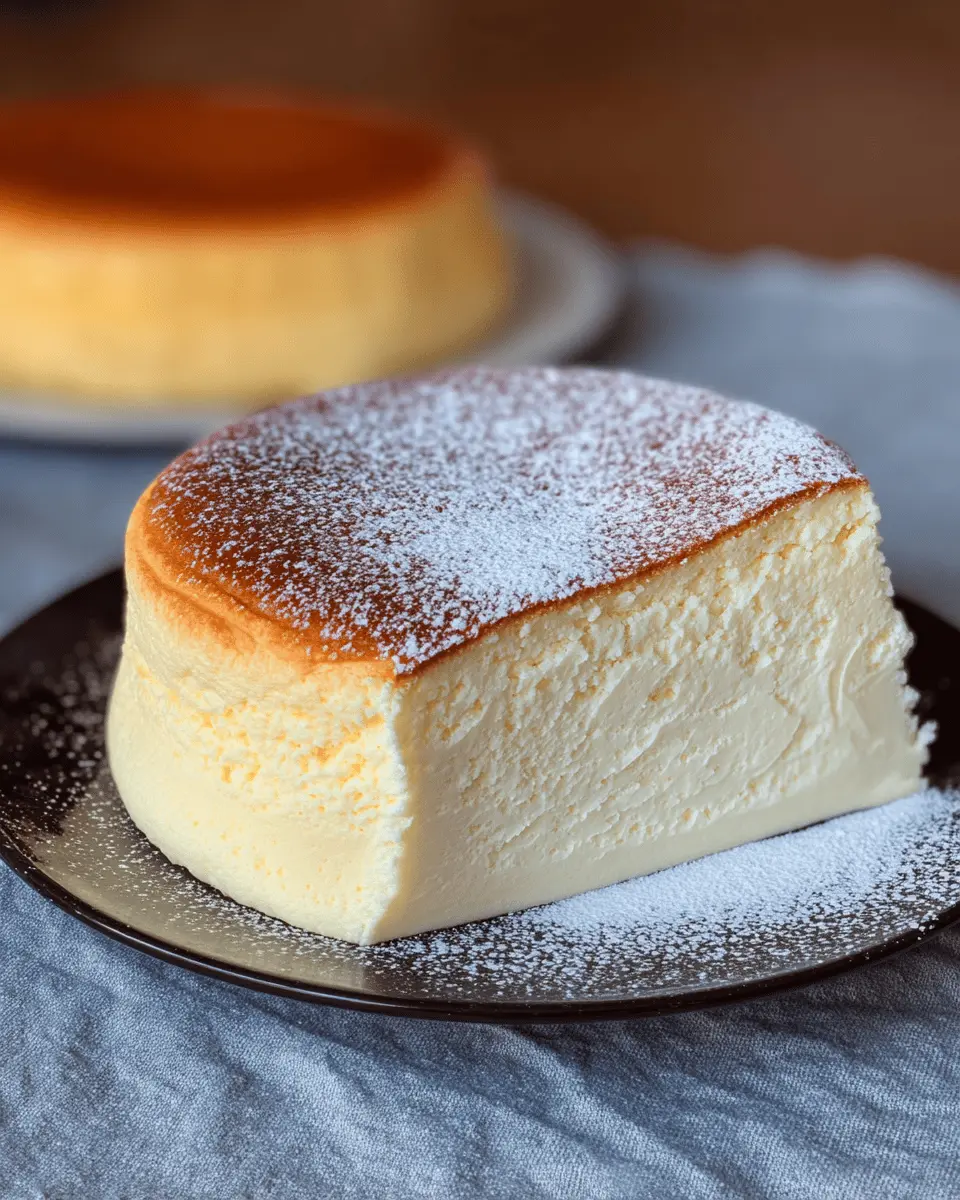
Baking the cheesecake to perfection
Pour the combined batter into your prepared pan(s) and bake for 25 minutes. After that, crack the oven door open for about 10 seconds, lower the temperature to 245°F-265°F (about 120°C) and bake for an additional 45 minutes. Keep an eye on it; the cheesecake should be golden and puffed up. After baking, turn off the oven and let it rest for 10 minutes before transferring it to a cooling rack.
With these steps, you’re well on your way to serving a home-baked Japanese cheesecake that’s light, fluffy, and simply irresistible! Enjoy the process and remember, practice makes perfect.
Variations on Japanese Cheesecake
Gluten-free Option Using Rice Flour
If you’re looking for a way to enjoy home-baked Japanese cheesecake without gluten, try substituting regular flour with rice flour or Mochiko. This simple swap creates a deliciously fluffy cheesecake that’s perfect for those with dietary restrictions. Just follow the same recipe directions, and you’ll be well on your way to a delightful gluten-free treat.
Flavor Twists: Matcha, Lemon, or Fruit-Infused
Ready to elevate your cheesecake game? Get creative with flavor twists! Adding matcha powder gives a lovely green hue and earthy flavor, while a splash of lemon juice brightens everything up. For a fruity touch, consider infusing your batter with pureed strawberries or blueberries. Each variation can add a unique flair to your home-baked Japanese cheesecake, making it a fun dessert for any occasion.
For more inspiration, you can check out resources like Serious Eats or Bon Appétit for flavor ideas and tips!
Cooking Tips and Notes for Japanese Cheesecake
How to Achieve the Perfect Texture
To create a meltingly soft and fluffy home-baked Japanese cheesecake, focus on your egg whites. Beat them until they reach stiff peaks—this is essential for the cake’s airy lift. When incorporating the meringue into the batter, be gentle and use a folding technique to maintain that lightness. Finally, baking in a water bath helps provide even heat, keeping the cheesecake from drying out while it sets.
Troubleshooting Common Baking Issues
If your cheesecake isn’t puffing up as it should, your oven might be too cool—try raising the temperature by 10°F. On the other hand, if you notice cracks forming on the top, it’s likely due to too high of a temperature; aim for gentle baking. Keeping the oven door ajar for a short period after baking can also help ease temperature changes, reducing cracking risk. For further clarification, check out expert tips on baking perfect cheesecakes.
Embrace the process, and remember: practice makes perfect!
Serving Suggestions for Japanese Cheesecake
Creative toppings to enhance your cheesecake
Elevate your home-baked Japanese cheesecake by experimenting with various toppings. Fresh strawberries or mixed berries create a burst of flavor, while a dusting of powdered sugar adds a lovely touch. For a unique twist, consider drizzling honey or maple syrup on top. Matcha powder also makes a stunning green contrast and adds a touch of earthy flavor that pairs beautifully with the creamy cheesecake. Don’t forget to explore options like chocolate ganache or whipped cream for extra indulgence!
Best times to serve your cheesecake
The versatility of this delightful cheesecake makes it perfect for various occasions! Serve it as a show-stopping dessert at parties or dinner gatherings, or enjoy a slice in the quiet of your own home for a comforting treat. Whether it’s a festive celebration or a simple mid-week mood booster, your Japanese cheesecake will surely impress. And let’s be honest, every day is a good day for cheesecake!
Time Breakdown for Japanese Cheesecake
Preparation time
Set aside about 30 minutes to prep your ingredients and whip up the batter for your home-baked Japanese cheesecake. Make sure you have everything measured and ready to go for a smoother baking experience!
Baking time
Once prepped, your cheesecake will need about 70 minutes in the oven. This includes initial baking and a later adjustment of temperature to ensure it rises beautifully without cracking.
Cooling time
Don’t forget to allow your stunning cheesecake to rest for 10 minutes in the oven after baking. This helps it set gracefully before you flip it out for a perfect presentation. For the best taste, serve it warm or let it chill in the fridge before enjoying!
By keeping this time breakdown in mind, you'll be well on your way to mastering the perfect Japanese cheesecake.
Nutritional Facts about Japanese Cheesecake
Calories per slice
A typical slice of home-baked Japanese cheesecake contains around 210 calories, which is relatively low compared to many richer desserts. This makes it an enticing option for those mindful of their calorie intake but still craving something sweet.
Key nutrients like protein and sugar content
Not only is it light on calories, but a slice also provides about 6 grams of protein, thanks to the eggs and cream cheese. On the flip side, it contains approximately 10 grams of sugar. This balance can make it a delightful treat that satisfies your sweet tooth without derailing your dietary goals. For those seeking healthier options, consider using natural sweeteners or reducing the sugar content in your recipe. Learn more about the nutritional benefits of cheesecake on Healthline.
FAQs about Home-Baked Japanese Cheesecake
What's the secret to a fluffy Japanese cheesecake?
The key to achieving that airy texture lies in the egg whites. When you beat the egg whites to stiff peaks, ensure you gently fold them into the batter. This technique preserves the air you've incorporated, resulting in a delightful lightness. It’s important not to over-mix, as that can lead to a denser cake.
How long can I store homemade cheesecake?
Your delicious home-baked Japanese cheesecake can be stored in the fridge for up to five days. Just make sure it's covered or in an airtight container to prevent it from absorbing any odors. This way, you can enjoy a taste of Japan even on busy weekdays!
Can I freeze my Japanese cheesecake?
Absolutely! To freeze, wrap the cheesecake tightly in plastic wrap and then in aluminum foil. It can last for up to three months. When ready to enjoy, simply thaw it in the fridge overnight for the best texture. Freezing can be a great option if you want to indulge later without the fuss of baking!
Conclusion on Home-Baked Japanese Cheesecake
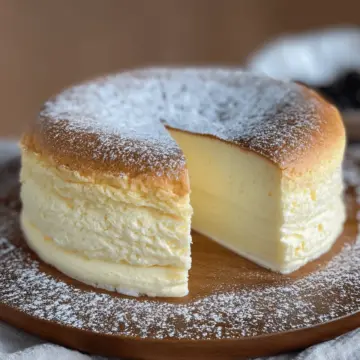
Why you should try making this delightful dessert at home
Making your own home-baked Japanese cheesecake is a delightful adventure that merges creativity with culinary skill. The light, airy texture and creamy flavor are simply irresistible. Plus, it’s a wonderful way to impress friends at gatherings! Trust me, the satisfaction of pulling a perfect cake from the oven is unmatched. So, gather your ingredients and embark on this sweet journey—you won’t regret it!
The Best Home-Baked Japanese Cheesecake
Equipment
- mixer
- baking pan
- pot
- Parchment paper
- Oven
Ingredients
Egg White Meringue (Stiff Peaks)
- 5 pcs egg whites
- ¼ teaspoon cream of tartar or vinegar or lemon juice
- ¼ cup fine sugar (50g, Not Confectioner sugar)
Cake Batter
- 5 pcs egg yolks
- 8 oz cream cheese (1 bar)
- ¼ cup butter (55g)
- ½ cup milk (125ml)
- ¼ cup fine sugar (50g)
- 2 tablespoon corn starch (15g, magic ingredient)
- ¼ cup flour (34g, use rice flour or Mochiko for gluten-free)
Optional Toppings
- strawberries
- confectioner sugar
- fruits of your choice
- honey
- matcha powder
Instructions
Preparation
- Separate 5 beautiful eggs. Place the egg yolks in a bowl, and the egg whites in a mixer bowl.
- Place the butter, cream cheese and ¼ cup of fine sugar into a pot over low-heat. Allow the ingredients to melt, and mix together into a beautifully smooth batter mixture.
- Remove the pot from heat, and add the egg yolks into the batter mixture. Mix well, but gently.
- Add the cornstarch and flour. Once again, mix well. Clumps should disappear.
- Add milk and optionally vanilla extract or other flavors of your choice.
- Mix well. The batter should be smooth and liquid-y. You won’t have to strain this mixture.
- Set aside the batter as you beat the egg whites into stiff peaks.
- Pre-heat oven to 330F. Prepare a bain-marie by putting water in a deep rectangular baking pan or dish. Place into the oven.
- Prepare baking pans— with these ingredients, you can bake one 8-inch cake or two 6-inch cakes. Line the bottoms of the baking pans with circular parchment paper, and the inside sides with rectangular strips of parchment paper.
- Once you achieve stiff peaks, place some beaten egg white into the batter and mix together.
- Repeat the above step two more times.
- Pour the batter into the rest of the egg whites and mix together using folding techniques. Don’t over-mix or under-mix.
- Pour the well-incorporated batter into the baking pan(s).
- Bake bain-marie style for 25 minutes at 330F. Adjust the temperature if necessary.
- After 25 minutes, if the cake has not risen yet, keep it at the same temperature and give it time, or raise the temperature. Once it rises, crack open the oven door for 10 seconds, then lower the temperature to 245-265F and bake for an additional 45 minutes.
- Allow your cake to rest in the oven after baking for about 10 minutes.
- Remove from the oven. Be careful and use oven mitts as needed.
- Place a sheet of parchment paper over the cake. Place a plate over the cake and flip it upside down.
- Remove the wet parchment paper from the cake, replace the bottom parchment paper.
- Place another plate on top of the cake and flip the cake again carefully.
- Serve when still warm, or chill in the fridge. It won’t be bouncy or fluffy after chilling though!

Leave a Reply