
Introduction to Cream Cheese Mints
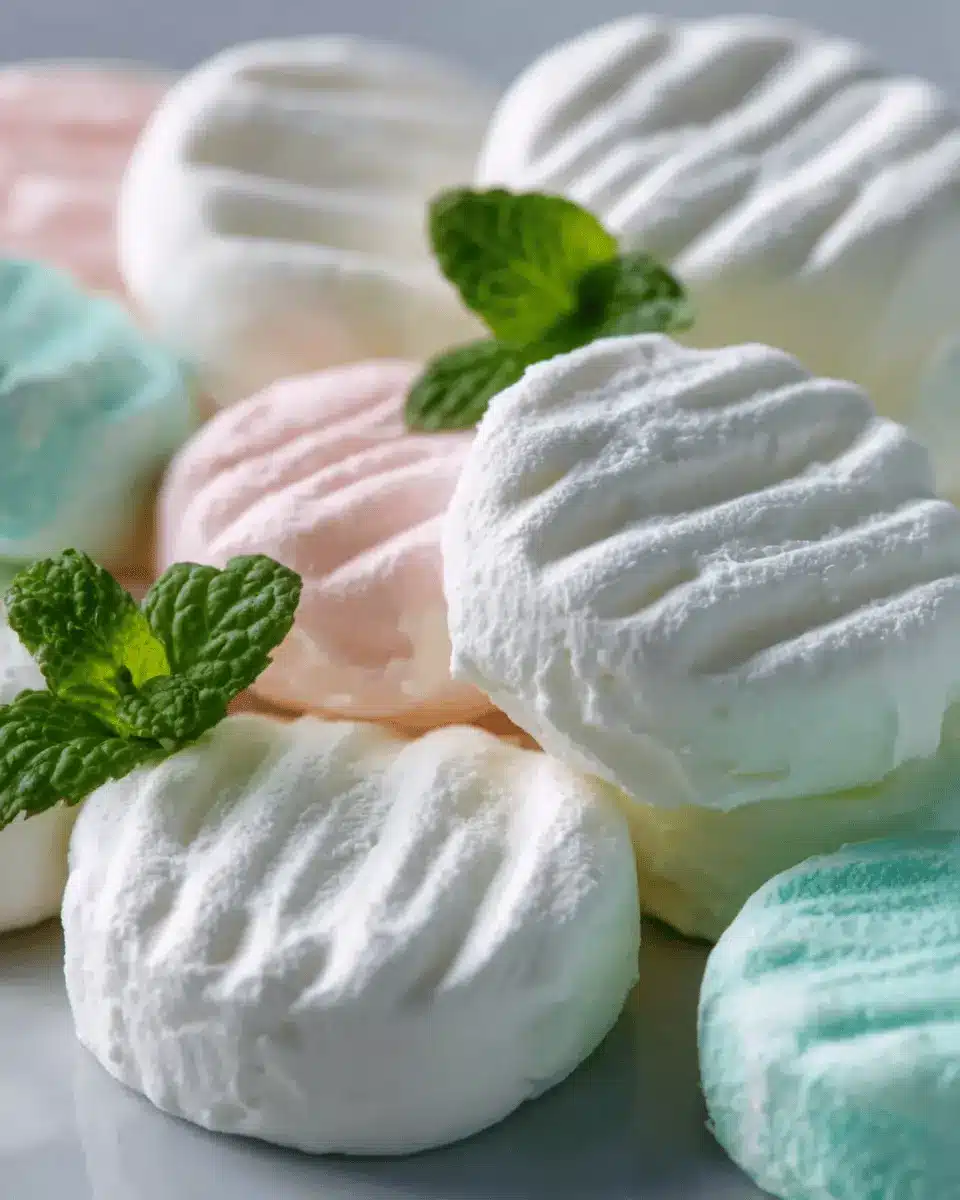
If you’re looking for a delightful treat that beautifully balances sweetness and a refreshing minty taste, cream cheese mints are a must-try! These small, melt-in-your-mouth confections are not just popular at gatherings, but they also make for a charming homemade gift. Their simple ingredients and easy preparation make them perfect for young professionals who want to whip up something special without spending hours in the kitchen.
What makes cream cheese mints so appealing? First, the cream cheese adds a smooth richness that elevates the candy beyond typical mint options. The subtle hint of peppermint is refreshing yet not overpowering. Plus, you can customize them with food coloring or fun shapes, making them an eye-catching addition to any dessert table.
Whether it's for a wedding, baby shower, or just a cozy night in, these mints bring joy and a lovely homemade touch. And if you want to dive deeper into the fascinating world of mints and confectionery, check out resources like the National Confectioners Association for inspiration and history! So grab your mixing bowl, and let’s dive into this easy and delightful recipe for cream cheese mints!
Ingredients for Cream Cheese Mints
Essential Ingredients for the Perfect Mint
Creating cream cheese mints that melt in your mouth starts with a few key ingredients. You’ll need:
- 4 oz (113 g) brick-style cream cheese, softened: This is essential for that rich, creamy texture.
- 1 tablespoon salted butter, softened: Adds a lovely depth of flavor.
- 4 cups (500 g) powdered sugar: This is what gives your mints structure and sweetness.
- ½ teaspoon peppermint extract: The star that brings that refreshing minty flavor.
- ⅛ teaspoon vanilla extract: A hint of vanilla perfectly balances the mint.
These essentials are the backbone of your recipe, creating a classic flavor that’s hard to resist!
Optional Ingredients for Customization
Want to take your cream cheese mints to the next level? Here are some optional ingredients for customization:
- Food coloring: Add a splash of color to match your occasion or mood. Think pastel pennies for spring—even a festive touch during the holidays!
- Flavored extracts: Consider almond or lemon for a twist on the classic mint flavor.
Getting creative with these ingredients not only personalizes your treats but also makes them pop! Discovering how these flavors blend is half the fun. For more tips on customizing your mints, check out this article on flavor pairing from The Flavor Bible.
Step-by-Step Preparation of Cream Cheese Mints
Making your own cream cheese mints is not only easy but also a delightful way to add a personal touch to your gatherings. Follow this step-by-step guide for a successful outcome!
Gather Your Ingredients and Tools
Before you dive into the mixing bowl, it's essential to have everything at hand. You'll need:
-
Ingredients:
-
4 oz (113 g) brick-style cream cheese, softened
-
1 tablespoon salted butter, softened
-
4 cups (500 g) powdered sugar, plus extra for dusting
-
½ teaspoon peppermint extract
-
⅛ teaspoon vanilla extract
-
Optional: food coloring of your choice
-
Tools:
-
Stand mixer or handheld electric mixer
-
Mixing bowl
-
Rubber spatula
-
Baking sheet lined with wax paper
Having these ready will streamline your process and make the experience enjoyable.
Mix the Cream Cheese and Butter
Using your mixer, blend the softened cream cheese and butter in a bowl until the mixture is smooth and fluffy—about 2 to 3 minutes on medium speed. This step is crucial because it creates a creamy base that will make your mints wonderfully rich.
Incorporate the Powdered Sugar
With the mixer set to low, gradually add in half of the powdered sugar (approximately 2 cups/250 g). This helps prevent a cloud of sugar from enveloping your kitchen! Mix until fully incorporated, ensuring no lumps remain.
Add Flavor Extracts
Next, mix in the peppermint and vanilla extracts. This combination adds an enchanting flavor to your mints. Taste the mixture if you're feeling adventurous—adjust the flavoring to your liking.
Achieve the Perfect Dough Consistency
Once the extracts are well mixed, gradually incorporate the rest of the powdered sugar while keeping the mixer speed low. The dough should be thick and pliable, similar to play-dough. If it feels sticky, adding more sugar will help you achieve the right consistency.
Color the Dough (Optional)
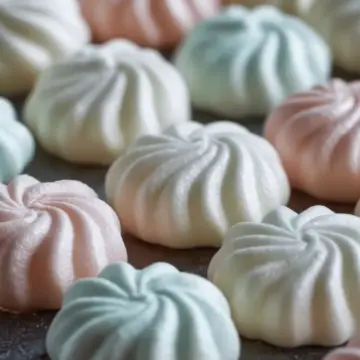
Here’s where your creative side can shine! If you'd like to add some visual appeal, divide your dough into portions and mix in your choice of food coloring until evenly tinted. This step can transform your cream cheese mints into a colorful treat for any occasion.
Form the Mints and Place on Baking Sheet
Take teaspoon-sized pieces of dough and roll them between your palms until smooth. Place them on the wax-paper–lined baking sheet. For a traditional touch, dust a fork with powdered sugar and gently press it onto each mint to create a nice imprint.
Allow Mints to Dry
Let the mints dry at room temperature for several hours, or until firm enough that they don’t squish when pressed. Proper drying is essential, as it contributes to that perfect minty texture.
By following these steps, you’ll have a delightful batch of cream cheese mints that are not only eye-catching but deliciously refreshing. Enjoy sharing them with friends and family! For more insights on flavor combinations, check out this comprehensive guide on flavor pairings. Happy mint-making!
Variations of Cream Cheese Mints
Seasonal Flavors
Get creative with cream cheese mints by experimenting with seasonal flavors! For a festive twist in winter, try adding a splash of almond extract or cinnamon for a delightful holiday treat. In spring, consider infusing your mints with fresh fruit flavors like raspberry or lemon, bringing a burst of brightness to any gathering. Not sure where to start? Check out this guide on seasonal flavor pairings to inspire your mint-making journey.
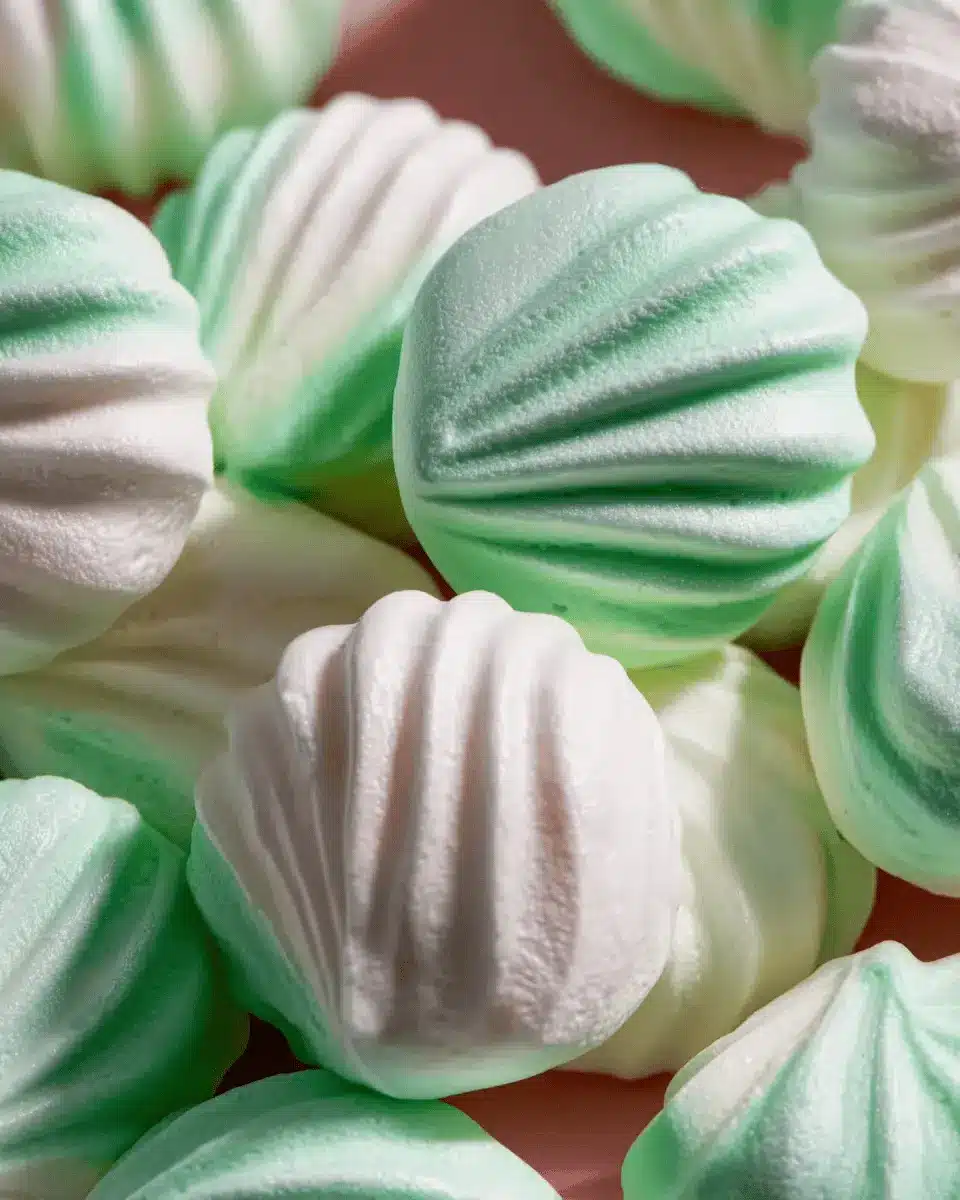
Unique Shapes and Colors
Why settle for basic mints when you can customize your presentation? Shape your cream cheese mints into fun designs using molds, or roll them into fanciful shapes like hearts or stars for special occasions. Don't forget the colors! A drop of food coloring can transform your mints into vibrant treats that match your party's theme. For tips on food coloring techniques, check out this comprehensive coloring guide that helps you achieve stunning results. Let your creativity shine!
Cooking Tips and Notes for Cream Cheese Mints
Common Mistakes to Avoid
When making cream cheese mints, one of the most common hiccups is using spreadable cream cheese instead of the vital brick-style. This subtle switch can affect the consistency and texture. Moreover, don’t rush the mixing—overmixing can lead to tough mints. And remember to avoid skipping the scraping down of the bowl; it's crucial for even flavor throughout!
Ingredient Tips for Best Results
For the best results, ensure your cream cheese and butter are fully softened. It's helpful to leave them out for about an hour before you start. If you're adding food coloring, gel types work better than liquid, preventing any alteration in dough texture. Don't forget, if your mixture feels sticky, just add a bit more powdered sugar for that perfect play-dough-like consistency.
For further insights on ingredient quality, check out resources like The Kitchn or Serious Eats.

Serving Suggestions for Cream Cheese Mints
Presentation Ideas for Serving
When it comes to serving cream cheese mints, your presentation can elevate them from a simple treat to a delightful centerpiece. Consider arranging mints in a decorative bowl or on a tiered serving plate for a classy touch. You can even garnish with fresh mint leaves or edible flowers to add a pop of color. For a festive occasion, use seasonal-themed platters that reflect your event’s vibe.
Pairing Cream Cheese Mints with Other Treats
Cream cheese mints make a fantastic addition to dessert trays alongside coffee or tea. Pair them with small chocolate truffles or bite-sized fruit tarts for a well-rounded dessert experience. Alternatively, they can complement savory snacks like chicken ham or turkey bacon appetizers, providing a refreshing contrast to savory flavors. You might also enjoy them with a light, fizzy soda or sparkling water—a perfect palate cleanser! For more pairing ideas, check out resources like Epicurious.
Time Breakdown for Cream Cheese Mints
Preparation Time
Preparing your cream cheese mints takes about 20 minutes. You'll enjoy whipping up the creamy mixture and shaping those delightful little bites!
Drying Time
Once shaped, let your mints dry at room temperature for several hours. This step is crucial for achieving that perfect, firm texture.
Total Time
In total, you're looking at a few hours of drying time plus the 20 minutes for preparation. So, plan for a fun half-day of mint-making magic!
Nutritional Facts about Cream Cheese Mints
When indulging in cream cheese mints, it's good to know what you're enjoying.
Calories
Each mint delivers approximately 41 calories, making them a sweet treat that fits nicely into a variety of dietary plans without going overboard.
Sugar Content
In these delightful mints, you'll find about 8 grams of sugar per piece. Keep this in mind if you're watching your sugar intake but don't worry—every bite is worth it for that refreshing flavor!
If you’re interested in more details about sugar intake, the USDA provides excellent resources for guidance on daily recommendations.
FAQs about Cream Cheese Mints
Can I make these mints ahead of time?
Absolutely! Cream cheese mints can be made a few days in advance, making them perfect for parties or holiday gatherings. Simply prepare them, let them dry, and store them in an airtight container until you're ready to serve. They'll retain their flavor and texture surprisingly well!
How should I store cream cheese mints?
To keep your mints fresh, store them in a sealed container, preferably in the fridge. Layer them with wax paper to prevent sticking. This method keeps them from getting too soft and maintains that delightful creamy consistency. For best results, consume them within two weeks.
What variations do you recommend for flavor?
The beauty of cream cheese mints lies in their versatility! While peppermint is classic, feel free to experiment with flavors like chocolate mint, cinnamon, or even fruit extracts. Just adjust the quantity accordingly, and don’t hesitate to add some vibrant food coloring to personalize your treats. For more inspiration, check out BuzzFeed’s guide on flavor variations!
Conclusion on Cream Cheese Mints
In summary, cream cheese mints are a delightful treat that’s perfect for any occasion. Not only are they easy to make, but they also provide a refreshing burst of flavor. Get creative with colors and shapes, and enjoy sharing these homemade mints with friends and family. Give them a try!
Cream Cheese Mints: Easy Delightful Treats for Any Occasion
Equipment
- Stand Mixer
- Baking sheet
- wax paper
Ingredients
- 4 oz brick-style cream cheese softened
- 1 tablespoon salted butter softened
- 4 cups powdered sugar plus more for dusting
- ½ teaspoon peppermint extract
- ⅛ teaspoon vanilla extract
- food coloring of your choice (optional)
Instructions
- Using a stand mixer or handheld electric mixer, blend the softened cream cheese and butter until the mixture becomes smooth and fluffy.
- With the mixer set on low, gradually add in half of the powdered sugar (about 2 cups/250 g), mixing until it’s fully incorporated.
- Mix in the peppermint and vanilla extracts, ensuring the flavor is fully incorporated throughout the dough.
- Gradually incorporate the rest of the powdered sugar, keeping the mixer on low to avoid overmixing.
- Be sure to stop occasionally and scrape down the bowl to ensure everything blends evenly.
- To color your mints, portion the dough and mix in food coloring until each batch is evenly tinted.
- Roll teaspoon-sized pieces between your palms until smooth, then place them on a wax-paper-lined baking sheet. For a traditional finish, dust a fork with powdered sugar and gently press it onto each mint to leave a decorative imprint.
- Let the mints dry at room temperature for several hours—until firm enough that they don’t squish when pressed.
- After drying, store the mints in a sealed container, separating each layer with wax paper, and keep them chilled until serving.


Leave a Reply