
Introduction to Danish Butter Cookies
What makes Danish Butter Cookies a beloved treat?
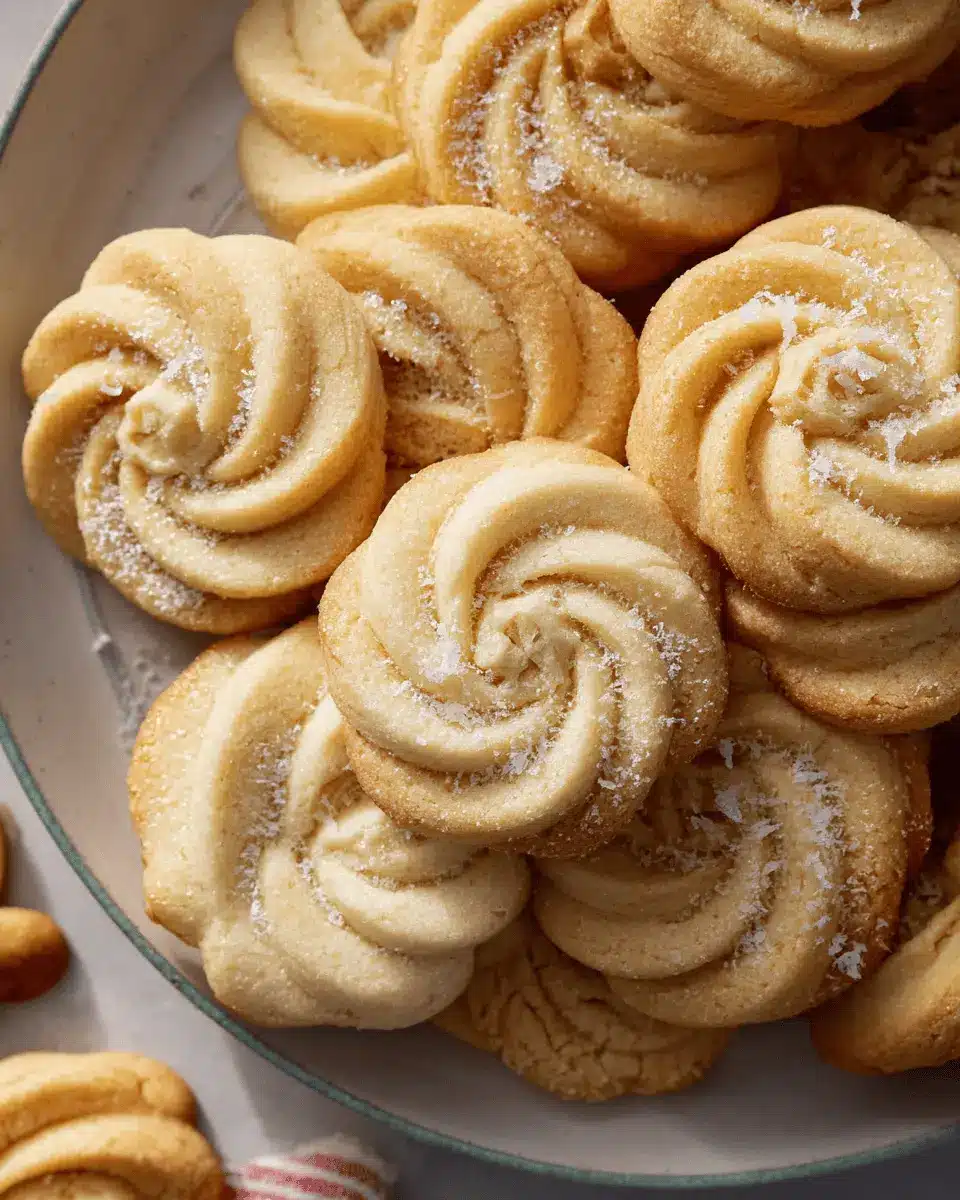
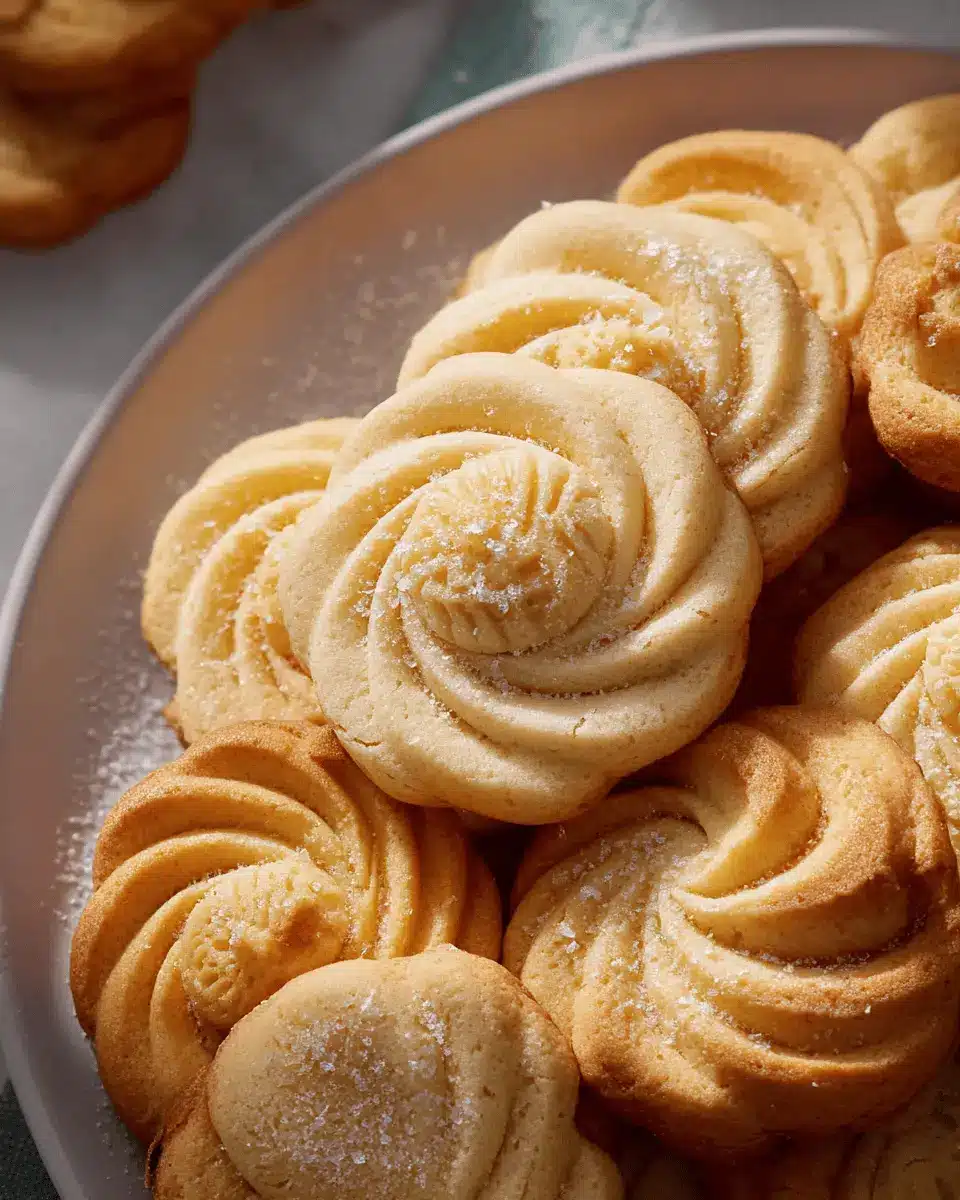
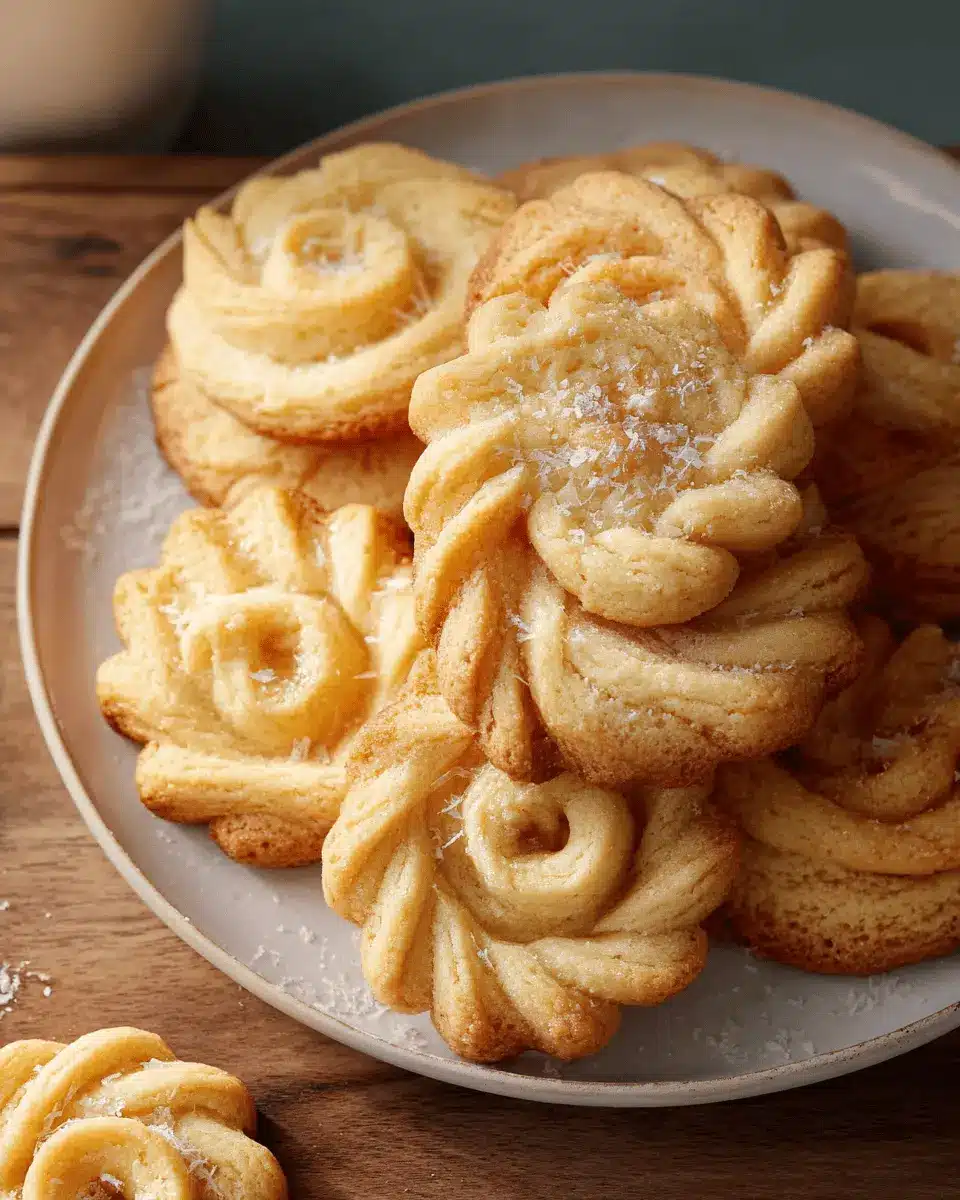
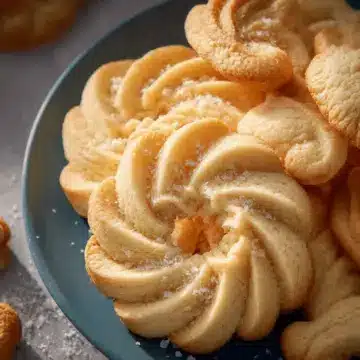
Ah, Danish Butter Cookies! These delightful treats are more than just cookies; they're a piece of cultural heritage enjoyed worldwide, especially during festive seasons. What truly sets Danish Butter Cookies apart is their rich and buttery flavor combined with a melt-in-your-mouth texture. Made with high-quality European butter, they boast a simple yet elegant recipe that highlights the importance of quality ingredients.
But why are they so beloved? For many, these cookies evoke warm memories of holidays spent with family and friends, often served in decorative tin cans passed around the table. The sweet aroma wafting through the house can instantly transport you to a cozy winter evening. If you’d like to learn more about their history, check out this fascinating article from The Spruce Eats.
What’s not to love? With their versatility in shape—be it stars, circles, or intricate designs—Danish Butter Cookies can appeal to various tastes while still maintaining their charming simplicity. They’re perfect for sharing, gifting, or enjoying with a cup of tea or coffee. So, let’s dive into making these delightful cookies together. Trust me, once you take your first bite, you’ll understand their enduring popularity!
Ingredients for Danish Butter Cookies
Baking Danish Butter Cookies is a delightful experience, and gathering the right ingredients is essential for achieving that rich, buttery flavor. Here’s a list of what you’ll need to get started:
- 1 cup (227 g) European salted butter – Ensure it’s at room temperature for easy mixing.
- ½ cup (100 g) granulated sugar – Sweetness is key, and this serves as the base.
- ⅛ teaspoon salt – A pinch will enhance the sweetness of the cookies.
- 2 egg yolks – They add richness and help with texture.
- 2 teaspoons (10 g) vanilla extract – For that lovely aroma and taste.
- 1 tablespoon (15 g) whole milk (or more as needed) – It helps soften the dough.
- 2 cups (220 g) all-purpose flour – Provides the structure.
- ½ cup (50 g) cake flour – This gives the cookies a delightful tenderness.
- Coarse sugar – For sprinkling and decorating.
Each ingredient plays a unique role, contributing to the cookies' overall flavor and texture. If you're interested in purchasing any of these ingredients, many can be found on Amazon. Happy baking!
Step-by-step Preparation of Danish Butter Cookies
Gather and Prepare Your Ingredients
Before diving into your baking adventure, it’s crucial to gather and prep all your ingredients. For these Danish Butter Cookies, you'll need:
- 1 cup (227 g) European salted butter, softened to room temperature
- ½ cup (100 g) granulated sugar
- ⅛ teaspoon salt
- 2 egg yolks
- 2 teaspoons (10 g) vanilla extract
- 1 tablespoon (15 g) whole milk (you can add more if needed)
- 2 cups (220 g) all-purpose flour
- ½ cup (50 g) cake flour
- Coarse sugar for decorating
Make sure your butter and eggs are at room temperature; this will help ensure they blend together smoothly. A great tip? Let the butter sit out for about 45 minutes before you start.
Cream the Butter and Sugar
In your stand mixer, fitted with a paddle attachment, cream the softened butter on medium speed until it becomes smooth and fluffy. As you keep mixing, gradually add the granulated sugar and salt. Cream until the mixture is light and airy. This process typically takes a few minutes, but be patient! Achieving that fluffy texture is key to the perfect Danish Butter Cookies.
Incorporate Eggs, Vanilla, and Milk
Continuing on medium speed, add the egg yolks one at a time, followed by the vanilla extract and milk. This is the moment where things start to come together beautifully! Make sure to scrape down the sides of the bowl to ensure everything is thoroughly combined.
Combine Your Dry Ingredients
In a separate mixing bowl, whisk together the all-purpose and cake flour. Gradually add this dry mixture to your butter mixture in two additions. Be careful not to overmix; check for any bits of flour hiding at the bottom of the bowl as you go. If the mixture feels too thick to pipe, adding that extra tablespoon of milk will soften it just right.
Pipe Your Cookie Shapes
Now comes the fun part: shaping your cookies! Use a large piping bag fitted with a ½-inch open star tip. Pipe the dough into various fun shapes like circles, rosettes, or pretzels onto your lined baking sheet, making sure to space them a couple of inches apart. Don’t forget to give them a sprinkle of coarse sugar or festive toppings if you want to jazz them up!
Chill Before Baking
Pop the piped cookies into the refrigerator and chill them for about 20–30 minutes. This is essential to help them maintain their shape while baking.
Preheat the Oven and Bake
Preheat your oven to 350°F (175°C). Once ready, carefully place your baking sheet in the oven and bake for 10-15 minutes. Keep a close eye on your cookies—they should be just lightly golden around the edges. Let them cool on the baking sheet for a few minutes before transferring them to a wire rack.
And there you have it! Your Danish Butter Cookies are ready to delight friends and family. Enjoy your baking journey—it’s worth every moment!
Variations on Danish Butter Cookies
Chocolate-dipped Danish Butter Cookies
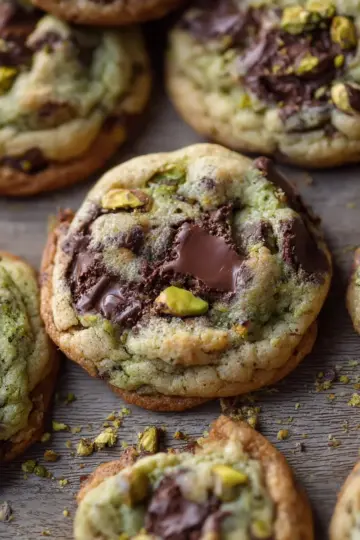
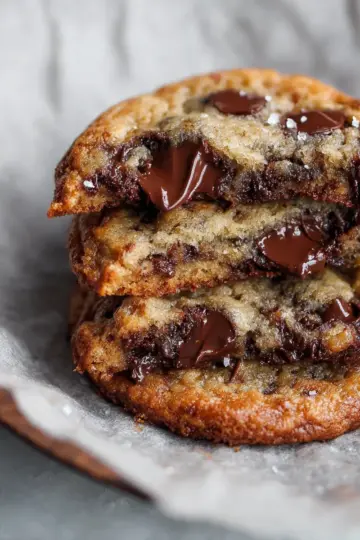
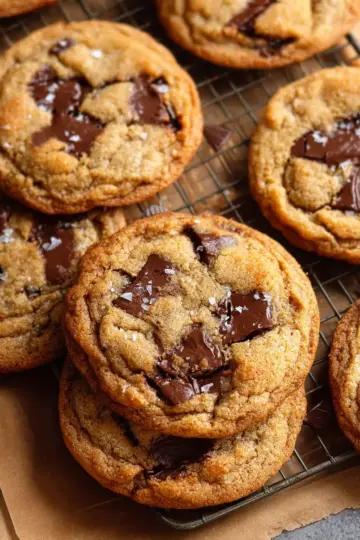
Elevate your Danish Butter Cookies game by dipping them in rich, melted chocolate! Simply melt your favorite chocolate—dark, milk, or even white—and dip half of each cookie into it. Allow the excess chocolate to drip off before placing the cookies on a parchment-lined tray to set. For added flair, consider sprinkling some chopped nuts or sea salt on top while the chocolate is still wet. This variation offers a delightful contrast between the buttery cookie and the sumptuous chocolate.
Festive Sprinkles and Flavors for the Holidays
Why stick to plain when you can sprinkle a little joy? Add festive sprinkles or colored sugar to your Danish Butter Cookies before baking for a cheerful holiday touch. You might even experiment with flavors by mixing in orange zest or almond extract for a unique twist. Seasonal spices like cinnamon or nutmeg can also be tantalizing additions, making your cookies the star of any holiday gathering. Check out this resource for more inspiring ideas!
Cooking Tips and Notes for Danish Butter Cookies
When making Danish Butter Cookies, consider these handy tips to achieve the best results:
-
Butter Matters: Use room temperature butter to ensure easy mixing and a smooth batter. It should feel cool to the touch but still soft enough to leave a gentle impression when pressed.
-
Proper Egg Temperature: Let your eggs come to room temperature to promote even baking. If you’re in a rush, a quick immersion in warm water for five minutes does wonders.
-
Beware of Overmixing: Overmixing develops gluten, which can lead to a tougher texture. Remember, gentle mixing will yield those melt-in-your-mouth cookies you crave.
-
Measure Accurately: Flour measurement is crucial! Using a kitchen scale yields the best accuracy, while the spoon-and-level method can prevent adding too much.
These simple yet effective notes will elevate your Danish Butter Cookies game and ensure your baking sessions are a success. Happy baking!
Serving Suggestions for Danish Butter Cookies
Danish Butter Cookies are perfect for any occasion, whether it's a cozy evening at home or a festive gathering. Here are some delightful serving ideas to elevate your cookies:
-
Classic Pairing: Serve with a warm cup of coffee or tea for a comforting afternoon treat. The rich flavor of butter cookies beautifully complements the warmth of your beverage.
-
Festive Touch: For celebrations, arrange your Danish Butter Cookies on a decorative platter and dust them with powdered sugar. Adding a few holiday-themed sprinkles can infuse a festive spirit!
-
Gourmet Options: Consider pairing with fresh fruit, such as strawberries or raspberries, for a refreshing contrast. You might also offer a rich chocolate dip on the side for an extra indulgence.
Feel free to get creative—these cookies are versatile enough to be enjoyed in many ways!
Time Breakdown for Danish Butter Cookies
Preparation time
Getting ready to make your Danish Butter Cookies takes about 30 minutes. It includes gathering and measuring your ingredients, creaming the butter and sugar, and chilling the piped dough.
Baking time
Once you're prepped, these cookies need about 10-15 minutes in the oven, depending on your oven's quirks. Just keep an eye on them!
Total time
In total, you’re looking at around 50-60 minutes from start to finish. Perfect for an afternoon treat or to impress guests at your next gathering!
For a deeper dive into the joys of baking and making the best of your Danish Butter Cookies, check out this guide on common baking mistakes to help you avoid pitfalls and achieve perfectly crispy cookies!
Nutritional Facts for Danish Butter Cookies
When indulging in delightful Danish Butter Cookies, it’s great to know their nutritional profile! Here’s a quick breakdown:
Calories
Each cookie packs about 374 calories, making them a perfect treat for satisfying your sweet cravings without overdoing it.
Protein
You’ll get around 11 grams of protein from a serving, which can be a nice boost for your day, especially if paired with a glass of milk!
Sodium
With 178 mg of sodium, these cookies are a delightful treat that won’t send your sodium levels soaring. Enjoy them guilt-free as part of a balanced diet.
For more on maintaining a balanced diet while enjoying treats like Danish Butter Cookies, check out the USDA Dietary Guidelines.
FAQs about Danish Butter Cookies
How can I ensure my cookies are perfectly baked?
To achieve perfectly baked Danish Butter Cookies, keep an eye on them as they bake. Position your baking rack in the middle of the oven and monitor the cookies closely. Bake until the edges turn just lightly golden—this ensures a melt-in-your-mouth texture without overbaking. Remember, every oven is different, so baking times might vary slightly.
What’s the best way to store Danish Butter Cookies?
For optimal freshness, store your Danish Butter Cookies in an airtight container at room temperature for up to five days. If you need to keep them longer, consider freezing them. You can also wrap them in plastic wrap and place them in a freezer-safe container, where they'll hold up for up to three months.
Can I freeze Danish Butter Cookie dough?
Absolutely! Freezing Danish Butter Cookie dough is a fantastic way to prepare in advance. Shape your dough into rosettes or any desired form, then freeze the shaped cookies on a baking sheet. Once frozen, you can transfer them to an airtight container for up to three months. Bake straight from the freezer—just add a few minutes to the baking time!
Conclusion on Danish Butter Cookies
In conclusion, Danish Butter Cookies are a delightful treat perfect for any occasion. With their rich buttery flavor and crisp texture, these cookies are not only easy to make but also a pleasure to share. So gather your ingredients, and enjoy a fun baking experience!
Danish Butter Cookies
Equipment
- Stand Mixer
- Piping bag
- Baking Sheets
- Parchment paper
Ingredients
Butter and Sugars
- 1 cup European salted butter room temperature
- 0.5 cup granulated sugar
- 0.125 teaspoon salt
Wet Ingredients
- 2 egg yolks
- 2 teaspoons vanilla extract
- 1 tablespoon whole milk or more to soften
Flours
- 2 cups all-purpose flour
- 0.5 cup cake flour
Decorations
- coarse sugar for decorating
Instructions
Preparation
- Make space in the refrigerator and prep the baking mats.
- Line two baking sheets with parchment paper or a silicone baking mat.
Mixing
- In the bowl of a stand mixer fitted with a paddle attachment, cream butter on medium speed until smooth.
- With the mixer still running on low, slowly add in sugar and salt. Mix on medium speed until light and fluffy.
- While mixing, add egg yolks, vanilla, and milk. Continue to mix until well combined.
- In a medium bowl, whisk the flour and cake flour. Add flour mixture to mixer in two additions, mixing on low until combined.
- If the batter is too thick to pipe, add another tablespoon of milk to soften.
Piping and Baking
- Transfer cookie batter to a piping bag with a ½-inch open star tip. Pipe 2-inch cookies on a prepared baking sheet.
- Space cookies at least 2-inches apart and chill in the refrigerator for 20-30 minutes.
- Preheat oven to 350°F with the baking rack in the middle.
- Bake for 10-15 minutes or until the edges are lightly golden brown. Let cool on the baking sheet for about 5 minutes.
Leave a Reply