
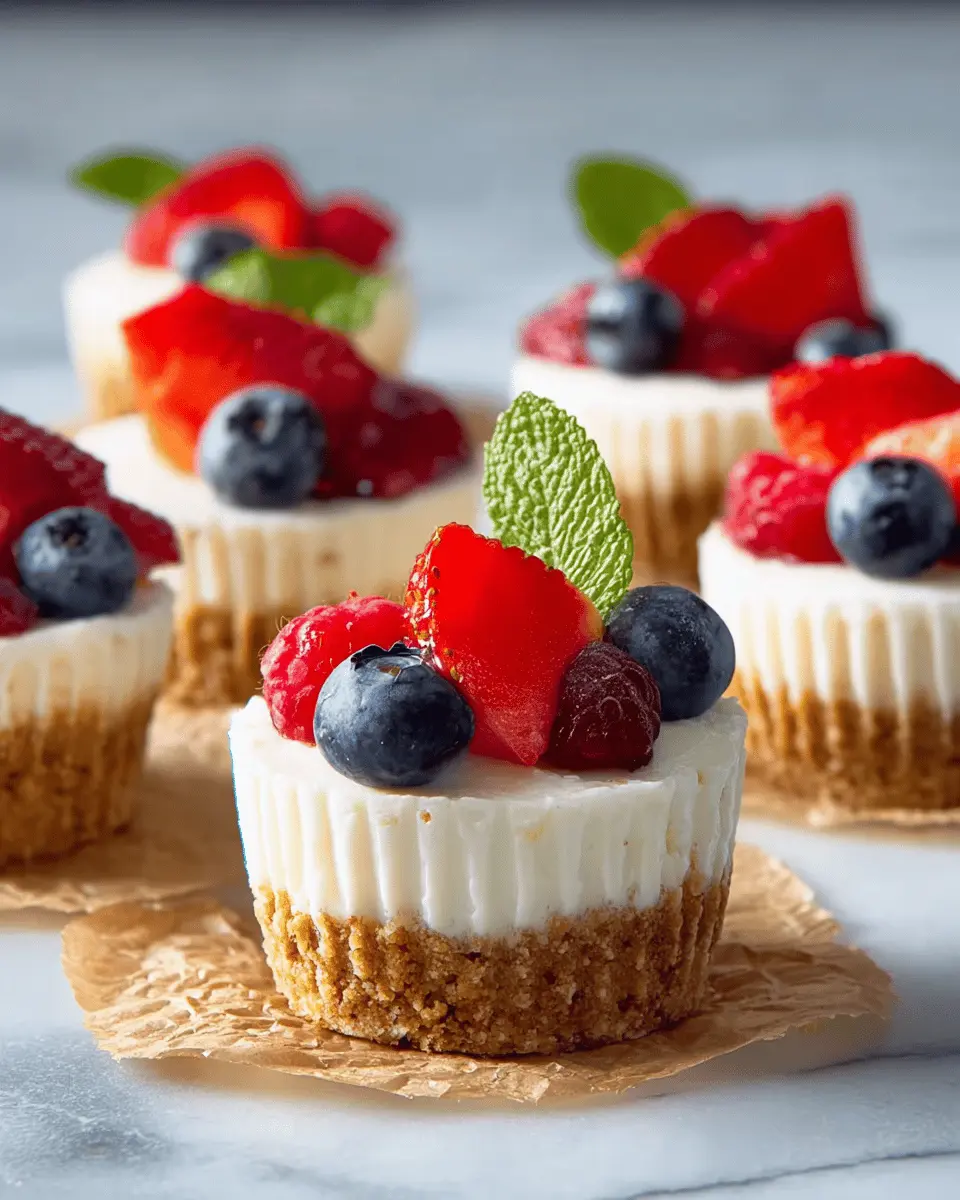
Introduction to Mini No-Bake Cheesecakes
When it comes to effortless desserts, mini no-bake cheesecakes take the cake (or should we say, cheesecakes)! These delightful treats are perfect for those who crave a creamy, decadent experience without turning on the oven. They're quick to whip up and even better, can be made in advance – ideal for busy weeknights or spontaneous gatherings.
Why Choose Mini No-Bake Cheesecakes?
Opting for mini versions means you can indulge your sweet tooth without the overwhelming guilt of a large slice. The manageable size allows you to savor every bite – perfect for sharing, but hey, no judgment if you want to keep them all to yourself! Additionally, the no-bake aspect not only saves you from the heat of the oven but also preserves the airy texture of cream, making every mouthful light yet luscious.
These cheesecakes can be customized to your heart's content. Top them with fresh berries, a drizzle of your favorite syrup, or a layer of indulgent pie filling, allowing you to express your culinary creativity. If you're looking for a refreshing end to a summer meal or a sweet treat to brighten your winter days, mini no-bake cheesecakes are your answer. Plus, they make any gathering feel special!
For more inspiration on desserts, you might want to check out sites like Taste of Home for additional sweet ideas. Happy baking!
Ingredients for Mini No-Bake Cheesecakes
Making mini no-bake cheesecakes is both fun and rewarding! Here’s a quick overview of the essential ingredients you’ll need to whip up these delightful treats.
Essential ingredients for the crust
The foundation of any good cheesecake is its crust. For our mini versions, you'll need:
- 1 cup graham cracker crumbs: This provides that perfect crunchy base.
- 2 tablespoons brown sugar: A little sweetness adds depth to the flavor.
- ¼ cup butter: Melted butter helps bind everything together for a delicious, sturdy crust.
To make things easier, use a food processor to blitz the graham crackers if you have one! You can also check out King Arthur Baking for tips on achieving the best texture.
Key ingredients for the filling
Now, let’s talk about that rich and creamy filling that makes these cheesecakes irresistible. Gather these ingredients:
- 8 ounces cream cheese: Ensure it’s softened for a smooth texture.
- ½ cup heavy whipping cream: This will lend airiness to the mixture.
- ⅓ cup powdered sugar: This gives just the right touch of sweetness.
- 2 tablespoons sour cream: Adds a tangy flavor.
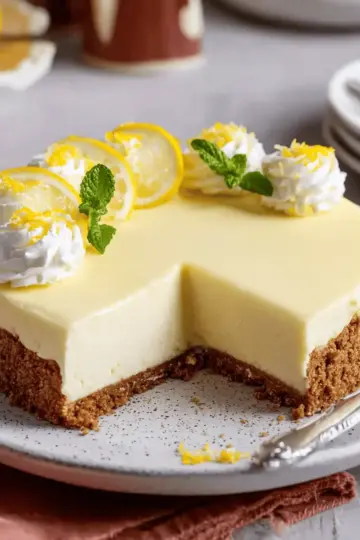
- 2 teaspoons lemon juice & 1 teaspoon vanilla extract: These add a beautiful brightness and flavor depth.
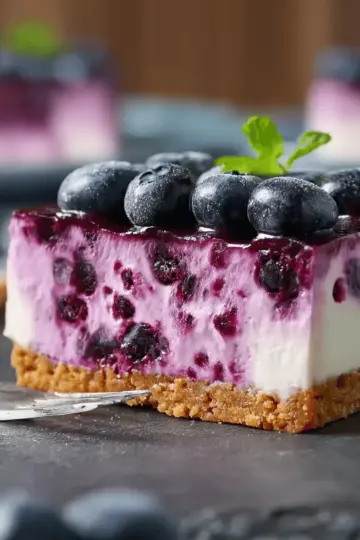
- ¾ cup raspberries: Perfect for folding in or as a topping!
These components blend beautifully, creating a rich and creamy filling that complements the crust perfectly. For step-by-step guidance, stick to the full recipe for the best results!
Step-by-step preparation for Mini No-Bake Cheesecakes
Getting ready to whip up some delicious mini no-bake cheesecakes? Great choice! These bite-sized treats are perfect for entertaining or satisfying your sweet tooth without the hassle of baking. Follow this step-by-step guide to ensure your cheesecakes come out perfectly every time!
Gather your ingredients
First things first, let’s gather everything you’ll need. It’s always easier to start cooking when you have a well-stocked kitchen. For your mini no-bake cheesecakes, you’ll need:
-
Crust:
-
1 cup graham cracker crumbs
-
2 tablespoons brown sugar
-
¼ cup melted butter
-
Filling:
-
½ cup heavy whipping cream
-
8 ounces cream cheese (softened)
-
⅓ cup powdered sugar
-
2 tablespoons sour cream
-
2 teaspoons lemon juice
-
1 teaspoon vanilla extract
-
¾ cup raspberries (or your choice of fruit)
Prepare the graham cracker crust
In a small mixing bowl, combine the graham cracker crumbs, brown sugar, and melted butter. Mix until all the crumbs are evenly coated; this will give your crust that delightful crunch! Using a rounded tablespoon, press the mixture firmly into the bottom of a lined muffin pan. This creates a solid base for your mini no-bake cheesecakes.
Freeze the crust for optimal texture
Once your crusts are in place, pop the muffin pan into the freezer. Let them chill for about 15 to 20 minutes. Freezing helps the crust firm up beautifully, making it easier to cut or eat later. While you’re waiting, you can start preparing the filling.
Make the airy cheesecake filling
In a medium bowl, beat the heavy whipping cream with an electric mixer until stiff peaks form; this usually takes about 3 to 5 minutes. In a separate large bowl, blend the softened cream cheese and powdered sugar on medium-high speed until smooth and creamy. Then, add the sour cream, lemon juice, and vanilla extract, mixing until everything is well combined. Gently fold in the whipped cream you set aside earlier—you want to keep that airy texture.
Pipe the filling into the crusts
Now, it’s time for some fun! Transfer the airy cheesecake filling into a resealable plastic bag and snip off a corner, creating a makeshift piping bag. This makes it easy to fill each crust evenly. Pipe about 2 ½ tablespoons of the filling into each muffin cup, smoothing the tops as desired.
Chill and set the cheesecakes
Cover the muffin pan with plastic wrap and refrigerate the cheesecakes for at least 3 hours. This will allow them to set completely. Feeling impatient? You can even keep them in the fridge for up to 5 days! Just don’t forget to top them with fresh berries or syrup of your choice before serving.
By following these easy steps, you’ll have irresistible mini no-bake cheesecakes that everyone will love. Enjoy your culinary creation! For additional dessert inspiration, check out BBC Good Food or Serious Eats.
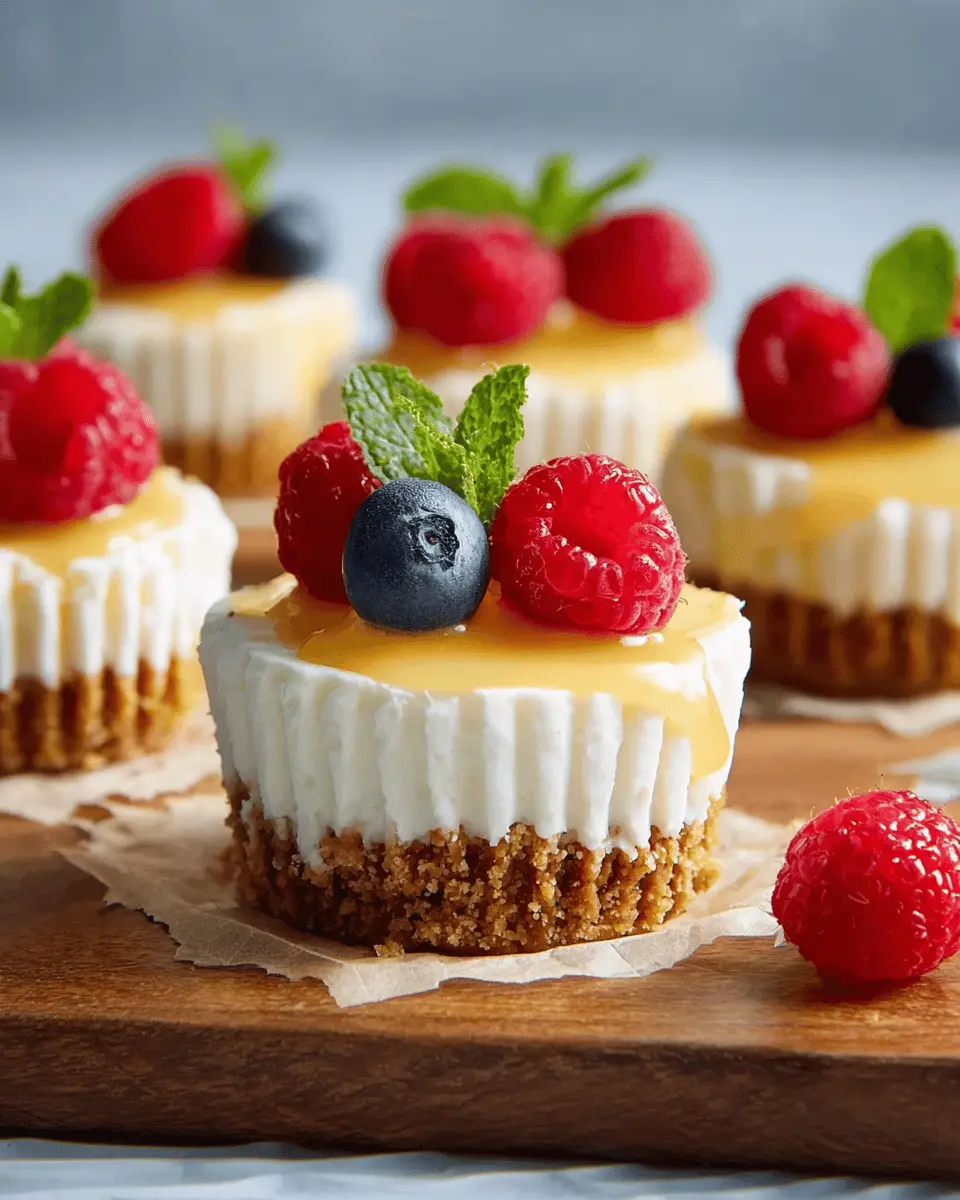
Variations on Mini No-Bake Cheesecakes
When it comes to mini no-bake cheesecakes, the fun truly begins with the toppings and flavors! Explore various options to keep things fresh and exciting:
Seasonal Fruit Toppings
Embrace the bounty of each season by selecting fresh fruits. In spring, try strawberries or cherries; summer can shine with blueberries or peaches; and autumn welcomes apples or pears. Topping your cheesecakes with seasonal fruit not only adds vibrant color but also enhances flavor profiles - and who doesn’t love a little natural sweetness?
Alternative Flavor Additions
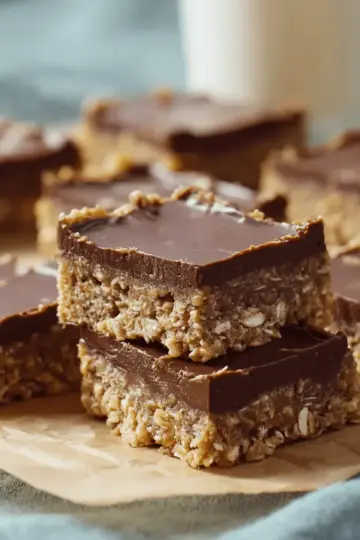
For a twist on traditional flavors, consider mixing in ingredients like melted chocolate, peanut butter, or even caramel swirls into the filling. Want a little zing? A touch of orange zest or a splash of your favorite flavored extract can add a delightful surprise. Experiment with these combinations to discover your perfect mini no-bake cheesecake masterpiece!
For further inspiration, check out this article on creative cheesecake recipes. These variations will surely lead you to cheesecakes that your friends and family will rave about!
Cooking tips and notes for Mini No-Bake Cheesecakes
Tips for achieving perfect texture
To create the best mini no-bake cheesecakes, start by ensuring your cream cheese is at room temperature for a smoother filling. Whipping the cream until stiff peaks form is essential; it's the key to achieving that light, airy texture. When folding in the whipped cream, be gentle to maintain volume. Adjust the tanginess with your favorite fresh fruits or a splash of lemon juice!
Common pitfalls to avoid
Avoid over-mixing the cream cheese mixture, as it can lead to a dense filling. Make sure not to skip chilling the cheesecakes for the full recommended time; this helps them hold their shape. Lastly, be careful with your crust—if it’s too crumbly, add a touch more melted butter to bind the crumbs better. For more tips on preventing common baking mistakes, check out this helpful guide for a deeper dive!
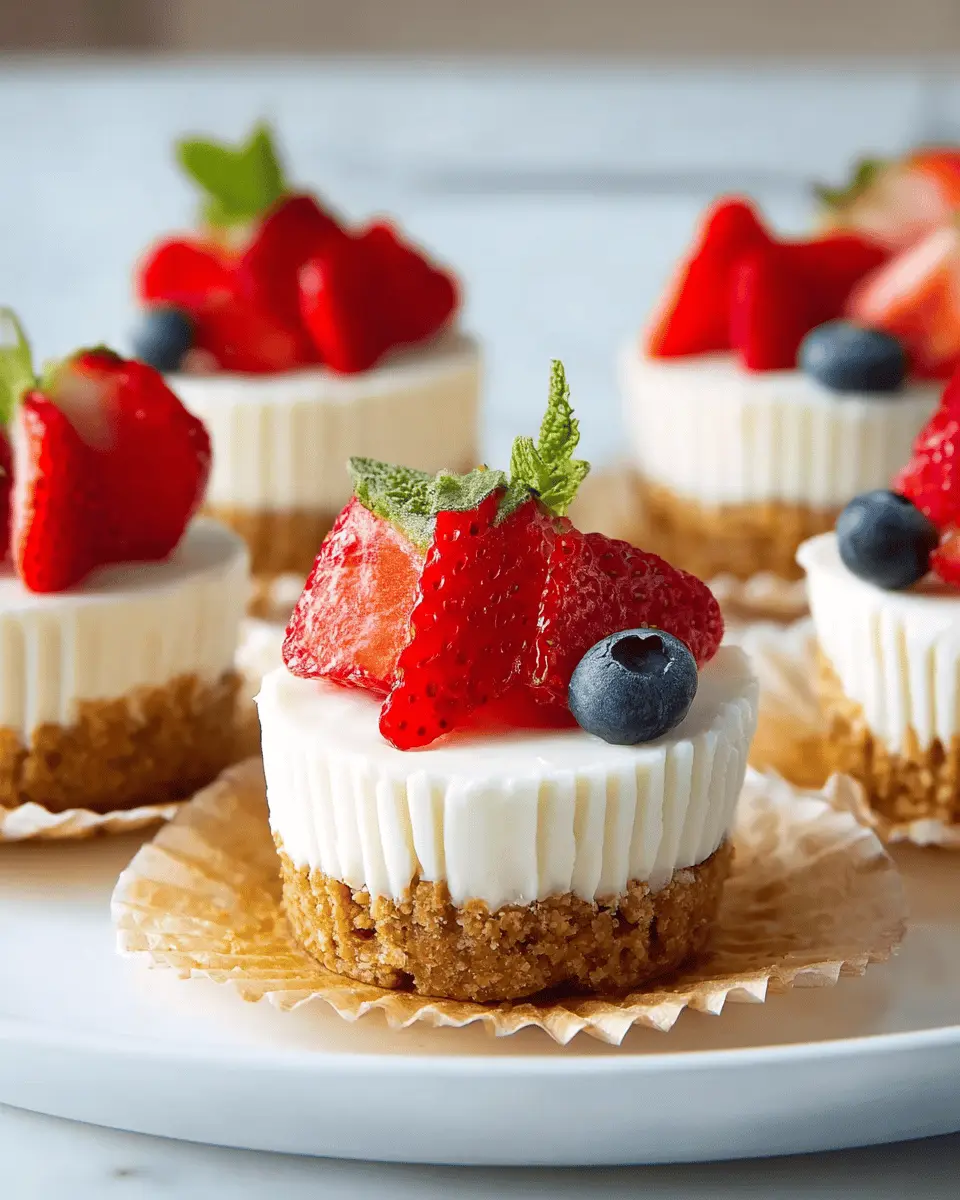
Serving Suggestions for Mini No-Bake Cheesecakes
Ideal Toppings and Accompaniments
These mini no-bake cheesecakes shine with a variety of toppings! Consider fresh fruit like strawberries or blueberries for a burst of color and flavor. A drizzle of chocolate syrup or caramel adds a touch of decadence, while pie fillings, such as cherry or blueberry, can transform your mini dessert into a showstopper. For crunch, sprinkle some crushed nuts or toffee bits. Whipped cream is always a classic choice—light and fluffy!
Serving Ideas for Special Occasions
Elevate your mini no-bake cheesecakes for gatherings by presenting them on a tiered stand, creating an elegant dessert display. For parties, consider themed toppings; think red, white, and blue fruit for a patriotic celebration! You can also personalize each cheesecake with a guest's name on a cute label. Whether it’s a birthday or an anniversary, these little treats are sure to impress. Don't forget to pair them with refreshing beverages like iced tea or lemonade to complement their creamy richness.
Time breakdown for Mini No-Bake Cheesecakes
Preparation time
Making your mini no-bake cheesecakes is a breeze, requiring only 30 minutes for prep. This includes gathering ingredients and mixing your crust and filling.
Freezing time
You’ll want to freeze the crusts for about 15 minutes. This little step ensures a sturdier base for those creamy toppings later on!
Chilling time
Once filled, it’s crucial to let your cheesecakes chill for at least 3 hours in the fridge. This allows the flavors to meld beautifully—a perfect treat for any gathering!
For more inspiration, consider checking out publications like Bon Appétit or Food Network for creative serving ideas and recipe variations!
Nutritional Facts for Mini No-Bake Cheesecakes
Calories per serving
These delightful mini no-bake cheesecakes come in at approximately 192 calories per serving. They make for a satisfying dessert that won’t completely derail your healthier eating habits, perfect for indulging without guilt.
Main Nutritional Components
When it comes to the nutritional profile, here’s what you can expect per serving:
- Total Fat: 15g (Saturated Fat: 9g)
- Cholesterol: 42mg
- Sodium: 126mg
- Total Carbohydrate: 13g (Dietary Fiber: 1g; Total Sugars: 8g)
- Protein: 2g
- Calcium: 37mg
- Vitamin C: 2mg
These cheesecakes combine creamy textures with a sweet flavor, thanks to ingredients like cream cheese and fresh raspberries. Consider topping them with a touch of honey or agave syrup for an added twist. Curious about how these ingredients benefit your health? Check out resources like the USDA FoodData Central for a deeper dive into what you’re eating.
FAQs about Mini No-Bake Cheesecakes
How long can I store mini cheesecakes?
You can enjoy your mini no-bake cheesecakes for up to 5 days in the refrigerator. Make sure they are covered to preserve their delightful creamy texture and flavor. If you want to keep them longer, consider freezing them! Just remember to let them thaw in the fridge before indulging.
Can I make them gluten-free?
Absolutely! To make your mini cheesecakes gluten-free, simply substitute the graham cracker crumbs in the crust with gluten-free alternatives, such as almond flour or gluten-free cookie crumbs. There are plenty of options available that can easily provide that delightful crunch you love.
What can I use instead of cream cheese?
If you’re looking for a cream cheese alternative, consider using Greek yogurt for a creamy texture, or even silken tofu for a dairy-free option. Both alternatives will give your mini no-bake cheesecakes a unique twist while still keeping them delicious. For inspiration, check out this guide for more substitutes!
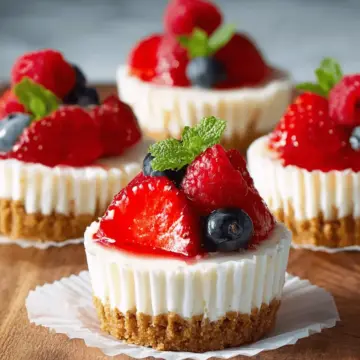
Conclusion on Mini No-Bake Cheesecakes
There you have it—delicious mini no-bake cheesecakes that are easy to whip up and perfect for any gathering! Feel free to get creative with toppings like fresh fruit or chocolate drizzle. These delightful bites are sure to impress your friends and family. Happy baking!
Mini No-Bake Cheesecakes: Easy & Indulgent Treats for Everyone
Equipment
- Muffin pan
- Mixing bowls
- electric mixer
- Plastic bag
Ingredients
Crust
- 1 cup graham cracker crumbs
- 2 tablespoons brown sugar
- ¼ cup butter melted
Filling
- ½ cup heavy whipping cream
- 8 ounces cream cheese softened
- ⅓ cup powdered sugar
- 2 tablespoons sour cream
- 2 teaspoons lemon juice
- 1 teaspoon vanilla extract
- ¾ cup raspberries for topping
Instructions
Preparation
- Gather all ingredients. Line a 12-cup muffin pan with muffin liners.
- For crust, combine graham cracker crumbs, brown sugar, and melted butter in a small bowl until evenly combined.
- Press 1 rounded tablespoon of crumb mixture evenly into the bottom of the prepared muffin pan. Freeze crusts until set while you prepare the filling, 15 to 20 minutes.
- For the filling, beat the cold whipping cream in a medium bowl until stiff peaks form, 3 to 5 minutes. Set aside.
- Beat cream cheese and sugar in a large bowl on medium-high speed until smooth and creamy, about 2 minutes.
- Add the sour cream, lemon juice, and vanilla extract to the cream cheese mixture. Beat until combined, about 1 minute.
- Fold in the reserved whipped cream, until just combined.
- Place the filling in a resealable 1 quart plastic bag. Snip off the corner of the bag to create a ½-inch opening.
- Pipe into prepared muffin pans, using about 2 ½ tablespoons of mixture per cup. Smooth the tops as desired.
- Refrigerate, covered, for 3 hours or up to 5 days. Top with fresh berries or toppings of your choice.
- Unwrap and enjoy!
Leave a Reply