
Introduction to Mini Pumpkin Pies
Why Mini Pumpkin Pies Are Perfect for Young Professionals
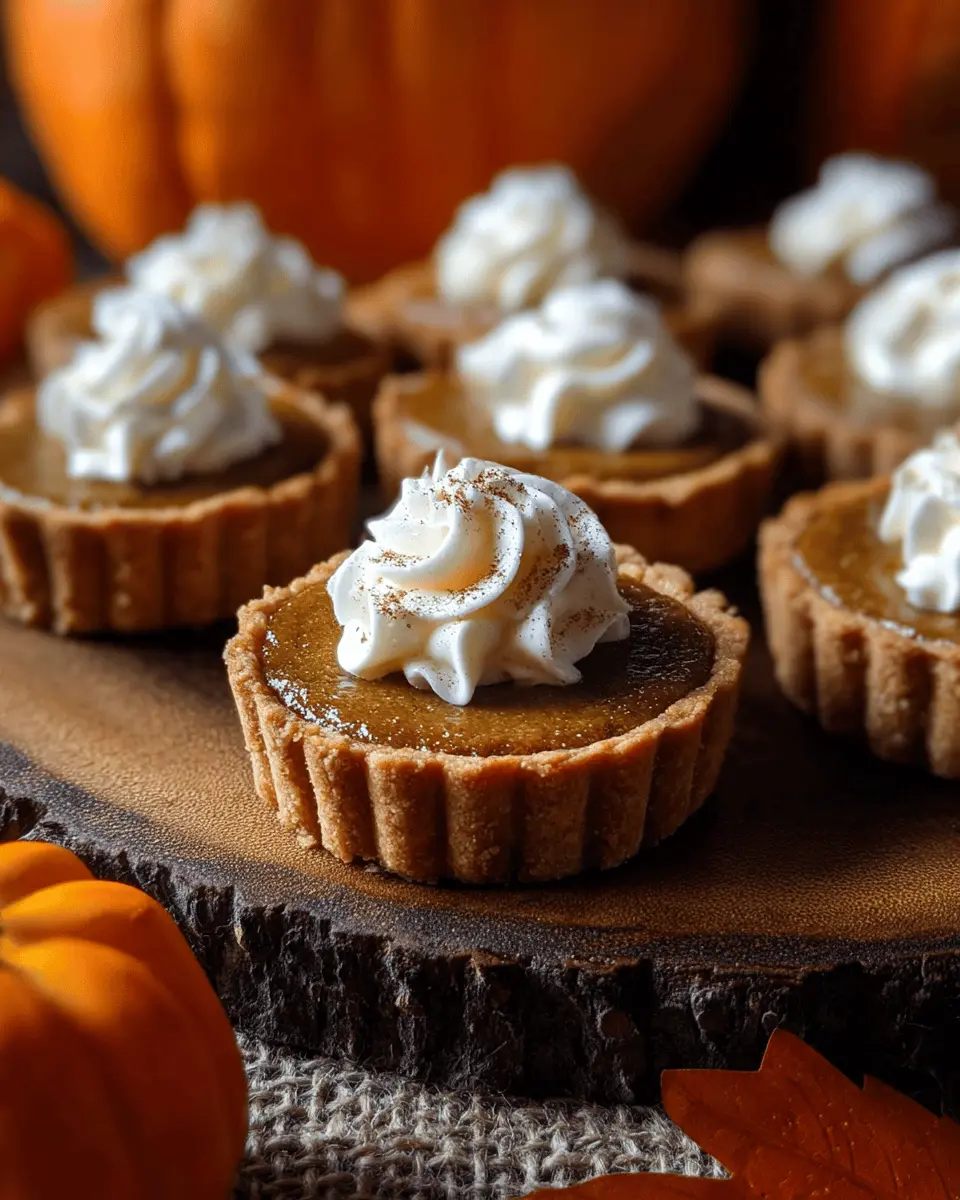
If you’re a young professional juggling work-life balance, mini pumpkin pies are the ideal treat for you! These delightful bite-sized desserts pack all the warm, spicy flavors of traditional pumpkin pie but come in a manageable size that fits perfectly into your busy lifestyle. Whether you’re hosting a last-minute gathering or simply craving a cozy snack, these charming little pies make preparation a breeze.
Imagine whipping up a batch on a Sunday afternoon, filling your kitchen with the comforting aroma of cinnamon and nutmeg. You can easily store leftovers in the fridge for those hectic weekday moments when you need a sweet pick-me-up. Plus, each mini pie bakes quickly, taking only 21 to 25 minutes in the oven!
Not to mention, they’re incredibly versatile. Top them with homemade whipped cream, or serve them alongside a warm cup of coffee or tea. If you’re interested in creating an impressive spread for your next gathering, consider pairing them with chicken ham or even some festive turkey bacon for a savory touch.
Feeling inspired? Let’s dive into the recipe for your new favorite fall dessert!
Ingredients for Mini Pumpkin Pies
Essential ingredients for delicious mini pumpkin pies
To whip up a batch of mini pumpkin pies that are sure to impress, you'll need a few staple ingredients:
- Pie Crust: Start with two unbaked discs of your favorite pie crust, whether you choose homemade or store-bought.
- Pumpkin Puree: A generous 1 and ¼ cups of pumpkin puree gives these pies their signature flavor.
- Brown Sugar: ¾ cup packed light or dark brown sugar adds sweetness and richness.
- Cream & Milk: Combining ½ cup of heavy cream with ¼ cup of whole milk creates a lush, smooth filling.
- Egg: Add one large egg as a binding agent.
- Spices: A blend of ¼ teaspoon salt, 1 teaspoon ground cinnamon, and 1 teaspoon of your favorite pumpkin pie spice elevates the flavor profile.
Alternative ingredients and substitutions
If you're looking to make a few adjustments, don’t worry! Here are some substitutions and alternatives to customize your mini pumpkin pies:
- Pie Crust Options: If you’re short on time, store-bought pie crust works beautifully.
- Dairy-Free Version: For a dairy-free twist, substitute the heavy cream and milk with a plant-based option like almond or coconut milk.
- Sweetener Swap: You can use maple syrup or agave nectar instead of brown sugar for a different sweetness.
- Spice Alternatives: If you don’t have pumpkin pie spice, mix ¼ teaspoon each of nutmeg, cloves, allspice, and ginger with cinnamon.
With these versatile options, your mini pumpkin pies can easily adapt to your taste preferences and dietary needs! For more ideas on spices, check out this guide to baking spices.
Preparing Mini Pumpkin Pies
Making mini pumpkin pies is a delightful way to embrace the flavors of the season! This charming dessert is perfect for gatherings, and the bite-sized portions make them even more irresistible. Let's walk through the steps together to ensure your mini pies turn out perfectly!
Making the Pie Crust
The key to a great pie starts with the crust. You’ll want to have your pie dough ready before diving into your mini pumpkin pies. If you’re making the dough from scratch, I recommend preparing it the night before. This allows it to chill in the refrigerator for at least 2 hours, making it easier to roll out later. For a buttery, flaky crust, you can check out this pie crust recipe.
Preparing the Filling
While your pie crust chills, it's time to whip up the filling. In a large mixing bowl, combine:
- Pumpkin puree
- Brown sugar
- Heavy cream
- Whole milk
- Egg
- Salt
- Ground cinnamon
- Pumpkin pie spice
Beat everything together until well-blended. Depending on your mixer, this should take about 2 minutes. Cover it up and pop it in the fridge until you're ready for the next step.
Prepping the Mini Muffin Pans
Now, preheat your oven to 375°F (191°C). While it’s heating, prepare your two 24-count mini muffin pans by giving them a generous spray of nonstick cooking spray. If you only have one pan, you can bake your pies in batches. Just roll out your dough, shape it, and fill it as mentioned below!
Shaping the Mini Crusts
Once your pie crust is ready, take one dough disc from the fridge. Dust a clean work surface with flour and roll it out into a large 12-inch circle. Using a 2.5-inch cookie cutter, cut circles from the dough and gently place them into your muffin pans, pressing them into the crevices. Repeat this process with the second disc of dough. You should yield around 48 mini crusts!
Assembling the Pies
With your mini crusts in place, it’s time to fill them. Take the filling you prepared and spoon it evenly into each crust, filling them to the top. Don’t worry if they look a little messy; they’ll bake beautifully!
Baking the Mini Pumpkin Pies
Finally, it's time for the best part—baking! Place your muffin pans in the oven and bake for about 21–25 minutes, or until the filling is set and the edges are lightly browned. Once done, allow them to cool slightly before removing them from the pan. If greased well, they should pop out easily.
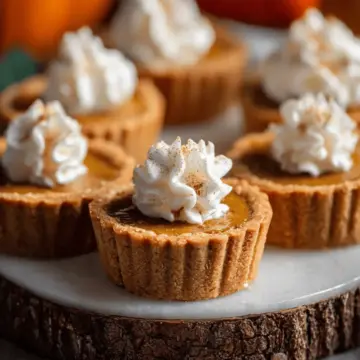
Enjoy your mini pumpkin pies at room temperature or chilled with a dollop of whipped cream for a perfect touch! These little treats not only taste delicious but also bring a warm and cheerful vibe to any occasion. Happy baking!

Variations on Mini Pumpkin Pies
Gluten-free Mini Pumpkin Pies
For those with gluten sensitivities, creating mini pumpkin pies that everyone can enjoy is a breeze! Substitute the traditional pie crust with a gluten-free version, which can be easily crafted using almond flour or a pre-made gluten-free pie crust. Simply follow the original recipe instructions for filling, and you'll have delicious, bite-sized treats that don’t compromise on flavor. Want an extra hint? Adding a sprinkle of cinnamon or nutmeg to the crust can elevate the warm, spiced essence that pairs perfectly with pumpkin.
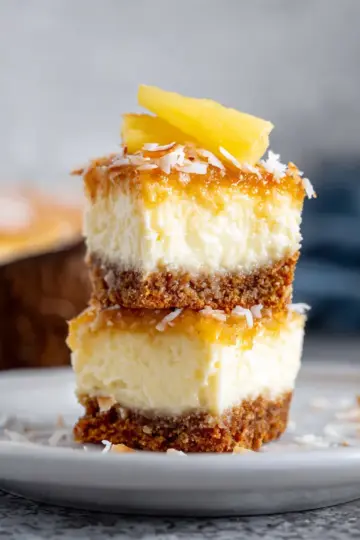
Mini Pumpkin Cheesecakes
If you're craving something rich and creamy, why not transform your mini pumpkin pies into mini pumpkin cheesecakes? Combine a favorite cheesecake base—think cream cheese, sugar, and vanilla—with your pumpkin filling for a fluffy, indulgent twist. Pour this decadent mixture into your prepared crusts and bake as you would the original recipe. These mini cheesecakes are perfect for gatherings, offering a delightful and unexpected dessert that will surely impress guests.
Cooking Tips and Notes for Mini Pumpkin Pies
Make-Ahead Tips for Busy Schedules
If you’re short on time, you can prepare the pie crust and filling ahead of time! Make the pie dough a day in advance and keep it in the fridge, or freeze it for longer storage. The filling can also be whipped up and stored in the refrigerator for up to two days. This way, when you’re ready to bake your mini pumpkin pies, everything is ready to go!
Storing Mini Pumpkin Pies
Once your delicious mini pumpkin pies are baked, let them cool completely, then store them in an airtight container in the refrigerator. They’ll stay fresh for up to five days. For longer storage, you can freeze them—simply place them in a freezer-friendly container separated by parchment paper. Thaw at room temperature when you’re ready to enjoy!
For more tips on pie crust, check out Sally's Baking Addiction.

Serving suggestions for Mini Pumpkin Pies
Toppings and accompaniments
When it comes to mini pumpkin pies, the right toppings can elevate these bite-sized wonders even more. Consider adding:
- A dollop of homemade whipped cream for a classic touch.
- Sugared cranberries, which offer a delightful tart contrast to the sweetness.
- A sprinkle of cinnamon or nutmeg for an added flavor kick.
- For something different, a drizzle of caramel sauce can make them extra indulgent.
Ideal occasions for serving mini pumpkin pies
These adorable desserts are perfect for various gatherings!
- Think holiday parties, where they add a festive flair.
- Serve at fall picnics as a seasonal treat.
- They’re great for potlucks or friendsgiving, allowing guests to enjoy a taste without the commitment of a full slice.
With their charming size and delectable flavor, mini pumpkin pies are sure to be a hit wherever you serve them!
Time Breakdown for Mini Pumpkin Pies
Preparing mini pumpkin pies is a breeze when you know what to expect! Here’s a helpful breakdown of your time investment:
Preparation Time
Start with about 25 minutes for the preparation, including making the filling and preparing the pie crusts. If you're making your pie crust from scratch, it's best to do this ahead of time so it can chill.
Baking Time
Once filled, bake your mini pies for about 21–25 minutes. Keep an eye on them to ensure they’re perfectly golden!
Total Time
From start to finish, plan for approximately 1 hour. This includes prep and baking time, allowing you to whip up delicious mini pumpkin pies without a hitch!
If you'd like more detailed instructions, check out the full recipe for Mini Pumpkin Pies. Enjoy baking!
Nutritional Facts for Mini Pumpkin Pies
Calories per pie
Each mini pumpkin pie packs around 100 calories, making it a guilt-free treat as you savor every bite. Perfect for when you crave something sweet without overindulging!
Carbohydrates and proteins
These delightful pastries contain approximately 14 grams of carbohydrates and 2 grams of protein per pie. The combination of pumpkin puree and the pie crust provides a satisfying flavor while still being light.
Suggested serving size
For a delightful serving, enjoy one or two mini pumpkin pies as a dessert, or perhaps share a platter for a gathering! They’re perfectly sized for snacking, making them an excellent option for festive occasions or casual get-togethers.
If you’re looking to enhance the nutritional value, consider adding a dollop of homemade whipped cream or topping with seasonal spices. Enjoy!
FAQs about Mini Pumpkin Pies
Can I use fresh pumpkin instead of canned?
Absolutely! While canned pumpkin puree is often recommended for its convenience and consistency, you can use fresh pumpkin. Just make sure to cook and puree it properly, then lightly blot it to remove excess moisture. This will help avoid a soggy filling and ensure the best texture for your mini pumpkin pies.
How do I store leftover mini pumpkin pies?
To keep your mini pumpkin pies fresh, store any leftovers in an airtight container in the refrigerator. They’ll stay delicious for up to five days. If you’re worried about them sticking together, consider using parchment paper between layers.
Can I freeze mini pumpkin pies?
Yes, you can definitely freeze your mini pumpkin pies! Cool them completely, then layer them with parchment in a freezer-safe container. They’ll keep well for up to three months. When you’re ready to enjoy, simply thaw at room temperature for a delectable treat any time!
For more baking tips, check out Sally's Baking Addiction for additional resources!
Conclusion on Mini Pumpkin Pies
The joy of homemade mini pumpkin pies for any occasion
Creating mini pumpkin pies can be an incredibly rewarding experience, whether it's for a festive gathering or a cozy evening at home. These adorable treats bring the essence of the season to your table, and their bite-sized nature makes sharing (or indulging!) a breeze. So why not whip up a batch and enjoy the wonderful flavors of fall?
For an exceptional culinary journey, check out the full recipe for these delightful pies here. Happy baking!
Mini Pumpkin Pies: Easy Recipe for Perfect Holiday Treats
Equipment
- electric mixer
- Glass Mixing Bowl
- Whisk
- Wilton Mini Muffin Pan
- Rolling Pin
- 2.5-inch Cookie Cutter
Ingredients
Crust
- 2 discs unbaked pie crust or store-bought pie crust
Filling
- 1.25 cups pumpkin puree
- ¾ cup light or dark brown sugar packed
- ½ cup heavy cream
- ¼ cup whole milk
- 1 large egg
- ¼ teaspoon salt
- 1 teaspoon ground cinnamon
- 1 teaspoon pumpkin pie spice store-bought or homemade
- small pinch black pepper optional
Instructions
Preparation
- Make pie dough the night before and chill for at least 2 hours.
- In a large bowl, beat together the pumpkin, brown sugar, heavy cream, milk, egg, salt, cinnamon, and spices until combined. Cover and refrigerate.
- Preheat oven to 375°F (191°C). Grease two mini muffin pans.
- Roll out the dough and cut into 2.5-inch rounds. Fit into greased pans.
- Fill each crust with the prepared filling.
- Bake for 21-25 minutes, then cool for 5 minutes before removing from pans.
- Serve them at room temperature or chilled. Top with whipped cream if desired.
Leave a Reply