
Introduction to Press-In Pie Crust
Why a Press-In Pie Crust is a Game Changer
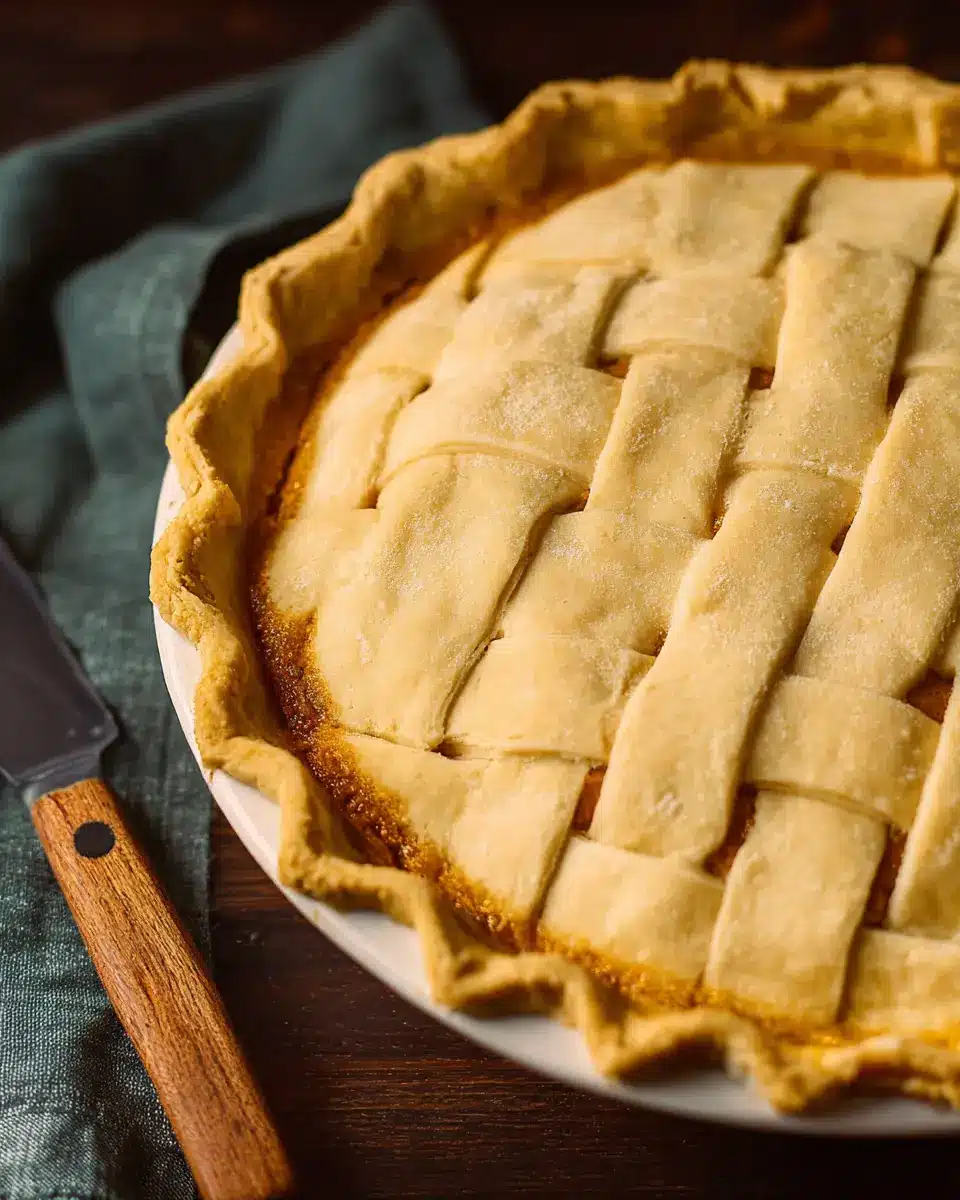
When it comes to making pies, the crust can make or break your dessert. Enter the press-in pie crust—an innovation that simplifies the pie-making process while delivering delicious results. If you’ve ever found yourself wrestling with a traditional crust, rolling pins, and flour-covered counters, this method is a breath of fresh air.
Imagine being able to skip the fuss and still enjoy a flaky, flavorful crust. With just a few simple ingredients—like all-purpose flour, sugar, and butter—you can create a dough that presses right into your pie plate. There’s no rolling involved, which means fewer dishes and less mess.
This crust is perfect not just for sweet pies like lemon meringue or pear pie, but it also shines in savory applications, such as quiches or pot pies. Moreover, because it’s so easy to make, it’s the perfect option for those busy weeknights when you want something homemade without dedicating hours to the kitchen.
So, grab your ingredients, roll up your sleeves, and get ready to experience the ultimate in quick and stress-free pie-making! For more tips on pie-making techniques, check out How to Blind Bake a Pie Crust as we dive into this simple yet satisfying recipe.
Ingredients for Press-In Pie Crust
Creating the ultimate press-in pie crust starts with selecting the right ingredients. Here’s what you’ll need for a delightfully flaky and flavorful crust:
-
2 cups of all-purpose flour: This is the backbone of your crust. Opt for a high-quality flour for the best results.
-
2 tsp. granulated sugar: A touch of sweetness goes a long way, balancing flavors and enhancing the overall taste.
-
½ tsp. kosher salt: Salt brings out the flavors, and ensures your crust isn’t bland.
-
¼ cup melted salted butter (½ stick): Using melted butter adds richness and helps bind your ingredients together.
-
¼ cup vegetable oil: This makes the dough easier to work with and contributes to a tender texture.
-
3 Tbsp. ice water: Adding cold water helps to keep the fat solid, which is essential for that perfect flakiness.
By carefully measuring and combining these ingredients, you’ll create a press-in pie crust that’s not only easy to prepare but also mouthwateringly delicious. For more tips on perfecting your pie crust, check out our guide on how to blind bake a pie crust.
Preparing Press-In Pie Crust
Creating a delightful press-in pie crust is not only straightforward but also a perfect technique for those who might feel intimidated by traditional rolling methods. Let’s dive into the steps!
Gather Your Ingredients
Before you start, make sure you have all your ingredients ready. Here’s what you’ll need for your press-in pie crust:
- 2 cups all-purpose flour
- 2 tsp. granulated sugar
- ½ tsp. kosher salt
- ¼ cup melted salted butter (½ stick)
- ¼ cup vegetable oil
- 3 Tbsp. ice water
Grab a mixing bowl, measuring cups, and a 9-inch pie plate—we’re going to whip up something delicious!
Mix the Dry Ingredients
In a large mixing bowl, whisk together the flour, sugar, and salt until combined. This isn't just for flavor; it ensures a uniform texture throughout your press-in pie crust. Make a little well in the center—this is where your wet ingredients will join the party. Did you know that proper ingredient mixing can make a world of difference? Check out this article on the science of baking basics for some enlightening tips.
Combine the Wet Ingredients
In that well you created, pour in the melted butter, vegetable oil, and ice water. Using a fork, mix these liquids into the dry ingredients until they start to come together. This step is key—don’t over-mix! You want a bit of a texture here, not a bag of gummy dough. If you find it too dry, add a pinch more ice water until the dough holds together.
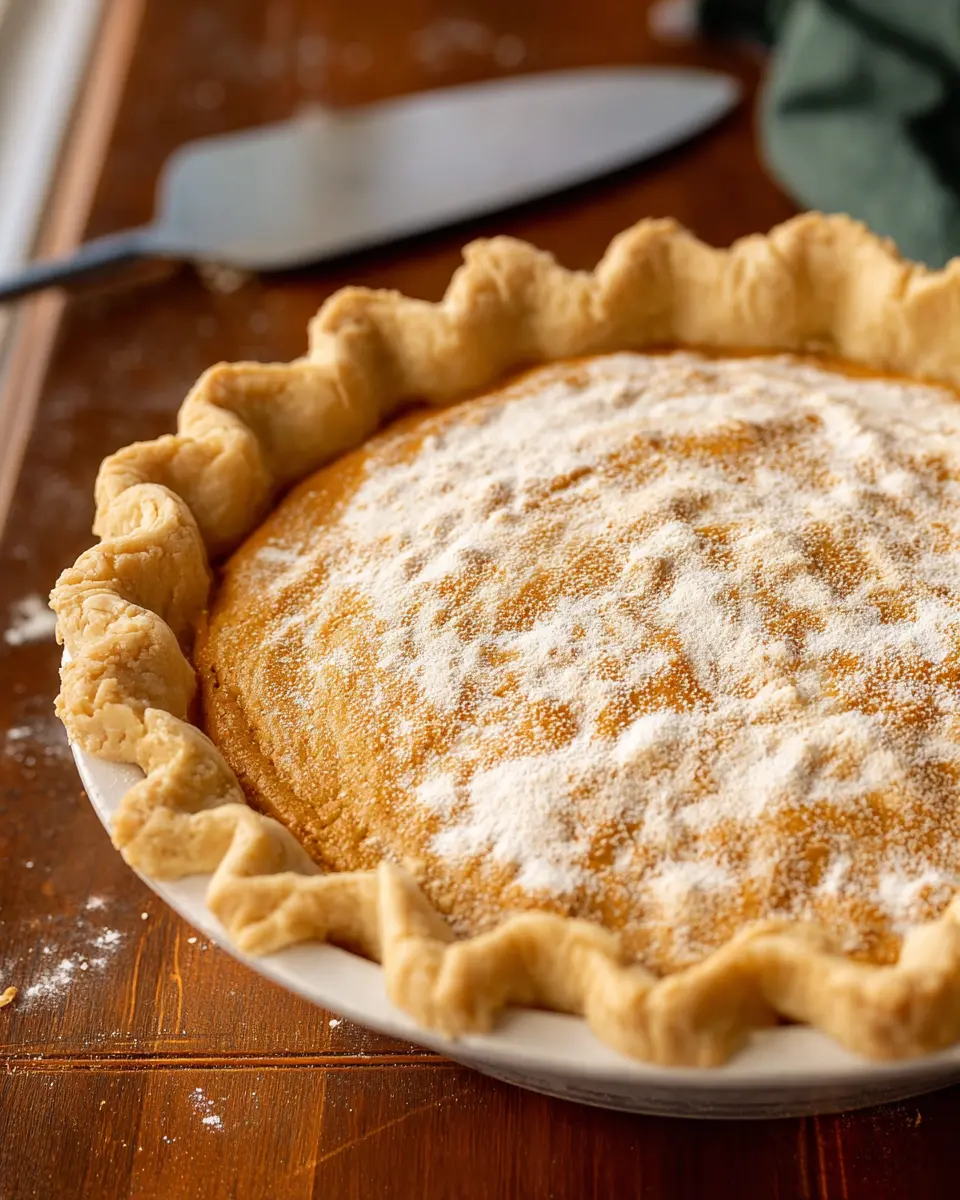
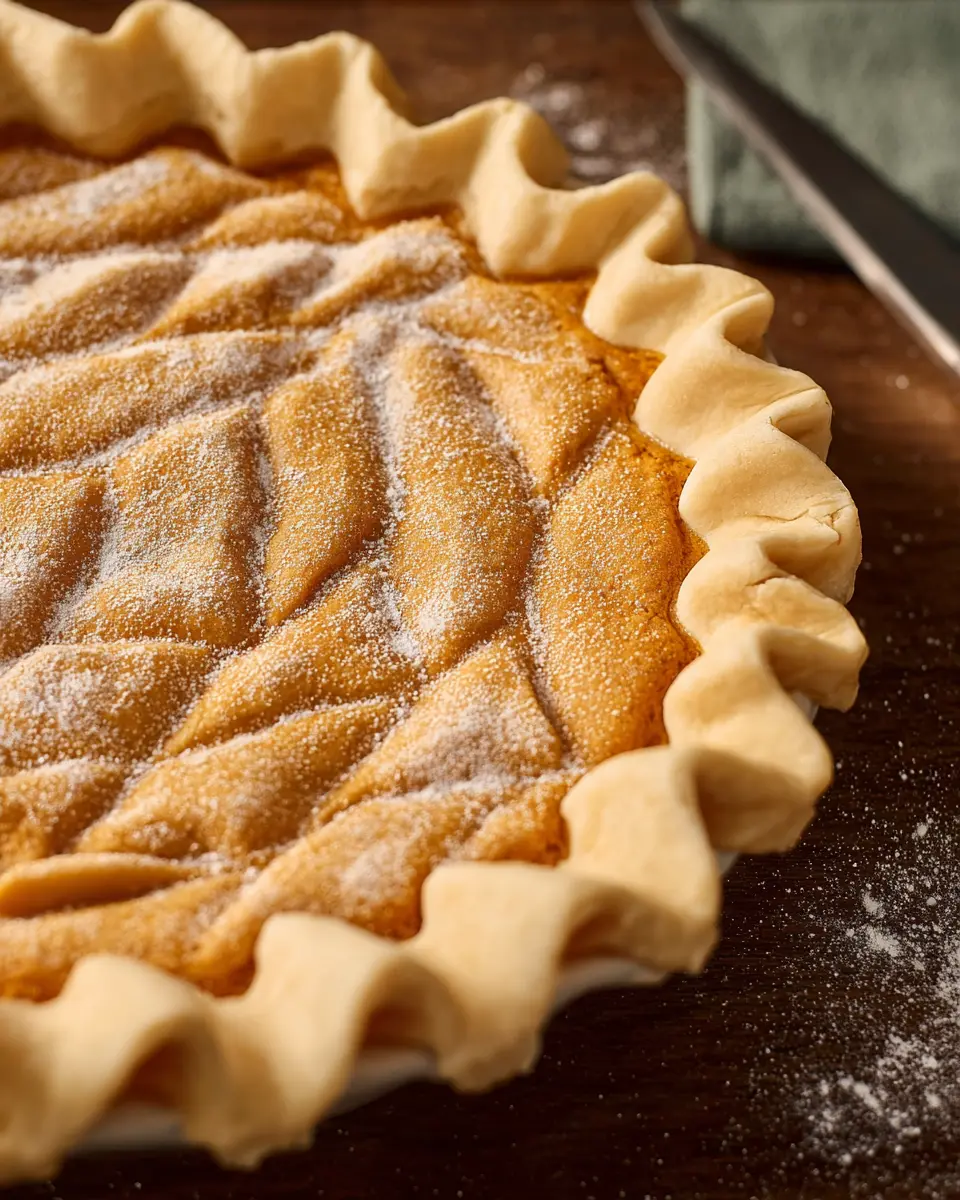
Form the Crust in the Pie Plate
Now comes the fun part! Use your hands to press the dough evenly into the bottom and up the sides of your pie plate. The flat bottom of a dry measuring cup can be a handy tool here—use it to smooth everything out. If you’re feeling fancy, crimp the edges for that homemade touch. It’s the little details that make your pie uniquely yours!
Chill the Crust
After pressing it in, it’s time to chill! Pop the crust in the refrigerator for about 30 minutes. This helps prevent shrinkage during baking, resulting in a beautifully shaped press-in pie crust. Plus, it allows the flavors to settle!
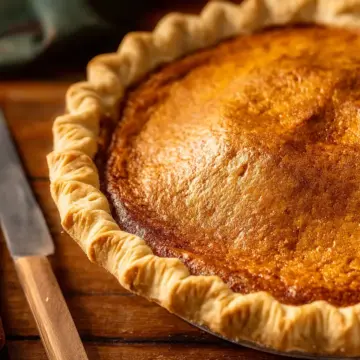
Blind Bake for Best Results
For a killer pie, blind baking is essential, especially if you’re filling it with custard or other wet fillings. Line your crust with parchment paper or foil and add some pie weights or dried beans to keep it from puffing up. Bake in a preheated 400°F oven for about 18-22 minutes until the edges are lightly golden. Once you remove the weights, return it to the oven for another 10-12 minutes. Let it cool to room temperature before adding your filling. Trust me, this step is crucial for a perfect pie!
With these simple steps, you’ll make a stunning press-in pie crust that holds its own against any traditional counterpart. Ready to fill it up with your favorite fillings? Happy baking!
Variations on Press-In Pie Crust
Gluten-Free Press-In Pie Crust
Creating a gluten-free press-in pie crust is easier than you might think! Simply swap out the all-purpose flour for a gluten-free blend, like almond flour or a store-bought gluten-free pie crust mix. Make sure to add a binding agent, such as xanthan gum, which helps achieve that desirable texture. This way, everyone can enjoy your delicious pies without worry!
Sweet Press-In Pie Crust Options
For those looking to bring a touch of sweetness to their crust, consider incorporating additional ingredients like ground spices or sweeteners. A hint of cinnamon or nutmeg can elevate the flavor profile, while a bit of powdered sugar can create a delightful sweet press-in pie crust. Feel free to experiment with flavored extracts, such as vanilla or almond, for an extra layer of taste! Have you tried these variations yet? They could be the game-changer for your next dessert.
For more pie inspiration, check out these Sweet Potato Pie and Lemon Meringue Pie recipes!
Cooking Tips and Notes for Press-In Pie Crust
Creating a press-in pie crust can be a delightful experience, especially if you follow a few key tips:
-
Chill Your Dough: After pressing the dough into the pan, refrigerate it for 30 minutes. This not only helps reduce shrinkage but also makes it easier to handle.
-
Use a Measuring Cup: For an even finish, press the dough with the flat bottom of a dry measuring cup. This technique gives a smooth, uniform surface that's a pleasure to look at (and eat!).
-
Blind Baking: If you’re pre-baking the crust, don’t skip the pie weights! They prevent your crust from puffing up and losing its perfect shape.
For more insights on pie crust techniques, check out this detailed guide. Happy baking!
Serving Suggestions for Press-In Pie Crust
When it comes to filling your press-in pie crust, the options are endless! Consider these delightful suggestions to elevate your pie game:
-
Fruit Pies: Fresh fruits like apples, peaches, or seasonal berries shine in a press-in pie crust. A sprinkle of cinnamon and a drizzle of honey can enhance their natural sweetness.
-
Savory Options: Think outside the dessert box! A creamy quiche or a rich spinach and cheese filling can transform this crust into a savory sensation.
-
Nutty and Sweet: A pecan pie filling or a luscious chocolate ganache add a touch of indulgence. Whipped cream or a scoop of vanilla ice cream on top completes the treat beautifully.
For more ideas, check out our Pear Pie or Sugar Cream Pie for inspiration!
Time Breakdown for Press-In Pie Crust
Preparation Time
Getting this press-in pie crust ready takes about 10 minutes. You’ll want to whisk together the flour, sugar, and salt before mixing in the butter and oil.
Chilling Time
After forming the crust, pop it into the refrigerator for 30 minutes. This chilling step is key—don’t skip it! It reduces shrinkage and helps maintain that perfect shape when baked.
Baking Time
Blind baking your crust will take around 28 to 34 minutes. Start with 18 to 22 minutes for the initial bake, then another 10 to 12 minutes after removing the weights. You'll love how golden and flaky it turns out!
For more insights on other crust techniques, check out How to Blind Bake a Pie Crust. Happy baking!
Nutritional Facts for Press-In Pie Crust
Calories
A single serving of this delightful press-in pie crust packs around 250 calories. This can vary slightly depending on the fillings you choose, but it's a great base for all your sweet or savory pies!
Carbohydrates
In terms of carbohydrates, you can expect each serving to contain approximately 32 grams. Most of these come from the all-purpose flour, which provides that classic texture we all love in a crust.
Fat Content
When it comes to fat content, this press-in pie crust has about 14 grams per serving, primarily derived from the butter and vegetable oil. While it offers richness, pairing it with a lighter filling can help balance the overall dish.
For more insights on pie crust nutrition, check out resources like USDA FoodData Central for detailed breakdowns. And remember, a pie crust is only one part of the delicious puzzle! What filling will you choose?
FAQs about Press-In Pie Crust
Can I use whole wheat flour instead of all-purpose flour?
Absolutely! Whole wheat flour can be used in your press-in pie crust for a nuttier flavor and added nutrition. Just keep in mind that it may affect the texture slightly, resulting in a denser crust. A common tip is to combine it with all-purpose flour if you're looking for a more balanced outcome.
What if I don’t have ice water available?
No ice water? No problem! You can substitute with cold water, or even use cold milk or cream for a richer flavor. The cooling effect helps keep the fat solid, which is important for achieving that flaky texture. Just ensure it's as cold as possible before adding it to your crust mixture.
Can I freeze press-in pie crust?
Definitely! Once your crust is prepared, wrap it tightly in plastic wrap or foil and place it in an airtight container. It can be frozen for up to three months. When you're ready to use it, just thaw it in the refrigerator overnight. Easy peasy!
For more tips on perfecting your pie crust, check out these resources: Pie Crust Tips and Freezing Tips.
Conclusion on Press-In Pie Crust
Creating a press-in pie crust is a breeze, making it the perfect solution for busy bakers. Its simple preparation requires minimal tools and ingredients. Whether you’re filling it with sweet or savory delights, this crust guarantees satisfaction at any gathering. Enjoy more time with loved ones and less stress in the kitchen!
Press-In Pie Crust
Equipment
- 9-inch pie plate
- Fork
- Measuring Cup
- Oven
Ingredients
- 2 cups all-purpose flour
- 2 tsp. granulated sugar
- ½ tsp. kosher salt
- ¼ cup melted salted butter (½ stick)
- ¼ cup vegetable oil
- 3 Tbsp. ice water
Instructions
- In a 9-inch pie plate, whisk together the flour, sugar, and salt. Make a little well in the center; add the butter, oil, and ice water, and use a fork to mix the liquids into the flour mixture until the dough comes together.
- Using your hands, press the dough into the bottom and up the sides of the pan. Use the flat bottom of a dry measuring cup to press the dough so it is even and smooth. Add a simple crimp to the edges if desired.
- Chill the dough in the refrigerator for 30 minutes before filling to reduce shrinkage.
- To blind bake (pre-cook): Line the crust with parchment paper or foil and fill with pie weights or dried beans to prevent puffing or slumping. Bake in a 400˚F oven until the edges are lightly golden, 18 to 22 minutes. Remove the pie weights and parchment paper. Return the crust to the oven and bake until the crust is lightly golden all over, 10 to 12 minutes more. Let cool to room temperature before filling.


Leave a Reply