
Introduction to Turtle Bars
Why Turtle Bars are the Perfect Indulgence for Young Professionals
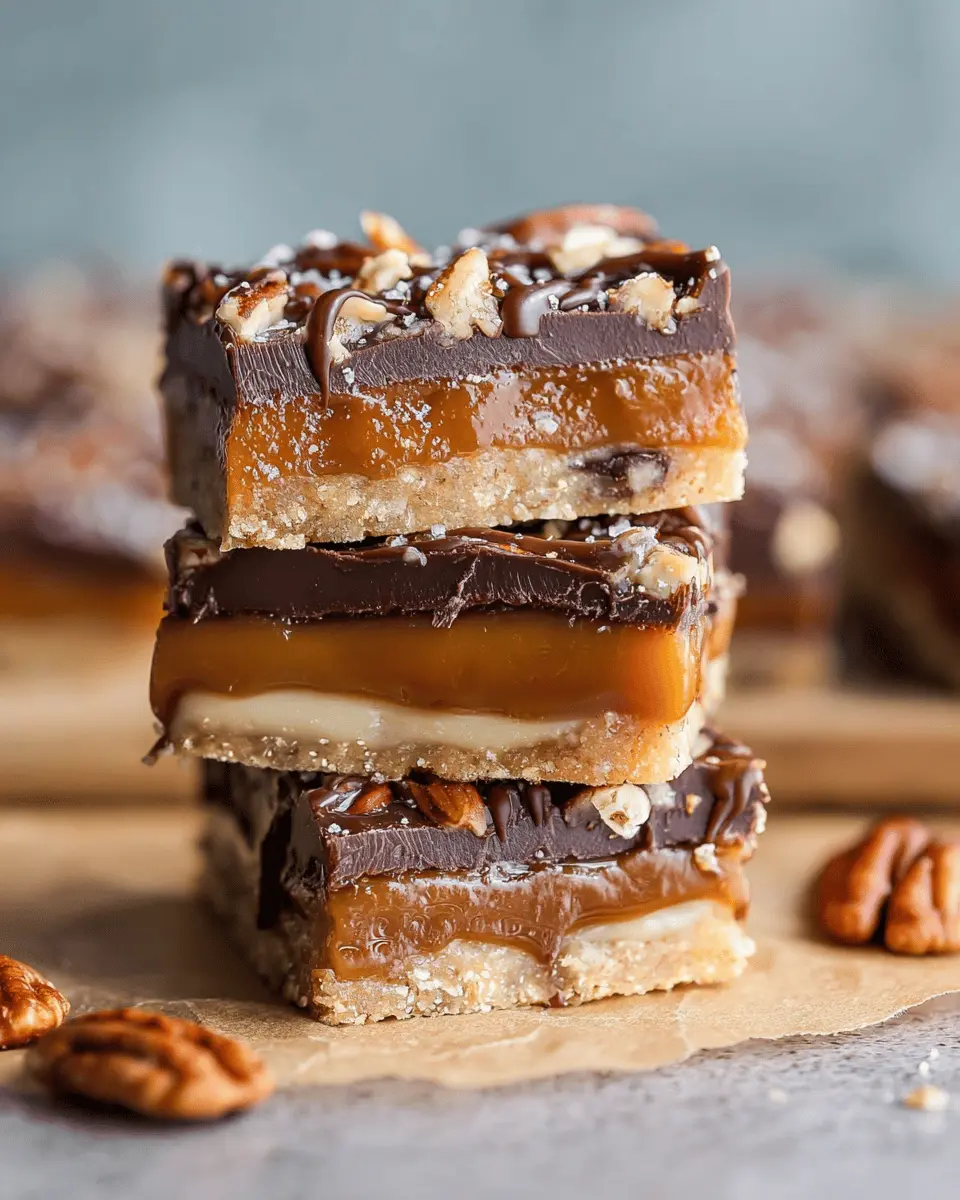
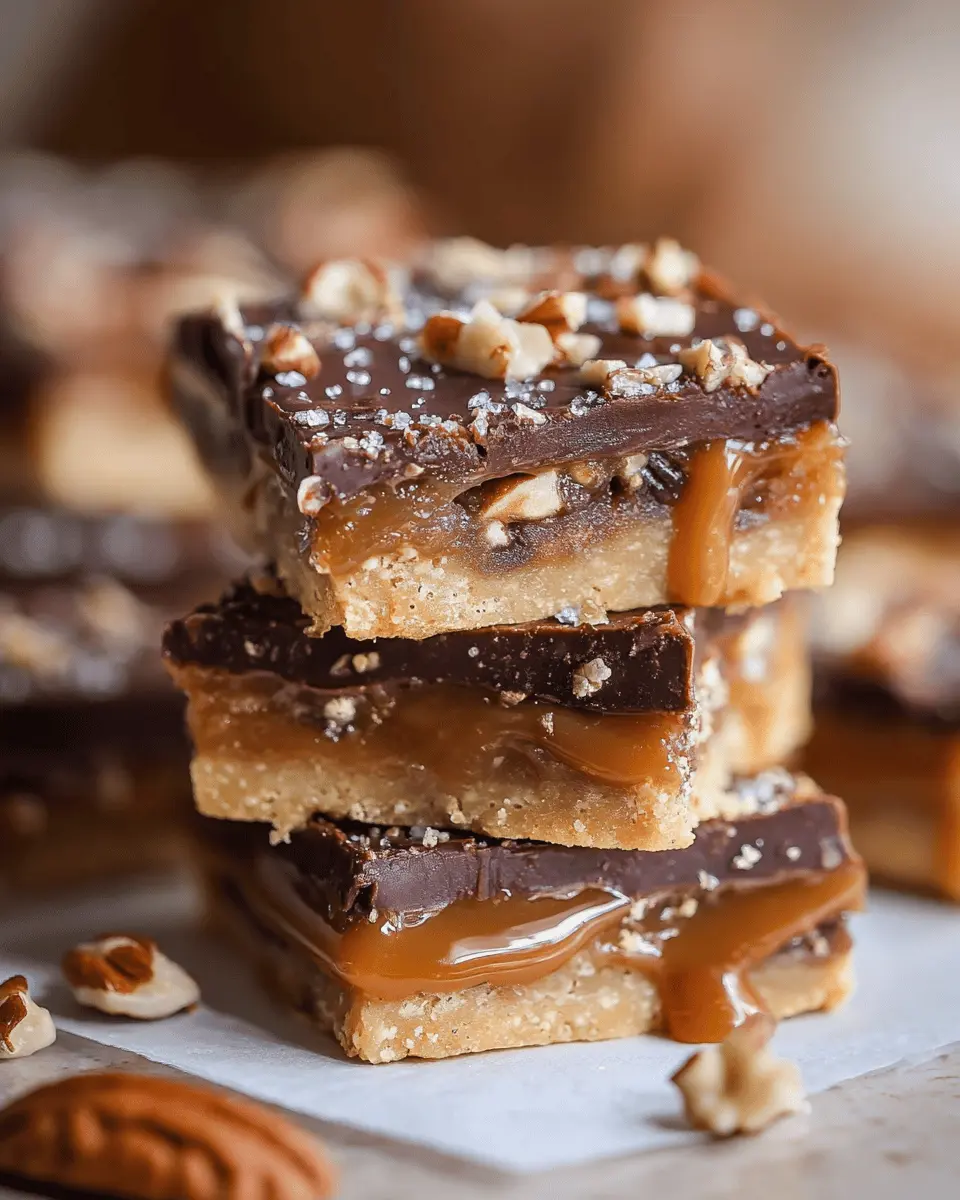
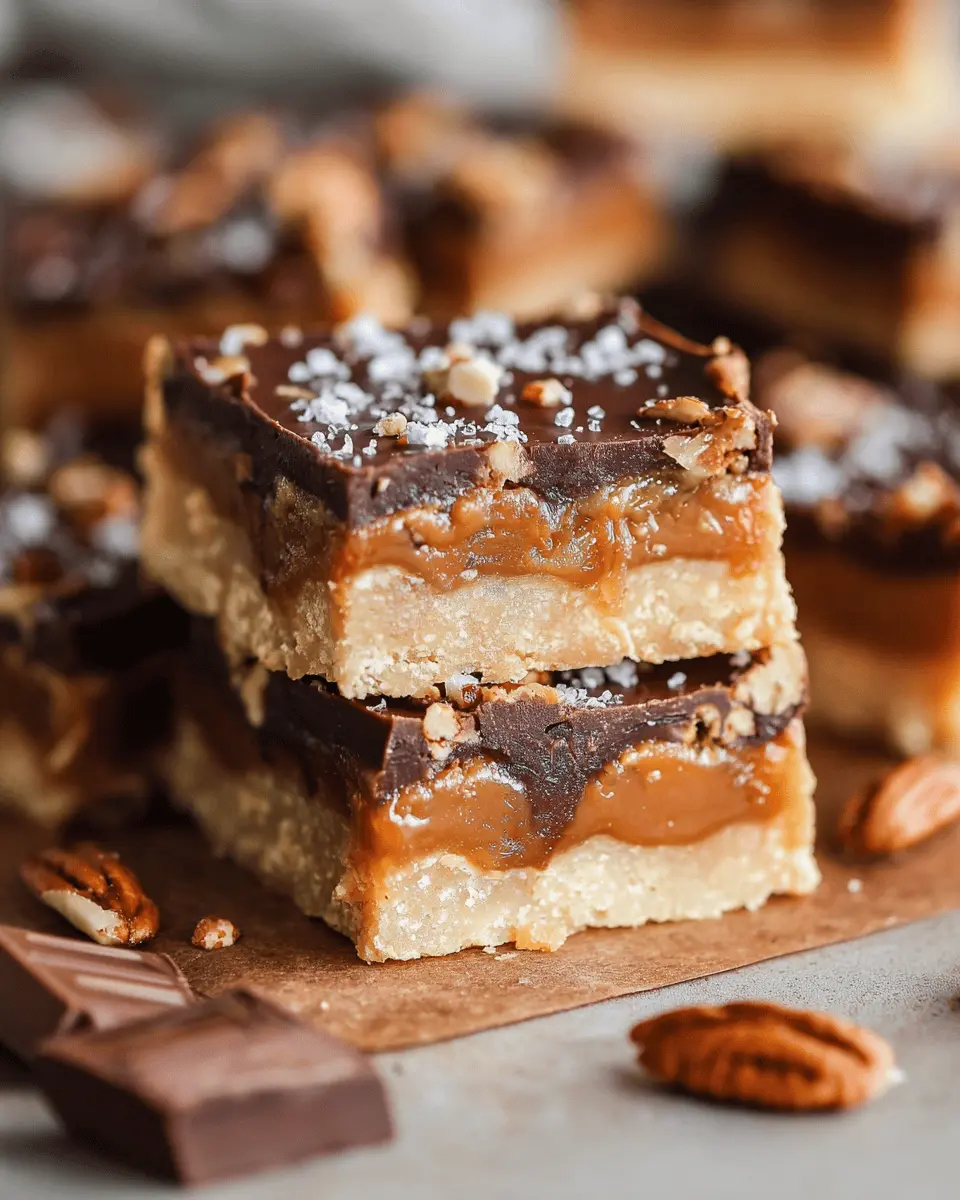
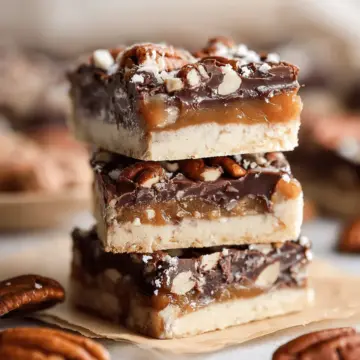
Turtle bars are the ultimate treat that perfectly encapsulates indulgence, making them a delightful choice for young professionals looking to satisfy their sweet tooth. Imagine a chewy, buttery base topped with layers of rich caramel and melted chocolate—what could be better after a long workday? These bars not only provide a delicious escape but are also surprisingly easy to whip up during a busy week.
As a young professional, you're likely juggling responsibilities, but that doesn’t mean you need to sacrifice on treats. With just a handful of ingredients and minimal prep time, these turtle bars can be your go-to afternoon pick-me-up or a sweet ending to a hectic week. According to a survey conducted by One Poll, 72% of young professionals say dessert is their favorite form of self-care—why not indulge in a homemade option?
And let’s face it: there's something deeply satisfying about creating your own treats, especially when they involve melting chocolate and gooey caramel. Whether you enjoy them straight from the baking pan or share them with friends at the next gathering, turtle bars are bound to impress. So, let’s dive into making this delightful dessert together!
Ingredients for Turtle Bars
Creating the perfect turtle bars is all about the ingredients! Let’s gather what you need for this delicious dessert that will have your friends begging for seconds. Here’s a breakdown of the must-have components:
- 1 ½ cups butter, softened: This will be the understated hero of your crust, adding richness and flavor.
- ¾ cup sugar: A classic sweetener that pulls everything together.
- 1 cup powdered sugar: For that sweet, smooth finish in your crust.
- 2 teaspoons vanilla: This addition enhances the flavor profile, making it irresistible.
- ½ teaspoon salt: Just a pinch will elevate the sweetness.
- 3 cups flour: The foundation of your crust—make sure it’s fresh!
- One 11-ounce bag caramel bits: This is where the magic happens; choose quality caramel for the richest taste.
- ¼ cup heavy whipping cream: Perfect for creating that luscious caramel sauce.
- 1 ½ cups chocolate chips: The final touch to crown your turtle bars with a decadent finish.
These ingredients come together to create a symphony of flavors that’s hard to resist. If you'd like more tips on selecting quality ingredients, consider checking out sources like The Kitchn, which offers great insights on baking essentials!
Preparing Turtle Bars
Making turtle bars is not only a delightful experience but also a rewarding one when you get to share these sweet treats with friends and family. Follow these steps to create your own batch of mouthwatering dessert bars that blend chocolate, caramel, and delightful buttery crust in every bite.
Gather Your Ingredients and Preheat the Oven
Before you jump into the mixing process, it’s essential to gather all your ingredients to ensure a seamless cooking experience. For turtle bars, you will need:
- 1 ½ cups butter, softened
- ¾ cup sugar
- 1 cup powdered sugar
- 2 teaspoons vanilla
- ½ teaspoon salt
- 3 cups flour
- One 11-ounce bag caramel bits
- ¼ cup heavy whipping cream
- 1 ½ cups chocolate chips
Also, make sure to preheat your oven to 350°F before you start, and grease a 9x13-inch pan with cooking spray. This helps to avoid the dreaded sticking!
Cream the Butter and Sugars Together
In the bowl of a stand mixer, combine the softened butter and both types of sugar. Mixing on medium speed, cream them together until the mixture is light and fluffy—this usually takes a couple of minutes. This process is crucial because it incorporates air into the batter, giving your turtle bars a nice texture.
Mix in the Vanilla, Salt, and Flour
Once your butter and sugars are combined, it's time to add the vanilla extract and salt. These ingredients enhance the overall flavor of your bars. Gradually add the flour while mixing; you want a unified dough that’s crumbly yet holds together.
Create the Crust Layer
Set aside about ⅔ of your dough mixture to create the crust for the turtle bars. Press this portion evenly into the bottom of your prepared pan. Baking it for 18 minutes will give you a solid foundation to build on.
Prepare the Caramel Layer
While your crust is baking, you can prepare the luscious caramel layer. In a microwave-safe bowl, combine the caramel bits and heavy whipping cream. Microwave in 30-second intervals, stirring after each interval, until the mixture is melted and smooth. The combination of caramel and cream creates that delightful viscosity that makes your bars irresistible.
Assemble the Layers and Bake
Once the crust is golden, pour the warm caramel over it, spreading it to create an even layer. Take the remaining dough and crumble it on top of the caramel. This layer will create a fantastic juxtaposition against the melted caramel, bringing together all the flavors beautifully. Pop the pan back in the oven and bake until everything is well combined and golden.
Add the Chocolate Chips and Finishing Touches
Once your turtle bars have cooled for a few minutes, sprinkle the chocolate chips generously over the top, letting them melt slightly. You can even place the pan back in the oven for a short time to ensure the chips become perfectly gooey. Allow your bars to cool completely before slicing into them, and get ready to enjoy the sweet reward of your culinary effort!
Remember, the key to unbelievable turtle bars lies in the quality of your ingredients, so consider using high-quality chocolate chips and caramel for the absolute best results. Happy baking!
Variations on Turtle Bars
Turtle Bars with Nutty Add-ins
Elevate your turtle bars by incorporating a variety of nuts. Chopped pecans or walnuts can add a delightful crunch and rich flavor that complements the caramel and chocolate. You could even try toasting the nuts beforehand for an extra depth of flavor. Not only do they taste fantastic, but they also contribute healthy fats and protein, making your dessert a bit more satisfying. And who doesn’t love a little extra texture?
Vegan Turtle Bars Option
Craving those luscious turtle bars but need a plant-based alternative? No worries! You can easily modify the original recipe. Substitute the butter with coconut oil or vegan butter, and use alternative milk in place of heavy cream. For the chocolate, choose dairy-free chocolate chips to keep it vegan-friendly. With these adjustments, you won’t miss the dairy one bit, and you’ll have a treat that everyone can enjoy. Explore more about vegan baking here.
Cooking Tips and Notes for Turtle Bars
Tips for Achieving the Perfect Caramel
A luscious layer of caramel is what makes turtle bars irresistible! For the perfect texture, melt the caramel bits with heavy whipping cream gradually in the microwave. Stir every 30 seconds until smooth, ensuring you don’t overcook it. If you prefer a richer flavor, consider adding a pinch of sea salt or a splash of vanilla extract.
Common Mistakes to Avoid
When baking turtle bars, be sure not to skip any steps. Pressing the crust too thin can lead to a brittle bottom, while rushing the caramel melting process can result in granular bits. Also, avoid pouring hot caramel directly over a cold crust—this can create a layer of steam that makes it gooey rather than smooth. For more tips, check out this baking resource.
Serving Suggestions for Turtle Bars
How to Serve for Parties or Gatherings
Turtle bars are a charming treat perfect for any gathering! Cut them into small squares for easy serving, and arrange on platters next to fresh fruit or nuts for a delightful presentation. Consider adding a drizzle of extra caramel on top for a gourmet touch. If you're feeling creative, serve them with a scoop of vanilla ice cream for an indulgent dessert that will wow your guests!
Pairing with Non-Alcoholic Beverages
When it comes to pairing, think refreshing! Turtle bars pair wonderfully with beverages like:
- Iced caramel macchiato for coffee lovers
- Sparkling apple cider for a bubbly kick
- Herbal tea, such as chamomile, to balance the sweetness
These options will enhance your dessert experience and create an inviting atmosphere. If you want to dive deeper into pairing desserts and drinks, you can explore this resource on beverage pairings. Enjoy your turtle bars with these delightful options!
Time Breakdown for Turtle Bars
Preparation time
Get your kitchen ready for some delicious turtle bars! Preparation takes about 15 minutes. That’s just enough time to gather all your ingredients, preheat the oven, and get those creative juices flowing!
Baking time
While your turtle bar crust is baking, you’ll wait patiently for about 18 minutes. It’s a good opportunity to clean up your workspace or enjoy a cup of coffee.
Cooling time
After baking, let your turtle bars cool in the pan for about 30 minutes. This is key for that perfect texture—trust me, you want to get this right!
Total time
In total, you’ll spend around an hour and three-quarters making these delightful turtle bars. It might seem like a bit of a commitment, but the end result is absolutely worth every minute!
For a comprehensive guide to dessert timing, check out more on Baking Time Basics, a great resource for bakers at all levels.
Nutritional Facts for Turtle Bars
Calories per Serving
Each serving of turtle bars packs in approximately 250 calories. They’re a delightful treat, so enjoy without guilt—just be mindful of portion sizes!
Sugar Content
These rich bars contain about 20 grams of sugar per serving, thanks to the combination of sugar, caramel, and chocolate. If you're watching your sugar intake, perhaps savoring one instead of two can hit the spot.
Dietary Considerations
While turtle bars are a sweet indulgence, they may not fit into certain dietary restrictions. They contain gluten from flour and dairy from butter and cream. You can experiment with gluten-free flour or dairy alternatives to suit your needs. For more information on dietary adjustments, check out this helpful guide.
Enjoying treats like these can be part of a balanced lifestyle—it's all about moderation!
FAQs about Turtle Bars
Can I use a different type of chocolate?
Absolutely! While the classic recipe calls for chocolate chips, feel free to experiment with milk chocolate, dark chocolate, or even white chocolate. Each type will give your Turtle Bars a unique flavor profile. Just keep in mind that the sweetness may vary, so adjust accordingly.
How do I store Turtle Bars for freshness?
To keep your Turtle Bars delicious and fresh, store them in an airtight container at room temperature for up to a week. If you need to store them longer, consider refrigerating or even freezing them. Just make sure to layer parchment paper between bars to prevent sticking!
What can I substitute for caramel bits?
If you can't find caramel bits, don’t worry! You can substitute with a homemade caramel sauce. A simple mix of granulated sugar, butter, and a splash of cream can create a delightful alternative. Just ensure it thickens enough to spread over your crust, similar to the store-bought version.
For more tips on baking or to dive deeper into the caramel-making process, check out Serious Eats for insightful guidance!
Conclusion on Turtle Bars
Indulging in delectable turtle bars can elevate any gathering or me-time moment. Their irresistible combination of buttery layers, rich caramel, and luscious chocolate makes them a hit! Remember, these bars are not just desserts; they are an experience. Share them with friends or savor them alone—they're sure to bring joy! For more sweet treats, check out Food Network for inspiration!
Turtle Bars: Easy Indulgence for Your Sweet Tooth Cravings
Equipment
- Stand Mixer
- microwave
- 9x13 inch baking pan
Ingredients
Butter and Sugar Mixture
- 1 ½ cups butter softened
- ¾ cup sugar
- 1 cup powdered sugar
- 2 teaspoons vanilla
- ½ teaspoon salt
- 3 cups flour
Caramel and Chocolate Layer
- 11 ounces caramel bits
- ¼ cup heavy whipping cream
- 1 ½ cups chocolate chips
Instructions
Preparation Steps
- Preheat oven to 350F and grease a 9×13-inch pan with cooking spray.
- In the bowl of a stand mixer, combine the butter and sugar.
- Stir in the powdered sugar, vanilla and salt.
- Add the flour and mix until combined.
- Press about ⅔ of the mixture into the bottom of the prepared pan (reserve the rest for later) and bake for 18 minutes.
- While the bottom crust is baking, prepare the caramel.
- Add the caramel bits and heavy whipping cream to a microwave-safe bowl.
- Microwave in 30-second intervals, stirring after each, until melted and smooth.
- Pour the caramel over the cooked crust and spread to an even layer.
Leave a Reply