
Introduction to Perfect Peach Crisp
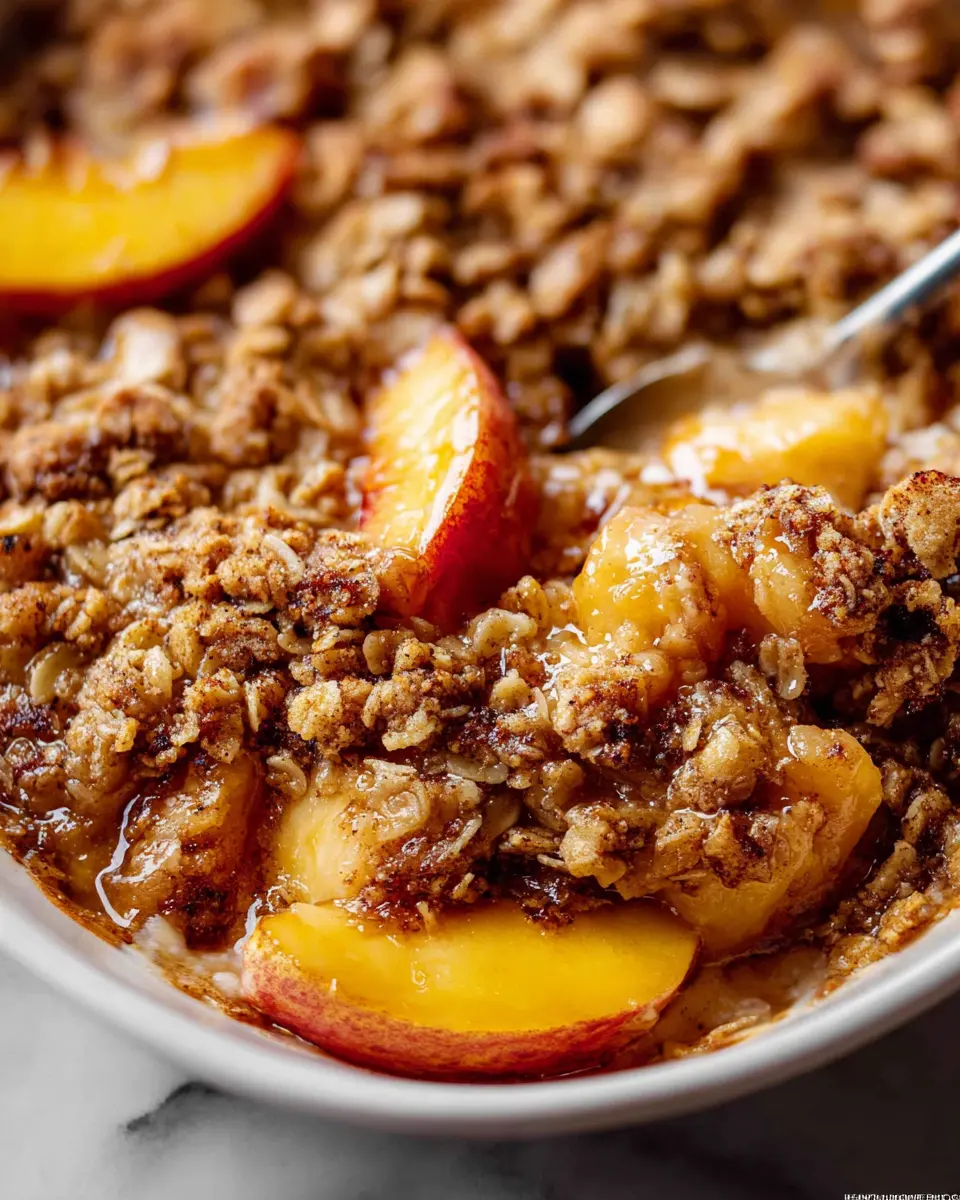
Imagine a dessert that perfectly balances sweet, juicy peaches with a crunchy topping that gives just the right amount of contrast. That’s exactly what you get with a perfect peach crisp. This delightful dish is not only a treat for the taste buds but also incredibly easy to whip up after a long day at work.
Why is peach crisp the ultimate dessert for young professionals?
Peach crisp shines as the ultimate dessert for young professionals for several reasons:
- Simplicity: With just a handful of ingredients and minimal prep time, even the busiest of schedules can accommodate this sweet indulgence.
- Seasonal Freshness: Utilizing ripe, in-season peaches lets you embrace local produce while supporting farmers. According to the USDA, fruits like peaches can boost your vitamin C intake, which is essential for staying healthy in a fast-paced lifestyle.
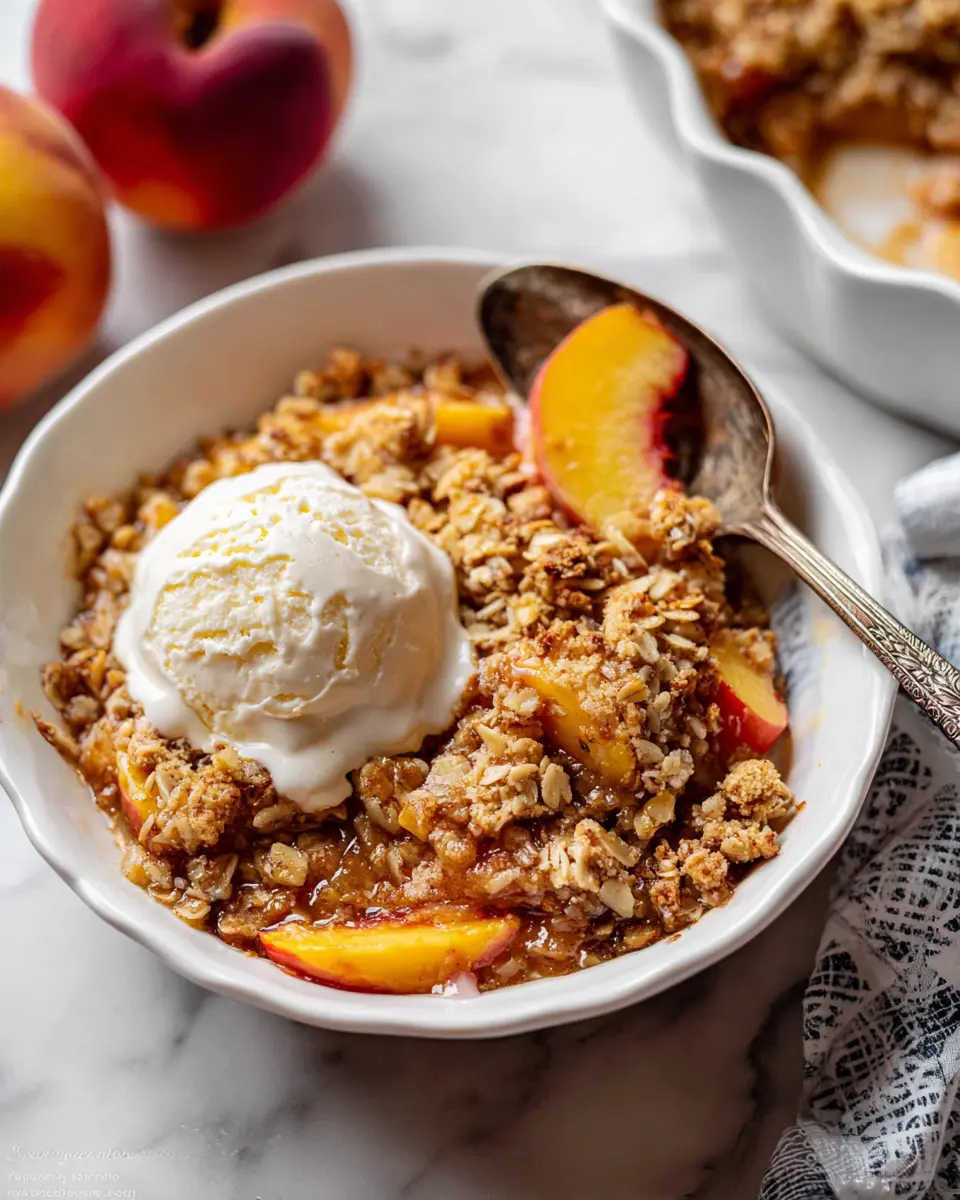
- Versatile Serving Options: Whether you enjoy it warm with a scoop of ice cream or at room temperature, the perfect peach crisp fits every occasion and mood, making it a must-have in your recipe arsenal.
So, grab those peaches and let’s dive into making your new favorite dessert!
For more tips on selecting the best peaches, check out the USDA’s guide on seasonal fruits.
Ingredients for Perfect Peach Crisp
Creating a perfect peach crisp starts with high-quality ingredients that come together to create a delightful dessert. Here’s what you need to whip up this delightful treat.
Filling Ingredients
For the filling, you’ll want:
- 5 cups of sliced peaches (fresh is best!)
- ¼ cup all-purpose flour to help thicken the juices
- ½ cup granulated sugar for a touch of sweetness
- ⅛ teaspoon salt to balance the flavors
- 1 Tablespoon lemon juice to add brightness
- ½ teaspoon pure vanilla extract for warmth and depth
The combination of ripe peaches and these simple ingredients creates a luscious base that makes your peach crisp unforgettable.
Topping Ingredients
The topping is where the crunch happens! You’ll need:
- ½ cup packed brown sugar for richness
- ⅔ cup all-purpose flour for structure
- 1 teaspoon ground cinnamon to enhance the flavor
- ¼ teaspoon salt for balance
- ½ cup cold, cubed unsalted butter for flakiness
- ⅔ cup old-fashioned rolled oats for hearty texture
- Optional: ⅔ cup chopped pecans for added crunch
These ingredients together form a delightfully crispy topping that perfectly complements the juicy peach filling. Enjoy the process, and don’t hesitate to experiment with your favorite nuts or spices! For more tips on shopping for fresh peaches, check out this guide.
Step-by-Step Preparation of Perfect Peach Crisp
Making a perfect peach crisp is easier than you might think, and you’ll be rewarded with a delicious dessert that will have everyone coming back for seconds! Follow these simple steps to create your own delightful dish.
Preheat the oven and prepare the baking dish
Start by preheating your oven to 350°F (177°C). This is essential for achieving that golden, bubbling crisp you crave. While that's warming up, take a moment to lightly grease a deep-dish 9-inch pie dish, 9-inch square pan, or similar baking dish that holds about 2–2.5 quarts. Greasing helps ensure that your peach crisp comes out cleanly and allows for easy serving later on.
Combine filling ingredients
In a large bowl, you’ll want to gently mix together the essential filling ingredients:
- 5 cups of sliced peaches (peeled or unpeeled)
- ¼ cup of all-purpose flour
- ½ cup of granulated sugar
- ⅛ teaspoon of salt
- 1 tablespoon of lemon juice
- ½ teaspoon of pure vanilla extract
Using fresh peaches enhances the flavor wonderfully, but if you’re in a pinch, you can also use unsweetened frozen peaches. Mixing these ingredients well ensures that the flavors meld beautifully.
Create the topping mixture
Next up is the topping that truly makes this dessert shine. In a medium bowl, whisk together:
- ½ cup of packed brown sugar
- ⅔ cup of all-purpose flour
- 1 teaspoon of ground cinnamon
- ¼ teaspoon of salt
After mixing these dry ingredients, cut in ½ cup of very cold, cubed unsalted butter until you achieve a crumbly texture. If you don’t have a pastry cutter, forks work just fine! Once that’s done, fold in ⅔ cup of old-fashioned rolled oats (and optionally, pecans) for an added crunch.
Assemble and bake the peach crisp
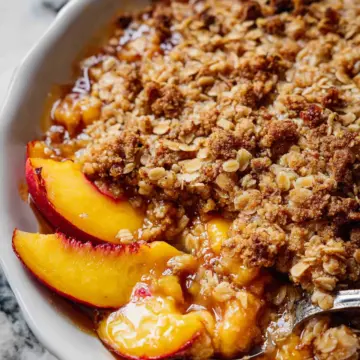
Now that you’ve prepared both layers, it’s time to assemble your perfect peach crisp. Spread the peach filling evenly in your prepared baking dish, then sprinkle the topping mixture generously over it. Bake in your preheated oven for 45–50 minutes until the topping is golden and the juices are bubbling.
Cool and serve
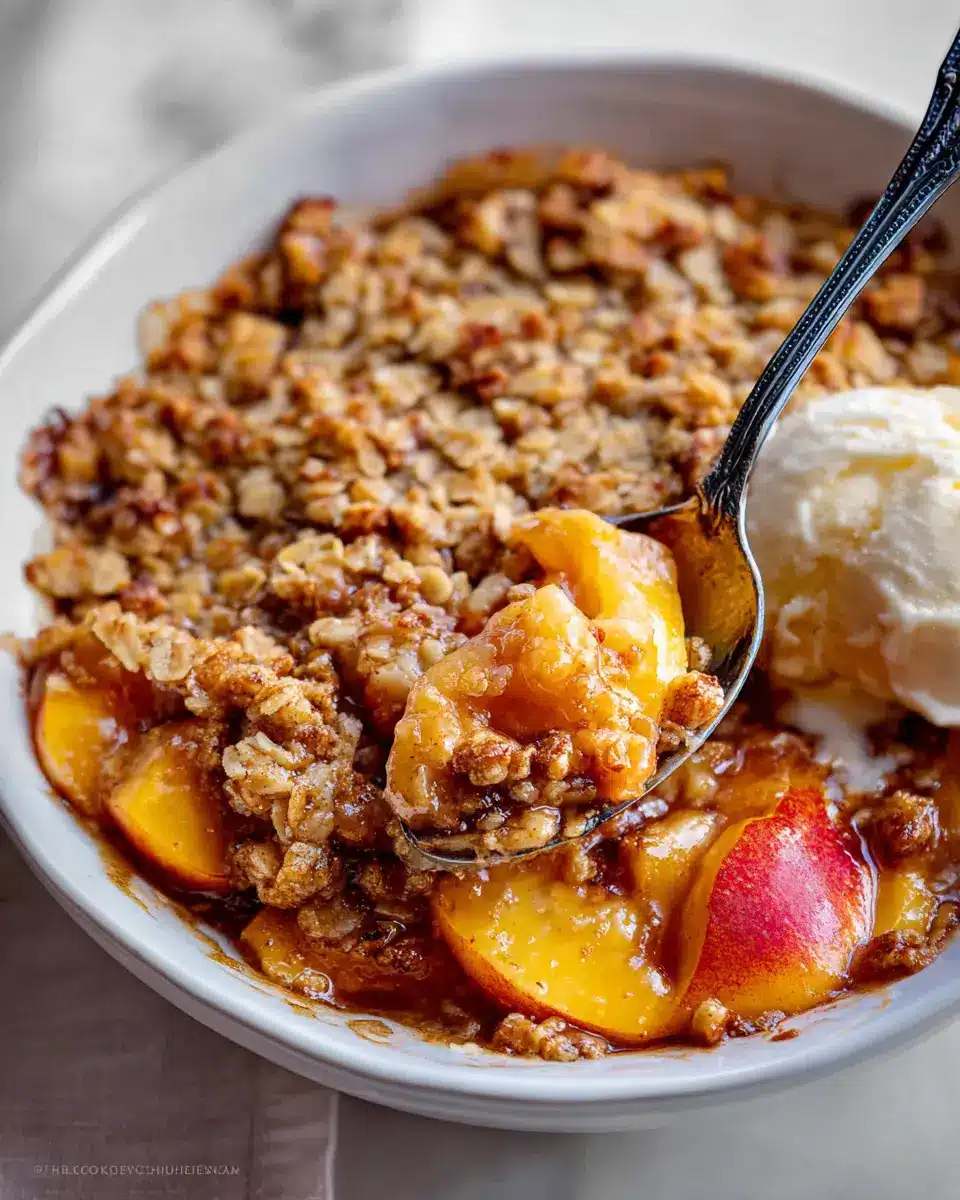
Once it’s baked to perfection, remove the crisp from the oven and let it cool for a few minutes on a wire rack. This rest period allows the juices to thicken, and the flavors to settle in beautifully. Serve warm, at room temperature, or even cold if you prefer. A scoop of vanilla ice cream on top is highly recommended for that extra special touch!
Enjoy creating this perfect peach crisp! You’ll find that it’s not only a fantastic treat to share but also an experience that brings the warmth of home-cooked goodness to any gathering. For more delicious recipes, consider checking out Sally's Baking Addiction for inspiration. Happy baking!
Variations on Perfect Peach Crisp
Adding Different Fruits
For an exciting twist on perfect peach crisp, consider mixing in other fruits. Berries like blueberries or raspberries complement the sweetness of peaches beautifully. You can also try adding apples for a fall-inspired version. Combining peaches with a handful of cherries or apricots adds a delightful tartness. Don’t hesitate to experiment; the crisp is versatile, and seasonal fruits work wonders!
Vegan and Gluten-Free Options
If you're looking for vegan or gluten-free adaptations of perfect peach crisp, you can easily make it work! Substitute the butter with coconut oil or vegan margarine for a dairy-free alternative. For a gluten-free crisp, use almond flour or gluten-free all-purpose flour in your topping. Both variations ensure you can indulge without sacrificing dietary needs while still enjoying that delicious, comforting flavor. Check out more gluten-free options at Sally's Baking Addiction.
Cooking Tips and Notes for Perfect Peach Crisp
Make-ahead and Storage Instructions
To enjoy your perfect peach crisp without hassle, prep the topping up to two days in advance and store it in the refrigerator. Unfortunately, unbaked crisp doesn’t hold well as the filling gets too juicy over time. Once baked, enjoy it fresh, or store leftovers in the refrigerator for up to five days. For longer storage, freeze the crisp for up to three months. Just thaw overnight in the fridge, then reheat in a 350°F oven for about 20 minutes.
Suggested Tools for Successful Baking
Having the right tools can elevate your baking experience. Consider using:
- A deep-dish 9-inch pie dish or a 10-inch cast iron skillet
- A reliable pastry cutter for mixing your topping
- A sturdy glass mixing bowl for combining ingredients
- A cooling rack to let your crisp set perfectly after baking
These tools can make your journey to the perfect peach crisp smoother and more enjoyable! Want more baking tips? Check out resources like King Arthur Baking for expert advice.
Serving Suggestions for Perfect Peach Crisp
Pairing with Ice Cream
One perfect way to elevate your perfect peach crisp is by serving it with a scoop of creamy vanilla ice cream. The contrast between the warm, gooey peaches and the cold, smooth ice cream is simply divine. For a twist, consider using coconut or caramel-flavored ice cream for an extra layer of flavor. Don’t forget a drizzle of caramel sauce or a sprinkle of cinnamon on top for visual appeal and taste!
Serving Warm vs. Cold
While perfect peach crisp is delightful warm, serving it cold also has its charm. Warm peach crisp brings out the sweetness and aroma of the peaches, making it a cozy dessert option for chilly nights. Alternatively, if you have leftovers, enjoying it chilled allows the flavors to meld beautifully, making for a refreshing snack on a hot day. Whichever way you choose to serve it, this dessert is bound to impress!
Time Breakdown for Perfect Peach Crisp
Preparation time
Get your kitchen ready in just 15 minutes! Slice those juicy peaches, mix up the filling, and prepare that crumbly topping.
Baking time
Once everything is assembled, pop the crisp in the oven for 45–50 minutes. You’ll want it golden and bubbling to ensure that signature crispiness.
Total time
In just 1 hour or so, you’ll have a mouthwatering perfect peach crisp ready to enjoy! Perfect for gatherings or a cozy night in.
Nutritional Facts for Perfect Peach Crisp
When you indulge in this perfect peach crisp, it’s good to be informed about what you're enjoying. Here’s a quick glance at its nutritional profile:
Calories
A serving of this delightful peach crisp packs approximately 250 calories, making it a satisfying treat without too much guilt.
Sugars
Each serving contains about 15 grams of sugar, primarily from the natural sweetness of the peaches and added sugar for that touch of dessert perfection.
Fiber
Thanks to the whole rolled oats and fresh peaches, you’ll get around 3 grams of fiber per serving, contributing to a balanced diet while keeping your tummy happy.
If you're interested in making healthier swaps or reducing sugar, check out resources on the benefits of oats or how to naturally sweeten desserts. Enjoy your perfect peach crisp guilt-free!
FAQs about Perfect Peach Crisp
Can I use frozen peaches?
Absolutely! While fresh peaches provide the best flavor, you can use unsweetened frozen peaches in your perfect peach crisp. Just remember to thaw them first, chop them into bite-sized pieces, and pat them dry to remove excess moisture. This will help maintain the crisp's texture and prevent it from becoming too soggy.
How should I store leftover peach crisp?
To keep your leftovers fresh, store any uneaten perfect peach crisp in an airtight container in the refrigerator. It should last for up to five days. If you prefer it warm, simply reheat individual portions in the microwave or in a low oven.
What if I want to make it ahead of time?
Making your perfect peach crisp ahead of time is easy! While I don't recommend preparing it unbaked, you can make the topping in advance and store it in the refrigerator for up to two days. If you've baked it already, your peach crisp will freeze well for up to three months. Simply thaw overnight in the fridge and reheat before serving!
Conclusion on Perfect Peach Crisp
In summary, this perfect peach crisp is your ticket to a delightful dessert that highlights the best of summer's bounty. With a crispy topping and juicy filling, it’s a crowd-pleaser for any gathering. Don't hesitate to experiment with variations and toppings—enjoy every bite!
Perfect Peach Crisp
Equipment
- 9-inch pie dish
- Mixing bowls
- pastry cutter
- Cooling Rack
Ingredients
Filling
- 5 cups sliced peaches peeled or unpeeled
- ¼ cup all-purpose flour spooned & leveled
- ½ cup granulated sugar
- ⅛ teaspoon salt
- 1 Tablespoon lemon juice
- ½ teaspoon pure vanilla extract
Topping
- ½ cup brown sugar packed light or dark
- ⅔ cup all-purpose flour
- 1 teaspoon ground cinnamon
- ¼ teaspoon salt
- ½ cup unsalted butter very cold and cubed
- ⅔ cup whole rolled oats (or quick oats)
- ⅔ cup chopped or halved unsalted pecans optional
Instructions
Preparation
- Preheat the oven to 350°F (177°C). Lightly grease a deep-dish 9-inch pie dish, 9-inch square pan, or any 2–2.5-quart baking dish. Set aside.
- Gently mix all of the filling ingredients together in a large bowl, then spread into the baking dish.
- Make the topping: Whisk the brown sugar, flour, cinnamon, and salt together in a medium bowl. Cut in the butter using a pastry cutter or forks until the mixture is crumbly. Fold in the oats and pecans. Sprinkle evenly over filling.
- Bake for 45–50 minutes until the topping is golden brown and the fruit juices are bubbling around the edges. Remove from the oven, place on a wire rack, and allow to cool for a few minutes before serving warm. You can also serve room temperature or cold.
- Cover leftovers and store in the refrigerator for up to 5 days.


Leave a Reply